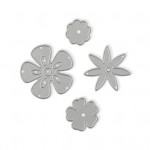
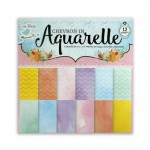
Hello everyone, it's Juhi. Today I'm sharing a set of 4 note cards that I made using the Thin Cut Fairy Flowers Dies and patterned paper from the Chevron in Aquarelle 12x12" Paper Pack.
These cards measure 3 1/2" x 4 7/8" and are perfect for gifting as a set. I just love the Fairy flower Thin cut dies, it has 4 pretty flower dies which can be used individually or layered on top of each other. I wanted to keep my cards Clean and Simple (CAS) hence I've used one type of flower and left a lot of white space on the cards.
To make the cards, I first started by cutting and scoring the white cardstock to 3 1/2" x 4 7/8". I then proceeded to created the background for the cards by cutting 4 different patterned papers from the Chevron in Aquarelle 12x12" Paper Pack to 3 1/4"x 4 5/8".
For the first card I stuck the blue chevron patterned paper at and titled at an angle from the edge, as shown in the image below. I then flipped open the card and trimmed of the excess.
For the second card, I first stuck the orange chevron patterned paper in the middle of the card front. I then placed a piece of white cardstock slightly bigger than half the length of the orange patterned paper as shown in the image below. I drew a diagonal line on it with a pencil and cut it with a paper trimmer. I then stuck it on top of the orange patterned paper with double sided foam tape.
For the third and fourth card fronts I first stuck the patterned paper in the center of the card front and stuck smaller white cardstock panels on top.
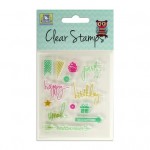
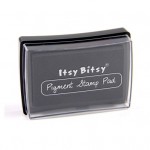
Once the card backgrounds were done I stamped the sentiments onto strips of white cardstock using Itsy Bitsy Black pigment ink. I marked a dot in the middle of the strip and cut out till the dot from both ends to create a fish tail banner.
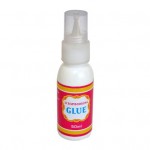
I then die-cut the flowers using the Fairy Flowers dies from handmade paper using shades similar to the patterned paper backgrounds and played around with their placements on the cards. Once I was happy with the placement I stuck them in place with liquid glue.
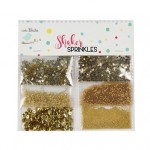
I also added some details like stems, leaves and a vase with a pen. For the flower centers I put dots of liquid glue, poured some gold shaker sprinkles onto them and simply shook off the excess.
I finally stuck or stamped on the sentiments on the cards to finish them. Here's a closer look at each of the cards.


Gorgeous cards, Juhi! Thanks so much for the tutorial!
ReplyDeletexx
Suchi
Thanks Suchi!
DeleteAwesome cards...
ReplyDeleteThank you so much Anila!
DeleteDelightful creations Juhi love the hand drawn stems and vase!!
ReplyDeleteThank you Suman!
DeleteWow such a pretty cards loved them all simply beautiful
ReplyDeleteThank you Pooja!
Deletesimple,elegant and beautiful...love them all
ReplyDeleteThanks Roshini!
DeleteFabulous cards Juhi, particularly loved the hand drawn one with the gold sprinkles centre! You make card making look easy! :)
ReplyDeleteThank you so much Rashmi!
DeleteSimple yet fabulous
ReplyDelete