
Hello everyone, it's Juhi and today I'm sharing 3 cards I made using Itsy Bitsy's thin cut steel dies. These dies are very high quality and can be used with any standard die-cutting machine. What's more, they cut like butter, come in some awesome designs and the prices are amazing!!!

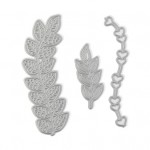
I have used the thin cut leaves dies to create my cards. I just love this die, it comes with 3 different leaf stalk designs. Instead of using the die-cuts leaves for flowers I've used them as foliage, the possibilities are endless with this die! So without further ado lets check out the cards...
Card 1:
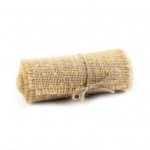
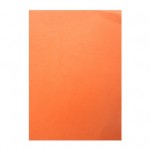
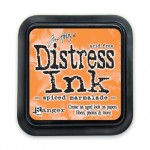
For my first card, I first die-cut the leaves with hand-made paper in shades yellow and orange. To add some interest to the die-cuts, I then rubbed on some orange distress ink on the orange die-cuts. Following this I cut out a piece of burlap ribbon. I removed some burlap/jute strands from the burlap ribbon piece to give it a frayed edge.

It was very straight forward after this, I first stuck the burlap ribbon panel onto white cardstock with double sided foam tape and then arranged the die-cuts on top. I played around with the die-cuts and even trimmed some of them, and stuck them in place, once I was happy with the arrangement.

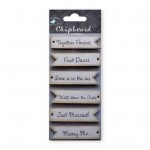
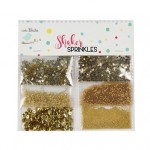
I finally finished off the card by adding a chipboard shape sentiment and some sequins.

Card 2:

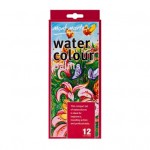
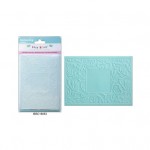
For my second card I first die-cut the leaves in shades of green and then tied them together at the bottom with some baker's twine. I then embossed a piece of white cardstock using the floral frame embossing folder from Itsy Bitsy and splattered some green watercolor paint on it with a thick round brush. I added on a chipboard shapes sentiment once the paint splatters had dried.

I finished the card by sticking on the leaf bunch with some double sided foam tape.

Card 3:

The third card was the easiest to make and it's also my favorite. After die-cutting 3 leaves of the same design with white cardstock, I placed them on a watercolor cardstock panel and marked their location very lightly with a pencil. I then removed the leaves and loosely colored the marked area with green watercolor and added some blue watercolor around it. Once the watercolor had completely dried up I added some green paint splatters.

Once the panel had dried up I cut it up to fit my white cardstock base and stuck it with double sided foam tape. I added the 3 die-cut leaves on top of the green areas, I only applied glue to the stems and not to the entire die-cut to add some dimension to the leaves.

I hope the projects I've shared today inspire you to create something using thin cut dies and share with us. Please share your projects using Itsy Bitsy Thin Cut Dies here - February 2017 Challenge – Creations using Itsy Bitsy Thin cut dies
these are just amazing Juhi !! love how you made the die-cuts the star of your work ....my favorite is also the last card with the watercolor panel !!
ReplyDeleteThank you so much Suman!
DeleteFabulous Juhi!
ReplyDeletesimple,elegant stylish cards...awesome juhi
ReplyDeleteThank you so much Roshini!
DeleteStunningly beautiful 😍 love the stricking colours
ReplyDeleteThank you Sharada!
DeleteLovely cards !
ReplyDeleteThank you Pooja!
DeleteExtremely beautiful cards Juhi!!
ReplyDeleteThank you so much Archana!
DeleteI love these elegant looking cards. Nice!
ReplyDeleteThank you so much!
DeleteFabulous cards Juhi, loved them all but 3rd card is my favourite!
ReplyDeleteThank you so much Rashmi, that's my favorite too!
DeleteLoved burlap card
ReplyDelete