Friday, July 18, 2014

TGIF with Pooja - Card tutorial

Hi everyone! 
Welcome back to another Friday special with me Pooja.
Today I have step by step tutorial on how I made this card.


So let’s get started!


 ·         Cut a white cardstock for card size – 4.6” X 6.6”


 ·         I love to recycle and that’s why I decided to use the packaging insert of the Itsy Bitsy Boutique Elements flowers.
·         These insets are quite thick and make such a lovely background.


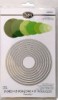
·         Now stamp and colour your chosen stamped image and using an oval or circle die cut around the image.
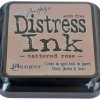
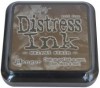
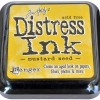
·         Distress your diecut piece with distress inks. 


·         Turn your stamped and die cut image upside down.
·         Add wet glue to the corners of the shape as shown above.
·         Also cut out some crepe paper strip that’s about 1” wide. 


·         Now while making gathers just stick the crepe paper on the back of your oval piece.
·         Go a full circle with the gathers. 


·         Once done you should have a pretty looking gathered frame for your card!
·         Cut out any extra crepe paper that’s sticking out, so your frame looks even.


·         Apply glue on the sides of the gathered lace.
·         Now sprinkle some glitter over it, I am using silver since it looks great with pink.


·         Here is your frame all full of sparkle! 


·         Next step is to align and adhere the background paper. Alternatively you can use some pattern paper. 


·         Now just tear up the side of the background paper we just adhered. Be random.


·         Now add a rectangular die cut frame.
·         I have distressed the frame here. I have used spellbinders die to cut out this frame.


·         Now add some stamped and die cut clocks.


·         Now layer some white mesh cloth (Surgical gauze) in the centre.


·         Then add your frilled frame in the centre. 


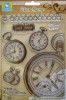
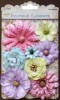
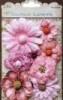
·         Next add your embellishments. I am using Itsy bitsy – Antique fusion Party flowers and Antique fusion soft touch flowers.
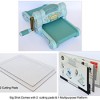
·         With some sizzix die cut flourish and stamped butterflies. 


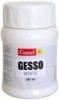
·         Finally finish off the card by applying Gesso on the flowers.
·         And then add a sentiment of your choice.

  
Here are some more pictures of the card.


I really adore these flowers ! They are made in India and are sturdy too. 


That’s about it for today!
Hope you liked the tute! See u next month!

Supplies :

Friday, July 11, 2014

Winners of the ItsyBitsy Anything But a Card Challenge

Folks it's time to announce the winners for the ItsyBitsy Anything But a Card Challenge. We had some excellent submissions this time around and it was literally a pleasure to browse through our gallery. Well Done Folks!! 

The top 3 entries all of which will receive a voucher of Rs. 500 from ItsyBitsy, in no particular order are Riti for her bright and happy sunflower box, Somdeepa for her stunning stained glass box creation and Dhiyana for this adorable Pringles Pencil Box!! Well done girls! You can all write in to info@itsybitsy.in to claim your winners badge and the voucher! 


Now on to the finalists. Again in no particular order, here they are:

Jaya for this mesmerising mixed media canvas creation! How magical and ethereal!


Shilpa for her mixed media canvas creation  Aren't those flowers just adorable!


Smita for this fabulous shaped mini album - Love the vintage elements!


And that wraps up this list of winners and finalists. Congratulations to everyone! Finalists, please write in to info@itsybitsy.in to claim your badges.

We're putting our monthly blog challenges on hold for bit. Stay tuned for some exciting announcements  very soon!!


Friday, July 4, 2014

TGIF with Pooja - gift cones tutorial

Hi everyone ! 
It's Pooja back with another TGIF post ! 
I hope u had a good week and are gearing up for the weekend ahead ! 

Today I have a tutorial for you ! 
I made something CAS (Clean And Simple) this time. 
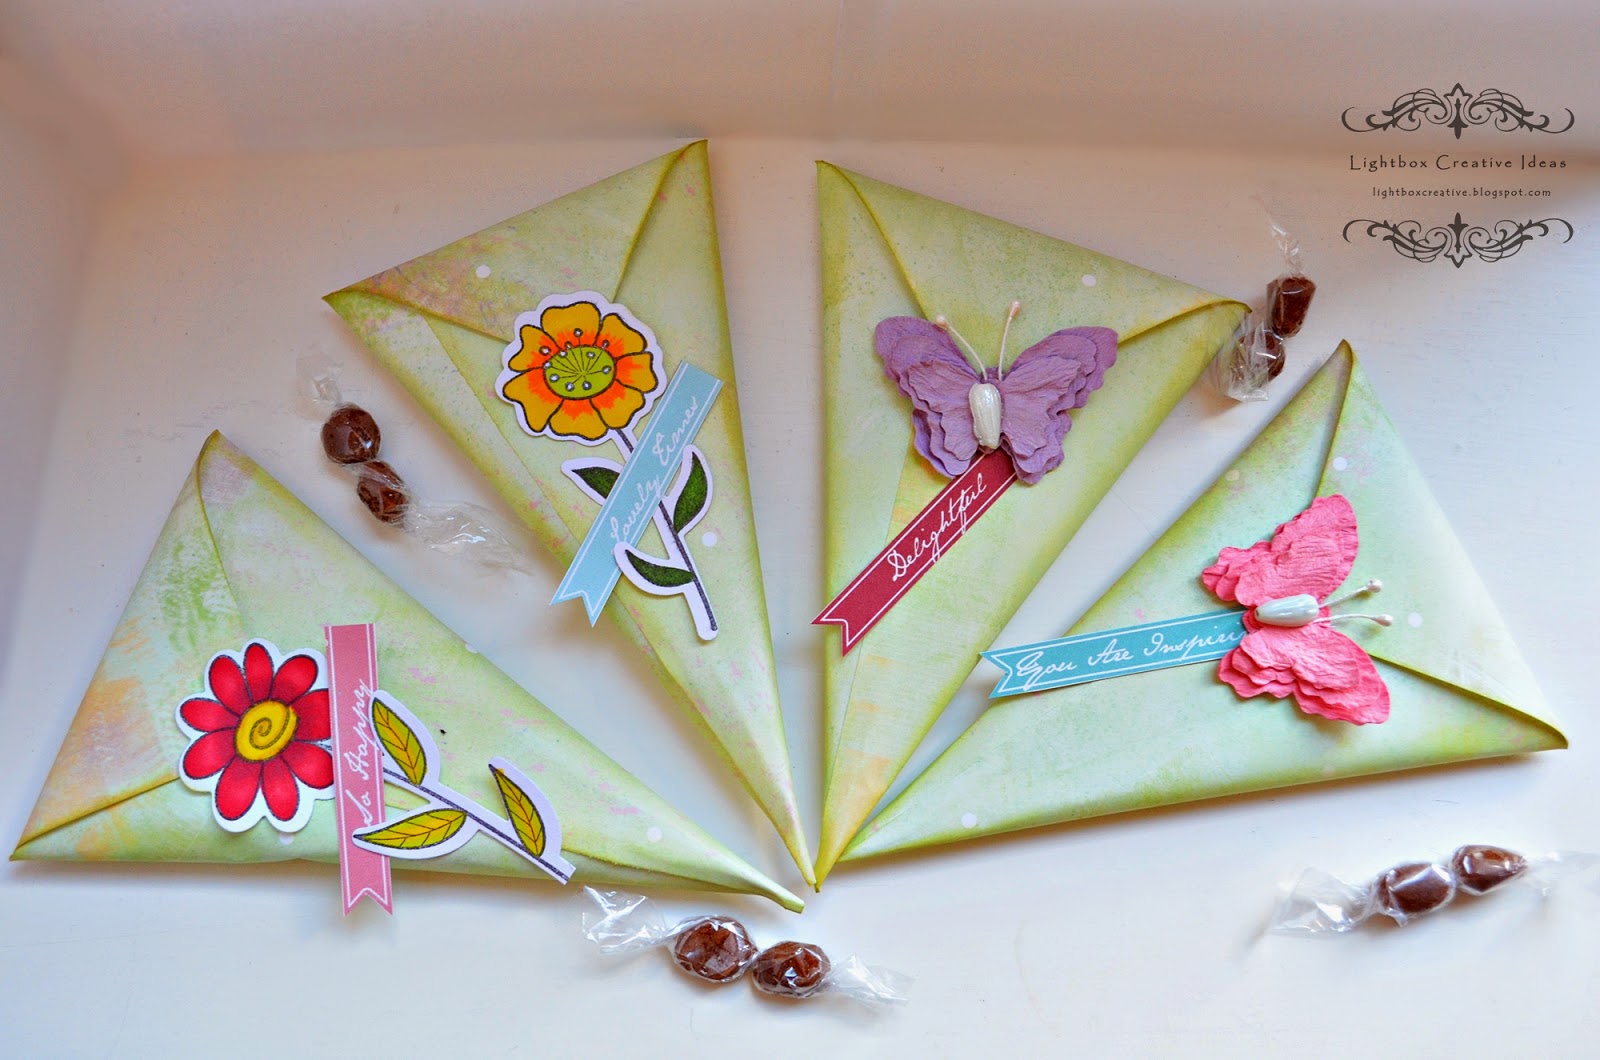
Some gift cones ! 
Let's check it out 
I just made some Gift cones for my friends with some tasty Indian toffies inside.
People here really love those sweet and sour Indian Imli toffies. {Me included!}

So I decided to pack them in some cute cones! 

As you can see they are  Clean and Simple (CAS) this time.
I have stamped and coloured the image for the flowers on two of the cones.
And I have used some itsy bitsy butterflies on the other two!
I really love how they turned out!

So lets see how I made them. 


·         Take a 12 x 12 pattern paper and cut it into 4 equal squares. Each square gives you 1 cone.


·         Keep the paper as shown above (Right side down) and fold over the left side. 


·         Glue on the right side of the paper as shown. You can use a tape runner too but I am using a wet glue . 


·         Now glue over the right side of the paper over the left and form your cone. 


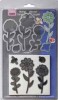
·         Think about how u want to embellish your cones. I decided to use the Sizzix Framlits Die & Stamp Set – Garden flowers . This is a wonderful die set which contains lovely cling rubber stamps with coordinating dies.
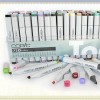
·         After I stamped my flower image I coloured it using alcohol markers , Itsy bitsy has a good variety of alcohol markers if you want to check them out.

·         Once coloured just die cut your stamped image! J


·         My next step was to fill the cone with my Imli candies.


·         Once done flip the cones over and stick the die cut images on the top corner with glue. 


·         Again flip the cone over again and close the flap over to see how it looks.

·         Now add a glue dot underneath the die cut and secure the flap.

·         After that add the sentiment banner. Here I have used left over banners from a Pattern paper I had.


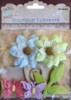
·         Meanwhile with the same technique I made 2 more cones but with the lovely butterflies from the Gardenia Party .


Here are some more pictures


Isn’t that a wonderful way to share some love?
I always enjoy packing my gifts however small they are with innovative tricks.
Which is always fun to receive!
Hope that I have inspired you enough to try your hands on this simple technique.
See u on another Friday!
Cheers!


Supplies : 


Friday, June 27, 2014

Dotty Robot - Guest post by ArtsyCraftsyMom

 I'm back with a very popular craft at home.. My daughter loves robots and thinks all her problems (imaginary!!) would disappear if she had a special robot who could do all her work for her. So we decided to make one for ourselves.


We gathered our supplies -
Pom poms
Bow stickers
silver pipe cleaners
Thermocol Craft Ball
Stickers
Foam dots
Googly Eyes
Craft stick
Glue gun
An old box for the body


We used an old Home lights match box and covered it with silver tape. You can use colour, shiny papers or even glitter papers. 
we then covered the ball to form the head & stuck it onto the body using glue gun. Googly eyes for the eyes and the robot was slowly coming to life. For legs we used a TP roll .. 


We added the foam dots & red pearl dots for buttons. Pipecleaners were twisted and stuck using glue gun. We then inserted half a craft stick within these pipe cleaners to form hands. 


Pom poms , a nice smile , antennae and cute bows later, our dotty robot was ready.. 

What do you think??? Isn't she cute??? 

Shruti Bhat is a Software Quality Analyst by profession who mostly exercises her left brain during the day at work and her right brain takes over at home. She loves crafting with her 7 year old daughter and blogs at ArtsyCraftsyMom.com. She can be reached at @ArtsyCraftsyMom on Twitter, Facebook & Pinterest

Friday, June 20, 2014

TGIF with Pooja - Cleaning your stamps

Hello lovely readers !
Its time for another TGIF segment with me Pooja !
Well hope you are practising some stamping on your cards or paper crafting projects 
since my last video. 
As promised last fortnight , i am showing you some 
Stamp cleaning hacks 

Again this video is for Beginners at stamping.  

Just a recap 
You can temporarily clean your stamps with 

1. Baby wipes - Alcohol free **
Photo credits - Johnsons baby

2. Water misting - Use paper towels  or a soft cloth after misting.

But the Best way to clean your stamps would be
Stamp cleaners
Stamp-cleaner-ranger - Dauber style
How to use - 
Just dab the stamp cleaner solution on to your unclean stamp and wipe with tissue or a soft cloth.

Ranger-water-based-stamp-cleaner- Spray style
How to use - Just spray your water based cleaner directly on to the stamp and clean them with a cloth quickly.

Or 
Use a stamp cleaning scrubby pad , spray your stamp cleaning solution on the scrubby pad and just wipe your stamp on it once you have done stamping.

Both these stamp cleaners are available at very affordable rates at the Itsy bitsy Store !


For any more Questions Please comment below I will answer asap.


Saturday, June 14, 2014

Winners of the ItsyBitsy Monochromatic Challenge

Folks it's time to announce the winners for the http://itsybitsyindia.blogspot.in/2014/04/the-itsybitsy-monochromatic-challenge.html. We're so sorry for the delay but better late than never right! We had some truly stunning projects submitted this time and had quite a tough time narrowing them down to the toppers. So here goes it!!

The top 3 entries all of which will receive a voucher of Rs. 500 from ItsyBitsy, in no particular order are Indira for her super stylish masculine card, Pratyusha for this outstanding quilled card and Sathya for this gorgeous floral card!! Well done girls! You can all write in to info@itsybitsy.in to claim your winners badge and the voucher! 


Now on to the finalists! Again in no particular order here is Aparna with this pretty soft card.


Next is Sara for this gentle purple Mothers Day card. 


Well done to all of you!! Please write in to info@itsybitsy.in to claim your badge. You all truly deserve it!!

The First Ever ItsyBitsy Design Team Call

Folks!! We're here with a truly exciting announcement here are ItsyBitsy! For the first time ever, we are inviting a team of four designers to create for the ItsyBitsy blog!!!! We want to see how you create, how you design and how you inspire with our wide range of craft supplies!!!


We are welcoming anyone from any sphere of craft - are you an artist? or into needlework? Is quilling your passion or paper crafting? Perhaps its clay modelling or candle making??? Whatever your craft, you are eligible to apply.

What's in it for you!!


- The prestige of being part of the first ever ItsyBitsy Design Team

- Monthly supply of product samples from ItsyBitsy to create your designs.

- Greater readership and viewership for your blog through the ItsyBitsy blog

What we need from our new team of designers:


- Your commitment to design for the ItsyBitsy blog for a period of 6 months starting from July 15th 2014

- 3 projects a month using ItsyBitsy supplies

- From the 3 projects above, one should be a tutorial  (it could be a video or picture tutorial)

- Sharing teasers of posts on your personal blog and personal Facebook page.

- Regular responses to comments on ItsyBitsy Blog.

- Regular comments on the blogs of those who participate in our challenges.

Here are the eligibility requirements:


- You must be residing in India so that we can reach our products to you without any delay.

- You must have a blog.

Do you think you would be a great addition to our team? All you have to do is add your entry to the inlinkz button below with your name and a link back to your blog. You have till July 1st to submit your entry and we will write to you if you're successful!

Thanks so much folks and all the very best!!


Friday, June 6, 2014

TGIF with Pooja - Basics of stamping

Hi everybody !
I hope you have had a great summer so far !
We have been having some real good sunshine on this side of the planet (not much sun here otherwise) 
I thought its a really good day to make some Videos for you guys !

Today we will be talking about 
The very basics of stamping !

Stuff about stamps that any beginner needs to know!
so here the video have fun watching !


For any questions or clarifications do comment here , i will try to get back to you asap. 
Thank-you for joining me here !

Happy stamping !