Showing posts with label Pearlized Metallic paints. Show all posts

Friday, February 24, 2017

An Altered Diary Cover....Mix-Media Techniques


Hello everyone....today I am sharing an altered diary cover using mixed media technique. I made this as a gift for a friend. 


Initially, this is how the diary looked...so drab and ordinary.......


I started with a coat of White Mont Marte Gesso, created texture with net tape, medical gauze and Mandala Stencil from the store with Mont Marte Modeling paste. 

Allowed the texture to dry and then sprayed with color splash mists....

I like to work with sprays and Metallic paints together, the sprays settle in the crevices of the texture and create great depth and the texture is highlighted with the metallic paints in pearl and Teal......


I added some more color splash  Grape Crush at this stage. Added the Crochet trim, lace and bling in Purple from the store on the spine with silicon glue,,,,,,,,,,,,,


The metal corners, golden pollen and micro beads are from the store as well.........


The flowers are from the Margarita Ocean Mist pack. You can add the colour splash inks to make your flowers or embellishments more vibrant or to alter them. Do not spray directly on flowers as these are very saturated colors. Lightly mist the flowers and spray a little color on the newly launched Non-Stick craft Sheet add little water and using a brush add colors to your flowers to match your project. Dry the flowers with a heat gun.

(This Non-Stick Craft Sheet is versatile. The multi-purpose reusable sheet can be used as a protective sheet for any work table. It is non-porous and heat resistant, easy to clean and convenient to maintain. It’s perfect for projects involving melting, embossing, inks, clay, glue and more. Inks and paints can be wiped off the surface quickly, glue and wax can be peeled off easily. It’s ideal for use while stamping, embossing, painting, distressing, iron-on transfers, working with polymer clay, candle making, soap making and more. It measures 15”x19”.) 

o


I hope you liked today's project, you can use the same techniques to create a home decor canvas, alter gift bags and boxes or personalize and alter boring/ordinary stuff into something unique  !!

Thank you so much for your visit today, I appreciate and look forward to your comments and feedback. If you like my work please do visit my blog  and FB page.

Supplies used from the store:


METALLIC PAINT SILVER 


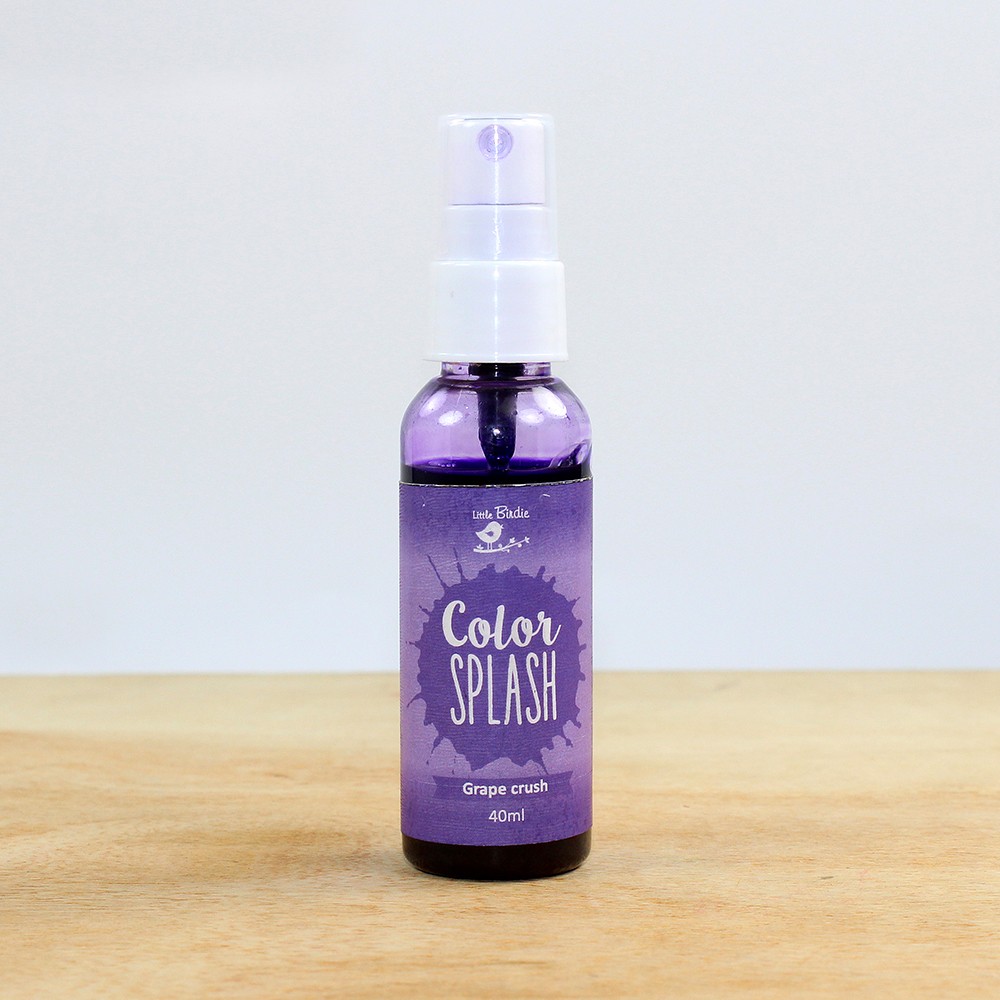
                                  COLOR SPLASH GRAPE CRUSH 


                                  COLOR SPLASH GOLD RUSH 


                                    COLOR SPLASH CHARCOAL


                                 COLOR SPLASH OCEAN MIST


                                 POLLENS 6 BUNCHES GOLD 

                                       NON-STICK CRAFT PAPER


Granules layer pack


Monday, February 13, 2017

Itsy Bitsy Natural Sculpting Clay and Alterables

Hello everyone!! 
Today I have three projects to share with you using Itsy Bitsy Natural Sculpting Clay and Wooden Alterables..............


Hello Friends
Before we begin...a little about the natural clay.......
Clay sculpturing may seem to be a difficult task but once you put your hands on the right clay and sculpturing tools the job appears easier. With Itsy Bitsy’s one kg sculpturing clay there’s absolute freedom to shape out anything you desire. Recyclable and reusable, the natural clay is adaptable for use in a potter’s wheel, for free hand sculpturing and can also be baked for a finer terracotta look. You can also shop for pottery tools, modelling tools, acrylic colours and other embellishments from Itsy Bitsy to add perfection to your project.

Best used for: creating figurines, animals, shapes, vases and other home decor products and school projects 

I love to get messy in my craft and wanted to try the natural clay by Itsy Bitsy. The clay is very smooth, pliable, easy to shape and just the right consistency. It does not stick to your hands and is not too dry. This is an air dry clay, you can bake it for added strength. I however want to share another technique with you so that you can use it in mix media projects, create texture with it, stamp on it to make unique work and make own embellishments with silicon and other molds. 
My first thought was to create a Lippan Kaam Kutchi Mirror mural kind of work ....I tried with cut mirrors from the store and some Kundan stones to create this on an acrylic box...... I took the required amount of clay, kneaded it a bit, shaped into thick discs of about 5mm and embedded the round cut mirrors in it. For the smaller shapes I made small balls of clay and embedded kundan stones. Added some texture on the bigger shapes with a small plastic pipe. 

This was my first trial piece, I allowed it to dry but after drying, the clay pieces separated.....
I adhered the clay with silicon Glue on the lid and then saturated the clay with Gel Medium by Camel, available in the store. I also added scrunched up tissue with a bit of texture paste and gel medium all over the lid around the design......


Another design sculpted free hand... after drying...


Added Clay designs on a textured base with texture paste from the store. Saturated the clay with gel medium , allowed to dry and then gave a coat of white Gesso all over......

I created the flowers and leaves with Clay and plunger tools, Gave a white Gesso coat all over the wooden alterable box and created Texture with Modeling Paste and Feather and Mandala stencils from the store all over the box. It is easy to mold and shape the clay while wet.

I allowed all the three boxes to dry, then drenched the clay with generous coating of Gel medium, let the clay absorb the medium and if needed you can apply another coat of Gel medium. This step makes the clay hard and adhere well to the substrate. the clay becomes strong without any baking. The natural clay is porous after drying, as all water content gets evaporated.The gel medium then settles into the spaces within the clay and  imparts strength to the molded clay. The next step is to coat all with Mont Marte Gesso.....


added pearl metallic paints  and colour Splash inks .......
I like the effect of Colour Splash inks on metallic paints.....the opaque shiny paints provide a mirror like effect. To top it, the inks with its translucence on the shiny surface gives a kind of glowing effect.......The final piece can be given a coat of spray adhesive or Varnish to fix the colors.


Added micro beads from the store with the wonderful Silicon Glue .......


some texture stamping with Archival ink ..........

Created shadows around the flowers and leaves with Charcoal color splash inks, added a sentiment and some white paint splatters ........


I love the patina effect with the pearl metallics.....


Hope you like these experiments :)

Supplies from the store:


       CUT MIRROR ROUND 

     WOODEN DECORABLE Square BOX
Monte Marte white gesso
Monte Marte - modeling paste silicon-liquid-glue

Pearlized Metallic Paint- Gold, Copper Teal Blast
color splash sprays - Hot pink, Gold, Mocha, lemon zing, charcoal