The week rolled over so quickly
and it’s once again time to introduce you to our ‘Crafter in the Spotlight’.
This week the focus is on Rashi
Dongre Joshi, a talented crafter whose life
revolves around her daughters and craft.
Rashi, who is a soft-skills trainer by
profession, discovered her craft talents just by chance…but her love for craft grew
stronger by the day and there was no looking back. Rashi’s stash is full
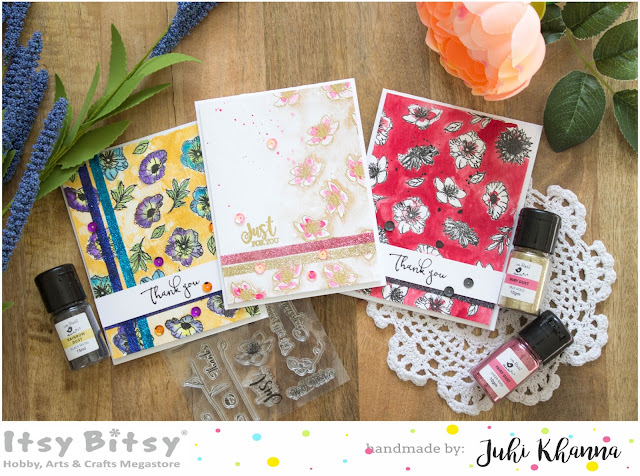
of craft findings from Itsy Bitsy. She loves experimenting with different kinds
of craft and is very fond of adding some shimmer to her projects.
How did Rashi get into
crafting, what inspires her, what are her tips for fellow crafters, her
favourite quote, how would she contribute to the crafting world if she had
magical powers? Read answers to all these questions, discover more about her
interesting journey and catch a glimpse of a step by step project by
Rashi in
this interview. Don't forget to leave your comments for her.
Rashmi Closepet, MD, Itsy Bitsy: Tell us a bit about yourself & your
background.
Rashi Joshi: It feels
great to be featured in the “Crafter in the Spotlight” and this is a wonderful
forum where I get to showcase my talent. Thank you Rashmi Harish, Anitha
Mallesh and the entire team of Itsy Bitsy for this opportunity.
By
Education, I hold a Masters degree in Computer Management (MCM), by profession
I am a soft-skills trainer and spent some half a decade in the corporate world.
However after marriage and kids I planned to quit and work out of home as a
freelance trainer. I’m a wife and mother of two young lasses, my world is with
them and my business (craft).
RC: How did
you get into crafting?
RJ: Crafting
happened to me just by chance and when it happened, there was no looking back.
I had
started with my own apartment decor and the first piece was a mirror mosaic
ceiling for my home. My family was surprised to see my work as much as I was,
as that was my first tryst with craft and decor. Slowly I got into up cycled
products like making votive holders from jam jars, painted bottles for which I
had bought raw materials from Itsy Bitsy. But the real calling came when my
decoupage and distress painted pieces were bought by some guests! That’s what
gave me a kick to take crafting seriously.
My
fascination for craft grew and I started experimenting with different art forms
like decoupage, gilding (gold leaf art), paper crafting (cards and tags), mixed
media etc.
RC: What is
your favourite type of craft?
RJ: I love
all crafts equally as each gives me a new dimension to learn and explore.
Crafting in itself is very fulfilling and soothing to my wandering mind!
But in particular I love to Paint furniture and decor pieces with aged and
distress finishes. The possibilities are so many with painted furniture, it
gives wings to your creativity and I love the fact that they can be amalgamated
with any other craft so well!
RC: What are
your favourite products at Itsy Bitsy?
RJ: Tough
question…. as almost all products at Itsy Bitsy are great and cater to all my
crafting needs and my home studio is full of products from Itsy Bitsy. I
started my crafting journey with Itsy Bitsy beads and paints and moved on to
Lovely DCWV paper packs and all different types of papers. As I love shine and
bling, I’ve glitter in all colours available. The stickers are to die for… so
have them too! My latest collection boasts of lovely Chalk Paints, Charms, more
Glitters, Stickers and even Flowers. The supplies at Itsy Bitsy are really
tempting and motivate crafters like me to explore other crafts ;)
Today
I’ve so many products that if I want to experiment with something new anytime,
other than my usual work, I’m ready with all my supplies!
RC: If you
had magical powers, how would you contribute to the Crafting world?
RJ: I wish I
get it one day! That day I will create a forum through which all the talented
and lesser known crafters come to the foray without getting burdened with heavy
overheads of online portals and exhibitions. It would enable them to
concentrate on their creativity and give the needed boost in the right
direction.
RC: Your
prized possession in your craft stash from Itsy Bitsy?
RJ: My entire
home studio is full of Itsy Bitsy products and I treasure all of them so it’s
not easy to make up mind which is dearer to me than the other. Still, I
absolutely love my Vintage Stamp sets and the Oh! so versatile Chalk Paints!
I’m in love with these paints as I love using them on almost everything. Also
one more product needs to be mentioned and that’s the new “Texture Tack”. It’s
again a versatile product, with so many possibilities...
RC: How
would you describe your style of crafting?
RJ: I
don’t really have a particular style of crafting as I’m into varied crafts and
every project is an experience with different techniques and supplies. I like
to explore and fuse 2-3 different craft forms in one project. Vintage Shabby
chic is something that my creation invariably depicts when its decoupage. When
it comes to Mirror mosaics, it is typically very traditional Indian.
RC: How do
you organize your time for crafting?
RJ: Can I
say “Don’t Ask!” :D It’s a struggle but when you love something you end
up making time. I usually work on weekdays when my kids are at school and
weekends it’s late night that I make time for my work.
RC: Tips for
people who want to craft
RJ: One
thing I would like to share with all crafters is …“Don’t shy away from experimenting
and don’t feel disappointed by mistakes as they teach you a lot .Your mistakes
refine your work so they are an integral part of your crafting experience,
enjoy every bit of it! No mistake is a mistake in crafting… eventually you will
learn to turn it to your advantage.”
RC: Your all
-time favourite quote?
RJ: It’s
better to fail in originality then to succeed in imitation – Herman Melville
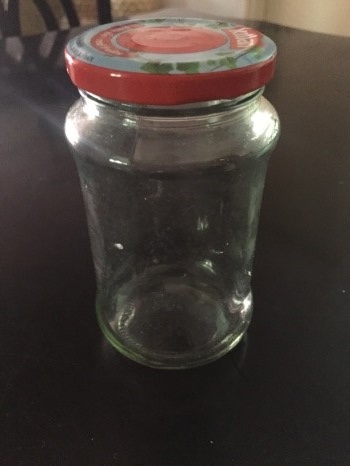
Here is a gorgeous project by Rashi & step by step procedure:
A
Glass jar with wide mouth , wash and wipe dry.
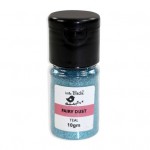
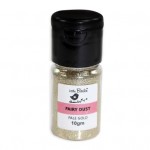
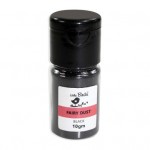
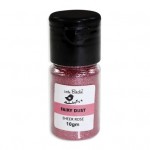
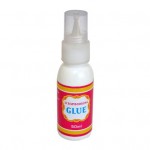
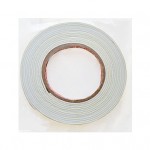
Supplies used : Gesso, Chalk paint (Sailing Sky), acrylic paint (Pale Emerald), Decoupage glue, Decoupage Glue, Texture Tack, Feathers, pearls, Tissue paper, chipboard scallop, Chipboard Feather embellishment, Glitter Dust and F-6000 (strong adhesive)
I used Decoupage Glue to stick the tissue paper on the jar, didn’t bother with the wrinkles as they add to the texture and look. Let dry completely. Removed any excess from the neck of the jar.
After
it was dry I used F-6000 to secure the Chipboard feather.
Then, I added a generous amount of Texture tack in
random order over the jar and also on both the edges, let it get tacky and then
sprinkled the glitter over it, pressed the glitter to secure it nicely.
Once
the texture dried and the flitter was secured , I used decoupage glue to adhere
the white and green feather on the neck of the Jar.
Then I
sanded the Lid of the jar, and used Gesso as my base coat to cover the print
on the lid, after it was almost dry I used Sailing Sky chalk paint as a
second coat, after it dried I used Acrlyic (Pale Emerald) paint with a dry brush
just for a subtle look.
Then I
painted my scallop chipboard with gesso and adhered white and green feathers on
it. Added some pearls on top and secured the scallop to the lid with F-6000.
Added
a few half pearls and some fabric beads on the side, and voila my glass jar
lantern was ready !!
Here’s
how it looks after placing a candle inside. The picture is not doing justice to
the Jar....once it is up in a dark room, the glitter adds to its beauty !
I hope you like my creation! Thank you.
Here are a
couple of Rashi's other awesome creations:
Many congrats
Rashi for being the CRAFTER IN THE SPOTLIGHT
ITSY BITSY!!
You will receive Rs.500/- Itsy Bitsy gift voucher 😊😊 & a Crafter in the Spotlight badge, which can be proudly displayed on the side bar of your blog and other platforms. Looking forward to many more creations, Happy Crafting!