Showing posts with label Home decor. Show all posts

Friday, April 14, 2017

HOME Canvas using Itsy Bitsy Burlap Panel and Shabby Chic Natural Burlap Stack


Hello everyone, Its Suman Pandit here today with an inspiration with Burlap Panel


I am using the newly launched 12"x12" inch Itsy Bitsy Burlap Panel and Shabby Chic Natural Burlap Stack for today's project. 


I created house shapes on paper and created simple templates for the houses. Then I cut out the house shapes from the Shabby Chic burlap stack .........

Mix-matched different designs from the burlap stack, layered with lace, corrugated card stock, colored book pages and door handles from wooden buttons........

To color the burlap panel I used Snow, Sailing Sky, frozen Ice, Rainy Day and Lagoon Breeze shades of Chalk Paints ...........

I used a brayer for spreading the colors on the burlap panel and the cloud chipboard shapes from the store..........


The house in the middle has a chipboard element colored with Snow chalk paint.....


The butterfly is from Beaded Butterfly Plum pack...........


The clouds are stamped with a script stamp for some detailed effect............

The Home sentiment is from the foam alphabet set from the store ( Chunky Alpha set, link given ) .........


The tiny cork car in the bottom right corner is also from Itsy Bitsy and was in my stash for the last three years :)......


Flowerpots are made with thermocol and card stock, brick texture created with Charcoal chalk paint and an old credit card, flowers from the store, Petite Daisies set  ( link given below ) ......

Hand made flowers using Sizzix die from the store  .........


See the dimension on the following pics.........


Hope you like this creation. We are waiting to see YOU create with these burlap panels,

Join the Itsy Bitsy blog challenge for the month April Challenge - ITSY BITSY CHALLENGE 4-2017 Theme -Anything Goes using Little Birdie Shabby Chic or Classy Chic or Burlap canvas panel(Stretched Burlap).

Happy crafting ! 
Suman


Friday, March 10, 2017

DIY Nursery Decor

Hello Friends ,
                I am Sharada Dilip here with an awesome inspiration for you all, using Chalk Paints

A DIY Nursery Decor 

.A homemade DIY nursery decor project makes a terrific baby shower or 1st birthday present too. 


Have you used Itsy Bitsy’s newly launched Little Birdie range of chalk paints??

These chalk paints are truly versatile, have great coverage and are high in quality. That’s not all; these are permanent, water proof, great for indoor as well as outdoor application. Opacity of these paints is very high and the best part is they are available at a great price!!!!


All you need are these paints, brushes and an alterable frame and buttons for decoration I began with a white washed alterable frame. 


After using all the 3 shades on the frame and drying them, I decorated it with Jumbo, from the Jumbo wishes stamps set. I coloured jumbo with water color.😃


He's too cute to resist isn't it ?? 


Further, I added Boy theme buttons , these buttons double up the cuteness quotient of your projects.


I totally enjoyed playing along with colours.

I added up a matching card to go with theme , I plan to gift this for a Birthday :)

The Jumbo is too cute to resist and yes I love making cute stuff!!


Hope to have inspired you to transform ordinary things into pretty stuff with just few craft supplies in hand :) 

Wish to see more of my creations for inspiration, please click here 

Supplies used here   
ibst34078_1.jpg (1000×1000)

CLEAR STAMPS JUMBO WISHES

HOME DECOR CHALK PAINT SAILING SKY 60ML BOTTLE


JESSEJAMES BUTTON BABY FUN BOY 


HOME DECOR CHALK PAINT LEMON CHIFFON 60ML BOTTLE

HOME DECOR CHALK PAINT LEMON CHIFFON 60ML BOTTLE


ibar71920.jpg (1000×1000)

HOME DECOR CHALK PAINT FRENCH ROSE 60ML BOTTLE


Happy Crafting


Sharada Dilip Acharya

Monday, December 12, 2016

Deco Decor

Hi,
Gopi here and I'm back with Decoupage my new obsession...
Decoupage can be done on a large variety of surfaces like wood, glass, metal, fabric, etc etc.... It is one of the way to alter things and also one of the way to create beautiful Home Decor articles.
Today's post is about creating some home decor articles... All the articles created are out of a single piece of decoupage napkin.
So let's get started....

Altered Wine Bottle

To begin with, I submerge the wine bottle in hot water for few hours and then scrubbed the label off it making sure no residues are left.

There after I selected my decoupage napkin and accordingly selected the base colour for the wine bottle. I have used Zebra stripes and white gesso. Apply 2 coats of white gesso making sure each layer of gesso dries perfectly well before the next coat.


Next I gave 2 coats of Itsy Bitsy's Decoupage Glue Matte using a wash brush again making sure each layer was dried well before the next one.


Then I cut the decoupage napkin to a desired size and peeled off the top ply. Using a damp sponge slowly started adhering the napkin to the bottle.


For the neck and bottom of the bottle I have wound the White Twisted cord .


At last I carefully applied 2 more coats of decoupage glue, only on the napkin, to finally seal it.


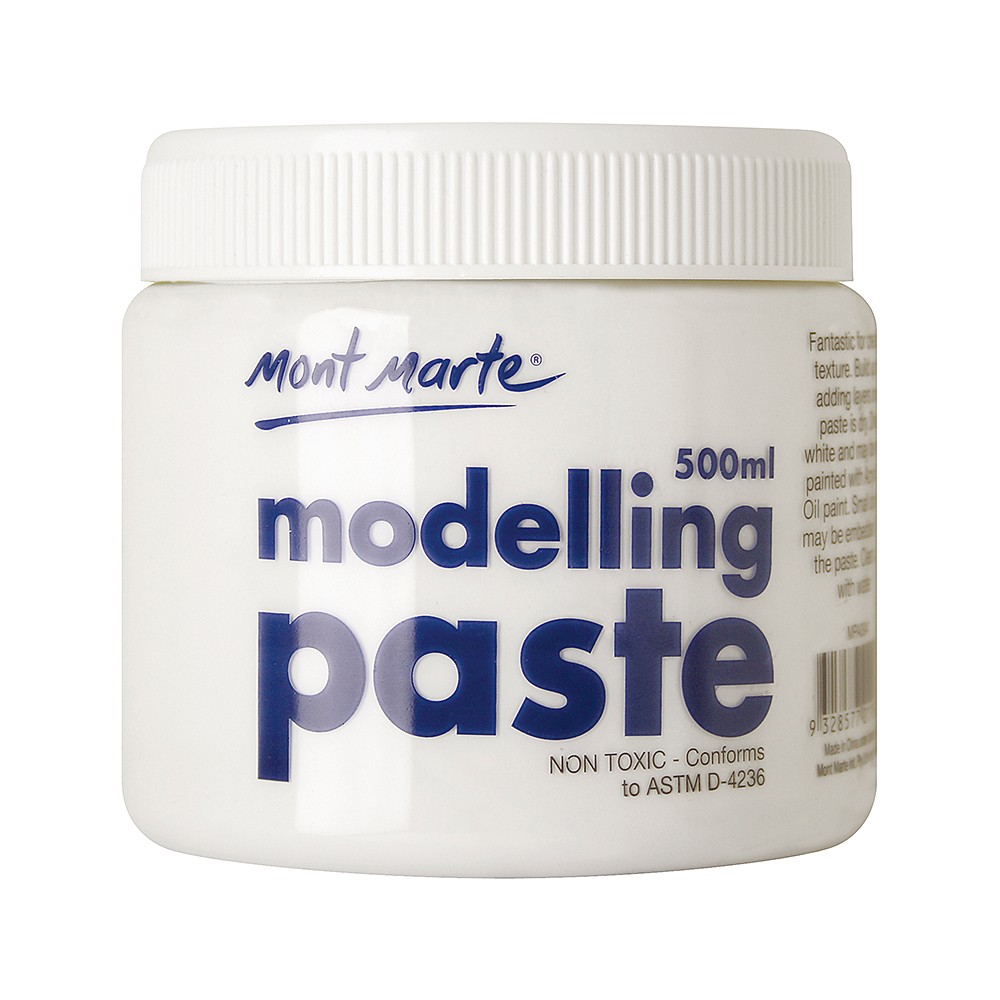
Then using the brick stencil and Modelling paste I gave a texture on the napkin area. Finally, I embellished the bottle using white lace, adhesive pearls and Blanche Carnation flower collection.


Pillar Candle

Decoupage on candles is very easy and fast but tricky too. Firstly out of the remaining piece I cut the decoupage napkin to the desired size. Candle decoupage is easy and fast as there are not coats of glue to be applied. Using a heat gun I started adhering the napkin to the candle. Now comes the tricky part. The heat from the heat gun has to be maintained otherwise the candle will start deforming. So I started by heating a particular patch. The moment the wax melts the napkin changes colour as being wet. Thats when with my finger I rub the napkin to fix it with the melting wax. Keep doing this in small patches till the entire napkin is adhered.

See the colour difference at the bottom part of the candle
Once the candle is covered with the napkin I embellished it with white twisted cordwhite lace, adhesive pearls and Blanche Carnation flower collection.


And the candle is ready...


Canvas

The last article to this home decor set is a Canvas.
To start with I gave a generous coat of gesso to the canves and let dry.
Meanwhile, using the newly released Lamour paper pack I created the center part of the canvas. Using a wet paint brush I outlined the patch. Use good amount of water and let it seep into the paper. Then start tearing from the wet edges. This will give a fibrous edge which will help in merging the piece to the canvas well


Once this was done I applied 2 coats of Decoupage glue. After the glue was completely dry, I adhered the remaining pieces of the decoupage napkin to the canvas as desired with the help of a damp sponge. Then applied the same glue on the back of the pattern paper and stuck it in the center of the canvas.
Finally applied a generous coat of decoupage glue to the entire canvas to seal the napkin and center patch. Don't worry about any air bubble forming. it will settle on dry.


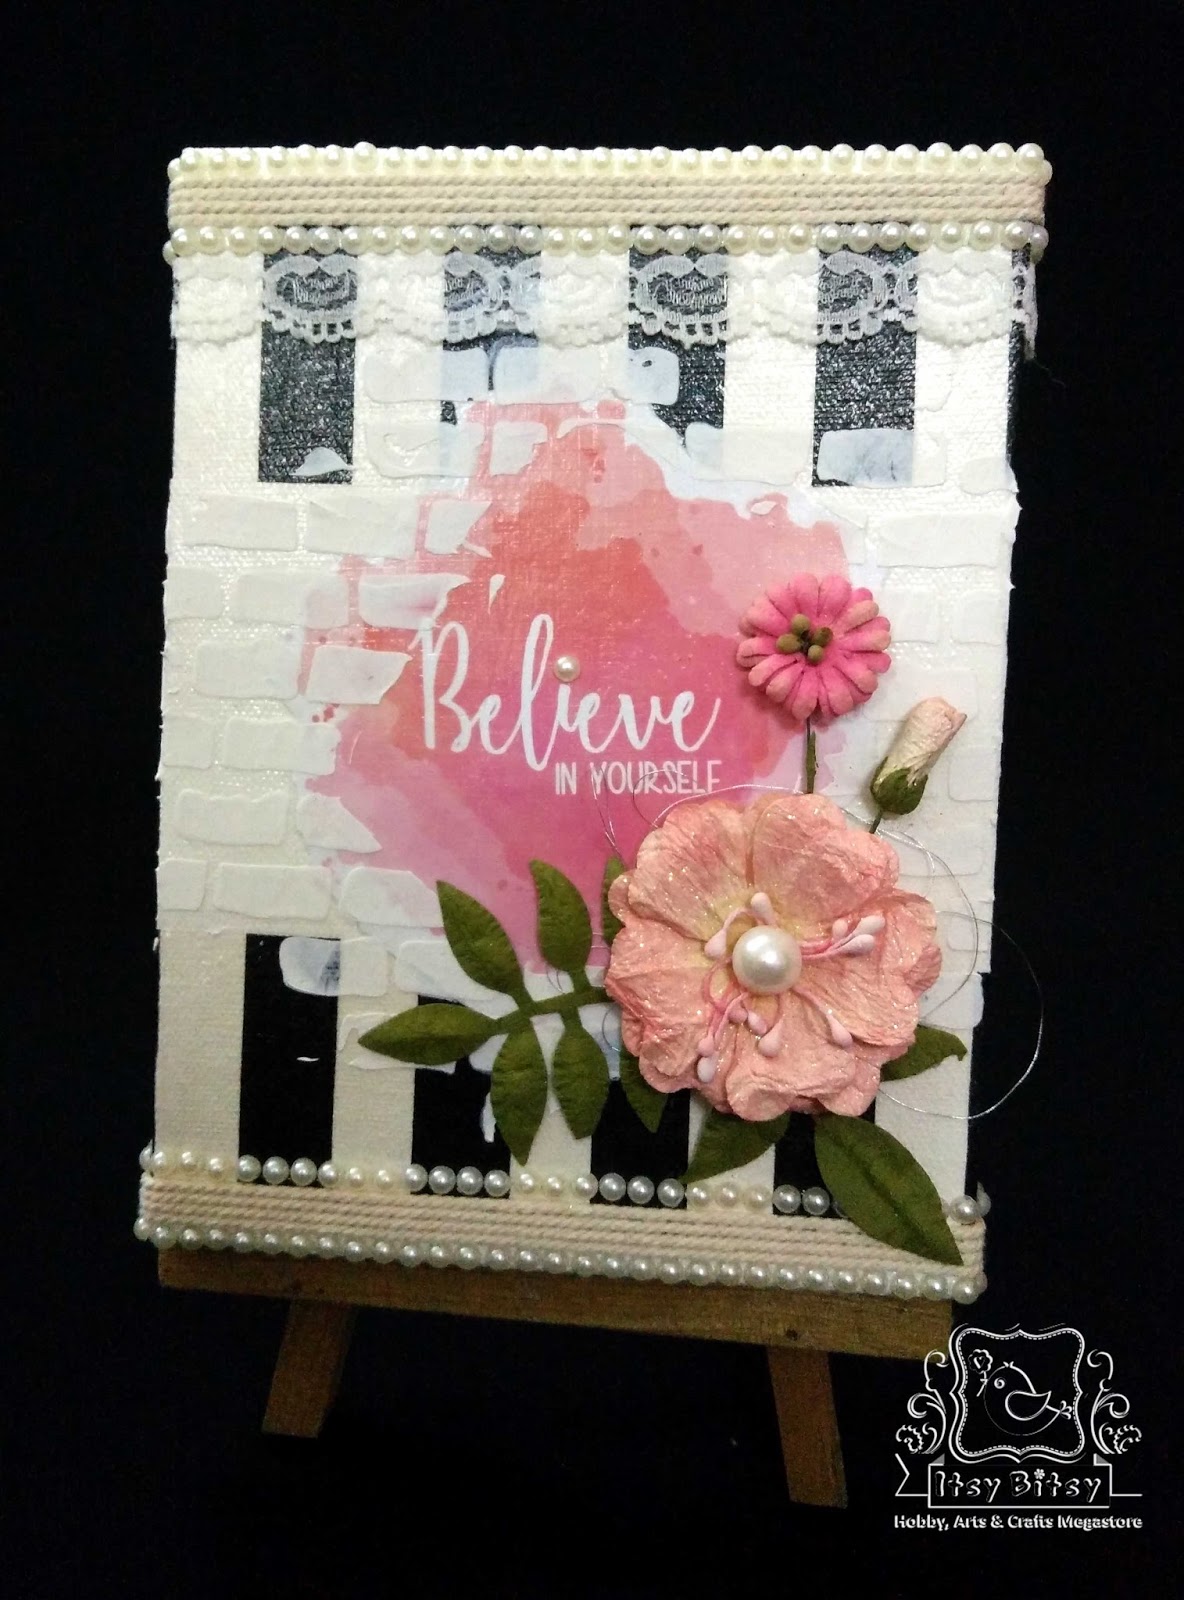
Once the entire canvas was dry I gave it a texture using the brick stencil and Modelling paste


Thats how the entire home decor set was created!!!

For some more decoupage inspirations you can check my previous post here.

Hope u had the same fun reading this long post as much as I had creating these articles.

Supplies Used:

1. Wine Bottle, Pillar Candle (from my Stash)
2. Canvas
14. Heat Gun

And the final click...


 Happy crafting!!!