Showing posts with label Pearl. Show all posts

Thursday, June 22, 2017

Crafter in The Spotlight 55 - Itsy Bitsy

Thursday is back and so am I with another talented Crafter in the Spotlight! This week Dolly Shah from Bangalore is here to share her story with us.

Dolly was aware of her inclination towards creative fields from childhood. However, she discovered her passion for craft and found time to pursue it quite recently. She thoroughly enjoys the art of decoupage and admires the way it helps up-cycle almost anything!


How did Dolly get into crafting, what inspires her, what are her tips for fellow crafters, her favourite quote, how would she contribute to the crafting world if she had magical powers? Read answers to all these questions, discover more about her interesting journey and catch a glimpse of a step by step project by Dolly in this interview. Don't forget to leave your comments for her.


Let’s see how Dolly feels about being featured in the ‘Crafter in the Spot Light”
Firstly, I would like to thank Rashmi, Anita & the entire team of Itsy Bitsy for bringing me into spotlight. I really like your approach…. it doesn’t only encourage us but gives us recognition & a way to appreciate our talents. Kudos to the team Itsy Bitsy!!

Rashmi Closepet, MD, Itsy Bitsy: Tell us a bit about yourself & your background?
DS: My name is Dolly Shah. I was born & brought up in Bangalore. I did my schooling from Bishop Cotton Girls High School, Bachelors in science in Fashion & Apparel Designing from Vogue Institute of Fashion Technology & Masters in Science in Apparel Technology & Management. I have worked for 10 years in a private firm as a fashion Designer. I’m married for 7 years & have a son who is 5 yrs old now. Currently I’m a proud home maker bringing up my little one with his choice of food & spending good quality time with him.

RC: How did you get into crafting?
DS: As kids, we never had access to any kind of tutorials or Itsy Bitsy :) Always did projects & models with our own creativity. Hence knew that I was more inclined towards the creative field. Post pregnancy worked as a consultant for 4 years, couldn’t work further as I wanted to be completely committed to my son. Hence from past 1 & half years developed this passion for art of decoupage & mix media & ever since there is no stop to explore my own creativity. 
RC:  What is your favourite type of craft?
DS: I really enjoy art of decoupage. I think it’s a wonderful art if learnt correctly. This is an art where you can up-cycle anything & everything, you can never make a mistake (mistake itself looks like a wonderful art). With this technique you can create what is exactly on your mind.

RC: What are your favourite products at Itsy Bitsy?
DS: I really love the floral embellishments & the home decor section just pulls me closer whenever I visit Itsy Bitsy. Gesso of course, which I really can’t do without & lately a craze for gold alcohol sprays & chalk paints, has dawned upon me.

RC:   If you had magical powers, how would you contribute to the Crafting world?
DS: If I had magical powers I would have a castle completely done up interior & exterior with art of decoupage & mix media where crafters would go crazy picking up their choice of materials under one roof.
RC: Your prized possession in your craft stash from Itsy Bitsy?
DS: My prized possession from Itsy Bitsy includes cutting board, flowers, gesso, pattern papers & decoupage papers, brushes & paints. 
RC: How would you describe your style of crafting?
DS: My style of crafting has a very practical approach. I believe what exclusively you make, you should be able to use in your daily life. All the products that I create have a very niche or quirky look & priced at most affordable range. 
RC: How do you organize your time for crafting?
DS: As I said I’m totally committed to my little one, I barely get minimum of 1 hour a day or sometimes not even that :). But whatever time, I try to make the best of it!
RC: Tips for people who want to craft
DS: Crafting is a creative field which you can never master fully, whichever craft you’re into, you would have barely explored 20%, so keep learning & keep exploring, Creative people can never give up… so just keep it going. Thanks to Itsy Bitsy & so many crafting tutorials which has given us a huge platform to let our inner creativity out. Just enjoy what you do. 
RC:  Your all -time favourite quote?
DS: "No one is you & that is your power". Be your own kind of beautiful.💗

Here is a gorgeous project by Dolly & step by step procedure:


As decoupage is my favorite art I would use layers to show the art of decoupage. 


Step 1 : I am using the below embellishments & paints to complete a wooden cup cake stand.


Step 2 : Always sand your base product (wood or glass) & clean it properly before you start any project. 


Step 3: Painted the scalloped trays with pink chalk paint (from Itsy bitsy) . I have given double coat for better enhancement. 


Step 4 : Painted the cake stand with Tattered Lace chalk paint (from Itsy Bitsy).  


Step 5 : I have finished the borders with stick-on pearls. 


 Step 6 : With help of water &  brush took flowers that I thought was appropriate for decoupaging from the 3 ply tissue. Placed them & with help of decoupage glue and pasted them. 


 Step 7 : Distressed the sides of the tissue with same color (pink chalk paint) as the base, so as to blend well. 


Step 8 : I have distressed the cake stand by using the pink chalk paint, golden acrylic paint &  Golden Canary with the help of sponge & finished the bottom of the stand with stick-on pearls.  


Step 9 : Distressed the scalloped tray & flowers with tinge of gold. 


 Step 10 : Sprinkled fairy dust gold on the flowers & glitters around the scalloped sides of the tray (both from Itsy Bitsy)  


Lastly, I sealed it completely with decoupage glue & varnished it. 


Here are a couple of  Dolly's other awesome creations:


Many congrats Dolly for being the CRAFTER IN THE SPOTLIGHT – ITSY BITSY!!


You will receive Rs.500/- Itsy Bitsy gift voucher ðŸ˜ŠðŸ˜Š & a Crafter in the Spotlight badge, which can be proudly displayed on the side bar of your blog and other platforms. Looking forward to many more creations, Happy Crafting!


Monday, December 12, 2016

Deco Decor

Hi,
Gopi here and I'm back with Decoupage my new obsession...
Decoupage can be done on a large variety of surfaces like wood, glass, metal, fabric, etc etc.... It is one of the way to alter things and also one of the way to create beautiful Home Decor articles.
Today's post is about creating some home decor articles... All the articles created are out of a single piece of decoupage napkin.
So let's get started....

Altered Wine Bottle

To begin with, I submerge the wine bottle in hot water for few hours and then scrubbed the label off it making sure no residues are left.

There after I selected my decoupage napkin and accordingly selected the base colour for the wine bottle. I have used Zebra stripes and white gesso. Apply 2 coats of white gesso making sure each layer of gesso dries perfectly well before the next coat.


Next I gave 2 coats of Itsy Bitsy's Decoupage Glue Matte using a wash brush again making sure each layer was dried well before the next one.


Then I cut the decoupage napkin to a desired size and peeled off the top ply. Using a damp sponge slowly started adhering the napkin to the bottle.


For the neck and bottom of the bottle I have wound the White Twisted cord .


At last I carefully applied 2 more coats of decoupage glue, only on the napkin, to finally seal it.


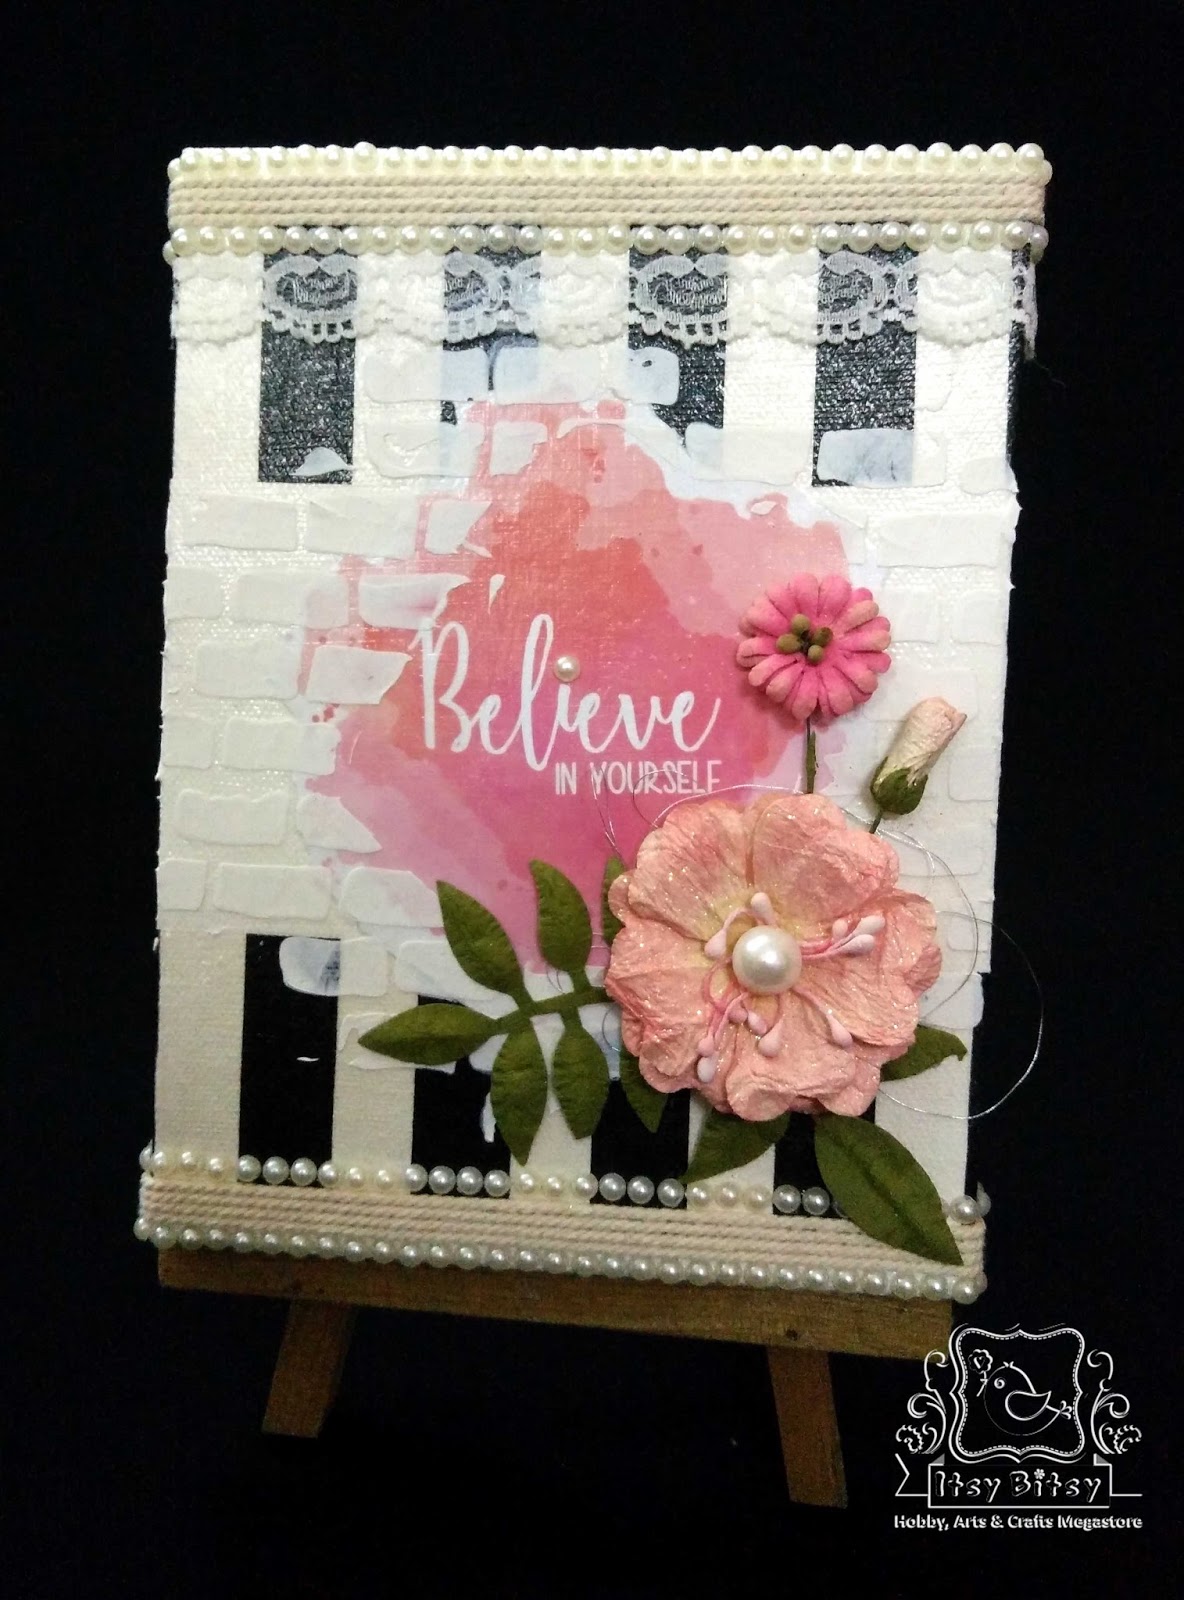
Then using the brick stencil and Modelling paste I gave a texture on the napkin area. Finally, I embellished the bottle using white lace, adhesive pearls and Blanche Carnation flower collection.


Pillar Candle

Decoupage on candles is very easy and fast but tricky too. Firstly out of the remaining piece I cut the decoupage napkin to the desired size. Candle decoupage is easy and fast as there are not coats of glue to be applied. Using a heat gun I started adhering the napkin to the candle. Now comes the tricky part. The heat from the heat gun has to be maintained otherwise the candle will start deforming. So I started by heating a particular patch. The moment the wax melts the napkin changes colour as being wet. Thats when with my finger I rub the napkin to fix it with the melting wax. Keep doing this in small patches till the entire napkin is adhered.

See the colour difference at the bottom part of the candle
Once the candle is covered with the napkin I embellished it with white twisted cordwhite lace, adhesive pearls and Blanche Carnation flower collection.


And the candle is ready...


Canvas

The last article to this home decor set is a Canvas.
To start with I gave a generous coat of gesso to the canves and let dry.
Meanwhile, using the newly released Lamour paper pack I created the center part of the canvas. Using a wet paint brush I outlined the patch. Use good amount of water and let it seep into the paper. Then start tearing from the wet edges. This will give a fibrous edge which will help in merging the piece to the canvas well


Once this was done I applied 2 coats of Decoupage glue. After the glue was completely dry, I adhered the remaining pieces of the decoupage napkin to the canvas as desired with the help of a damp sponge. Then applied the same glue on the back of the pattern paper and stuck it in the center of the canvas.
Finally applied a generous coat of decoupage glue to the entire canvas to seal the napkin and center patch. Don't worry about any air bubble forming. it will settle on dry.


Once the entire canvas was dry I gave it a texture using the brick stencil and Modelling paste


Thats how the entire home decor set was created!!!

For some more decoupage inspirations you can check my previous post here.

Hope u had the same fun reading this long post as much as I had creating these articles.

Supplies Used:

1. Wine Bottle, Pillar Candle (from my Stash)
2. Canvas
14. Heat Gun

And the final click...


 Happy crafting!!!


Saturday, September 3, 2016

Ribbon Flower Hair Accessories...

Hello Friends

Ribbon flowers have always been a crafter's favourite. They enhance the look of your projects. One of the best ways of using these ribbon flowers is in hair accessories.... Today I'm sharing how to make some of my personal favourite ribbon flowers and will use them in making some hair accessories.


Hairband


For this beautiful Hairband I have used different size satin ribbons, rhinestone, felt sheet, an old hairband (from my stash of hair accessories) & Itsy Bitsy's Silicon Glue (This glue saved me from using the hot glue gun for these accessories. I absolutely fell in love with it).

Lets start with the flower first. For the flower I have used:


Using a T-light candle I had sealed both the ends of all the ribbon pieces. Next I started shaping each petal.


1.     Keeping the wrong side of the ribbon facing up, I folded the ribbon into 90° downwards from the centre.
2.     Next I folded the A end and placed it on the B end as shown above.
3.     Then folded the corners inside partially overlapping each other.
4.    Lastly I held these folds securely with a straight tweezer and sealed the bottom edge using a T-light candle. ( just move the edge near the flame and not into the flame. Repeat till all the folds melt and stick to each other. While doing so make sure the edge is not burnt or the ribbon does not turn black).
5.     Front look of the petal once the edge was sealed.
6.     Backside of the petal.
7.     I repeated the same process for all the ribbon pieces cut.

Next comes the assembling of the petals to form the flower. Every petal is stuck to the base using Itsy Bitsy’s Silicon glue.


1.     I used a 4cms cardstock circle for the base. Then start arranging the dark pink petal. The 1st layer had 11 dark pink petals which I stuck to edge of the circle.
2.     The 2nd layer was again of dark pink petal. This time I stuck 9 petals slightly inner than the 1st layer.
3.     3rd layer had 7 - 1” light pink petals and 4th layer had 5 – 1” light pink petals.
4.     5th layer had 5 – ½” light pink petals. Lastly I added a big rhinestone in the center.

Taada!!! And the flower was ready...

Now lets see how I did the ribbon weaving on the Hairband. For the ribbon weaving I used ½” white ribbon – approx 5mtrs (the length on the ribbon may vary depending on the hairband size).


1.     I started the weaving from both the ends of the ribbon and named them as left ribbon & right ribbon. Made a ½” loop on the right ribbon. (The loop size will depend on your ribbon size.)
2.     Then made a loop on the left ribbon and passed it through the right loop.
3.     Next made a loop on the right ribbon and then passed it through the left loop.
4.     Then pulled the left ribbon to tighten the loop.
5.     To secure the entire weaving I turned it around and using silicon glue stuck the ribbon at the point the needle is inserted in the picture above. Once the silicon glue was dry, I snapped off the extra ribbon end seen below the needle.
6.     After the weaving was secure it looked like this.
7.    Then turned the entire weaving to the front and made a loop on the left ribbon and passed it through the right ribbon loop. Then pulled the right ribbon to tighten the loop. Step 3, 4 & 7 were repeated till I got the desired length of the weave. The length depends on the hairband size.


8.     The ribbon weaving looked like this.
9.     Once the desired length of the weaving was achieved, I secured the right ribbon end by sticking the ribbon at the point the needle is shown in the picture above.
10. Then the left ribbon end was secured at the back of the weaving at the point the needle is showing in the picture above. Once the glue was dry I snapped off the extra loop.
11. Finally the weaving was secured and the end looked like this.
12. Lastly I adhered the ribbon weaving to the hairband using Itsy Bitsy’s Silicon Glue and then adhered the flower to the hairband at the desired place.


Brooch Pin & Hair Clip


For this set of brooch pin & Hair clip I have used the beautiful Teal & light green colour 1” satin ribbon, pearls, felt sheet, barrette clip 85mm x 10mm, saree brooch pin and the amazing Silicon glue.

Lets check out how these flowers were formed.


1.     I started by covering the Saree brooch clip with felt sheet.
2.     Same I did with the barrette clip. Wrapped it with felt sheet in & out
3.     Next I took 1” light green satin ribbon and sealed its edge using a T-light candle. Then folded the ribbon edge diagonally as shown in the picture above and cut it at the inside edge. This gave me a square. I needed 5 such squares as the flower has 5 petals.
4.      Here I took each square & folded it diagonally.
5.     Then holding the ribbon as in picture 4, I made the right corner to meet the top centre point and sealed this edge using T-light candle.
6.     Repeated the same with the other corner.
7.     Lastly folded the petal backward and holding it with the tweezer as shown in the picture above, sealed the bottom corner from behind. It looked like pinched from the front.
The same process was used to make 15 Teal colour petals. Once all the petals were ready I assembled each flower with 5 petal on a small cardstock circle with silicon glue and then stuck 1 teal flower on the saree brooch pin and 3 flowers on the barrette clip.

Hair Ponytail Band


This is my personal favourite out of all the hair accessories. The ribbon rose is just so beautiful and very easy to make. I have used 1” Sky Blue colour satin ribbon, white lace (from my Stash), green gross grain ribbon, pearl, black ponytail band (from my hair accessories stash), needle, thread and the best Silicon glue.

Lets see how this beauty is created.


1.     I started by folding the right bottom corner to the upper edge and then using a straight tweezer coiled the corner upto ½”.
2.     Holding the coiled edge I started stitching (running stitch) the upper edge upto the folded corner.
3.     Once the upper edge was secure with the running stitch, I folded the ribbon backward along the vertical edge.
4.     And then the new formed edge was again folded diagonally as in step 1 to meet the upper edge.
5.     Again I secured this open edge by running stitch.
6.     I continued doing step 3 & 4 few more times and then slowly pulled the thread from the starting point against the ribbon to form gathered petals as in the picture above.
7.     Again I repeated steps 3 – 6 till I achieved desired no of petals for the Rose. The last petal was then secured by a knot and the extra ribbon was cut. Lastly I started coiling the rose with my hand from the beginning point making sure that the base is flat and not conical. The last petal was secured using silicon glue.

Now let’s assemble the entire band.


8.     To give a base to the ribbon rose I had used a white cotton lace from my stash. I started with running stitch on the upper edge.
9.     Once the desired length was achieved, I pulled the thread from the beginning point and formed a gathered flower. The end edge was stitched to secure it.
10. I had used the green gross grain ribbon to give a contrast colour and look of leaves. Just made simple loops as shown in the picture above and stuck all the layers in the centre using silicon glue.
11. The white lace flower & the green loops where then stitched to the black band. A pearl was used inside the black band behind the white lace flower to secure the stitch. This helped in avoiding the stitch to come off by fraying the band off.

Mini Hair Clip


For this cute little hair clip I have used satin ribbons - 1” dark pink, 1” dark green, ½” light pink, pollens, pearls, mini barrette clip 50mm x 5mm, feltsheet and Silicon glue.

So lets see how the clip was made.

For the Light pink flower I have used ½” ribbon and the same technique of Ribbon Rose as discussed above. The ribbon size being small it looks a little different from the rose. Had also covered the mini barrette clip with brown felt sheet.

For the buds I have used 1” Dark pink ribbon.


1.     I cut a square out of the 1” dark pink ribbon. Sealed the edges using a T-light candle.
2.     Then folded it diagonally.
3.     Again folded it diagonally to get a smaller triangle.
4.     Now holding the ribbon as shown in the above picture, I started coiling from right corner to the left corner. I maintained the bottom edge to be flat. Finally secured the end point with silicon glue.
5.     Next i added yellow pollens to the bud using silicon glue again.
6.     For fillers I made pearl stems using wire.

For the leaves I have used 1” dark green satin ribbon.


7.     I cut 2 pcs of 6 cms long 1” dark green satin ribbon.
8.     Then keeping the wrong side of the ribbon facing up, folded the top corners to the bottom edge and then secured them by running stitch. Then pulled the thread against the ribbon to gather the bottom edge and secured it by a knot.
9.     Lastly from the front using a straight tweezer I pinched the top and stuck it using a T-light candle.
10. Finished Leaf.

Finally for assembling the clip I used silicon glue to stick the flowers, then leaves, buds and lastly pearl fillers. Refer the picture above.

All these ribbon flowers can be varied in size using different size ribbons. 

Supplies Used
1. Satin Ribbon Packs - 6mm White
                                 - 1" Girly
                                 - 1/2" Girly
                                 - 1" Earth Tones
                                 - 1.5" Ocean
                                 - Green Gross grain ribbon
2. Assorted Rhinestones
3. Barrette clip 85mm x 10mm
4. Barrette clip 50mm x 5mm
5. Saree brooch pin
6. Pollens
7. Pearls
8. Felt sheet
9. Needle
10. Thread
11. Silicon glue

I hope you all liked the super long tutorial. Do leave some love below.


Love Gopi