
Hi friends, Gopi here after a long time. Hope u guys are doing great...
These days I'm super addicted to decoupage. Decoupage not only helps to create beautiful home decor items but is also useful to re-cycle old items likes vases, furniture, crockery, etc.
Today I'll be showing you how to decoupage wooden articles and then sealing & giving a final touch to it using Craft Resin.
Let's get started...
I will be using Wooden decorable coasters & serving tray.
Coasters
1. To start with, sand the coasters using a fine sand paper (readily available at any local paint store) to smooth the surface and edges.
2. Then give a generous coat of white gesso using a wash brush. Let this coat dry well (for about 4 hrs) and then give a second coat of white gesso, this time using the sponge daubers.

3. Next step is to select the Decoupage Napkins. I will be using Oriental Art.
4. To give a soothing contrast, I will paint the sides and the bottom of the coasters with baby pink gesso using sponge daubers. To make baby pink gesso, mix white gesso and Pearlised metallic paint - Carnation Pink.

5. Next is to get the Decoupage napkin ready. Cut it slightly bigger than the required size from all sides. These napkins usually come as 2 ply or 3 ply. For decoupage we just need the top most printed ply. So once cut to size, peel off the unwanted ply.


7. While the glue is still wet carefully lay the napkin making sure no air bubbles are formed inside.

8. Now again apply a coat of decoupage glue, this time generously and carefully not tearing off the napkin. Let this dry overnight.

9. The next day once the glue is dry tear off the extra napkins at the edges using the sand paper. Now the coasters are ready for final touch of resin.
10. Using Silicon glue stick flat pearls(used from my stash) around the edge. Then wrap washi tape around the sides of the coaster. this will stop the resin from flowing down the edges.

11. While the silicon glue is drying lets prepare the Resin. I have used the fantastic transparent Craft Resin. The Itsy Bitsy's resin & hardener pack should be used in a 1:1 proportion.
I always prefer using disposable glasses to measure the resin & hardener and mix then in a disposable container. Use a popsicle to prepare the mixture. You can either prepare the mixture for 1 coaster at a time or all together. If all together the make sure you are quick enough to pour it.


12. Gently mix the resin & hardener using a Popsicle stick. This will prevent forming of air bubbles. Now using a disposable spoon start pouring the resin equally on all the coasters and spread it to the edges using the stick.


Repeat step 1 & 2.
3. For the serving tray I will be using Vintage Roses decoupage napkin.
4. To give a soothing contrast, I will paint the sides (in & out) and the bottom of the the tray with baby pink gesso using sponge daubers. To make baby pink gesso, mix white gesso and Pearlised metallic paint - Carnation Pink.

To protect the bottom white from staining, cover the sides using 1 inch masking tape. Once the colour dries remove the tapes.
5. For the serving tray I'm using a different technique of decoupage. Apply a generous coat of Decoupage glue - Matt and let it dry. Once completely dry, apply second coat. Second coat will help cover up any spots missed in the first coat or glue. Again let it dry, this time overnight.
6. Now cut the exact size of the napkin unlike the coasters. Lay it within the serving tray and using wet sponge (just wet, not dripping water) gently press the napkin to the base. Decoupage glue being PVA glue reactivates when in contact with water and turns sticky. This will help the napkin to stick to the base. Let this complete dry


These days I'm super addicted to decoupage. Decoupage not only helps to create beautiful home decor items but is also useful to re-cycle old items likes vases, furniture, crockery, etc.
Today I'll be showing you how to decoupage wooden articles and then sealing & giving a final touch to it using Craft Resin.
Let's get started...
I will be using Wooden decorable coasters & serving tray.
Coasters
1. To start with, sand the coasters using a fine sand paper (readily available at any local paint store) to smooth the surface and edges.
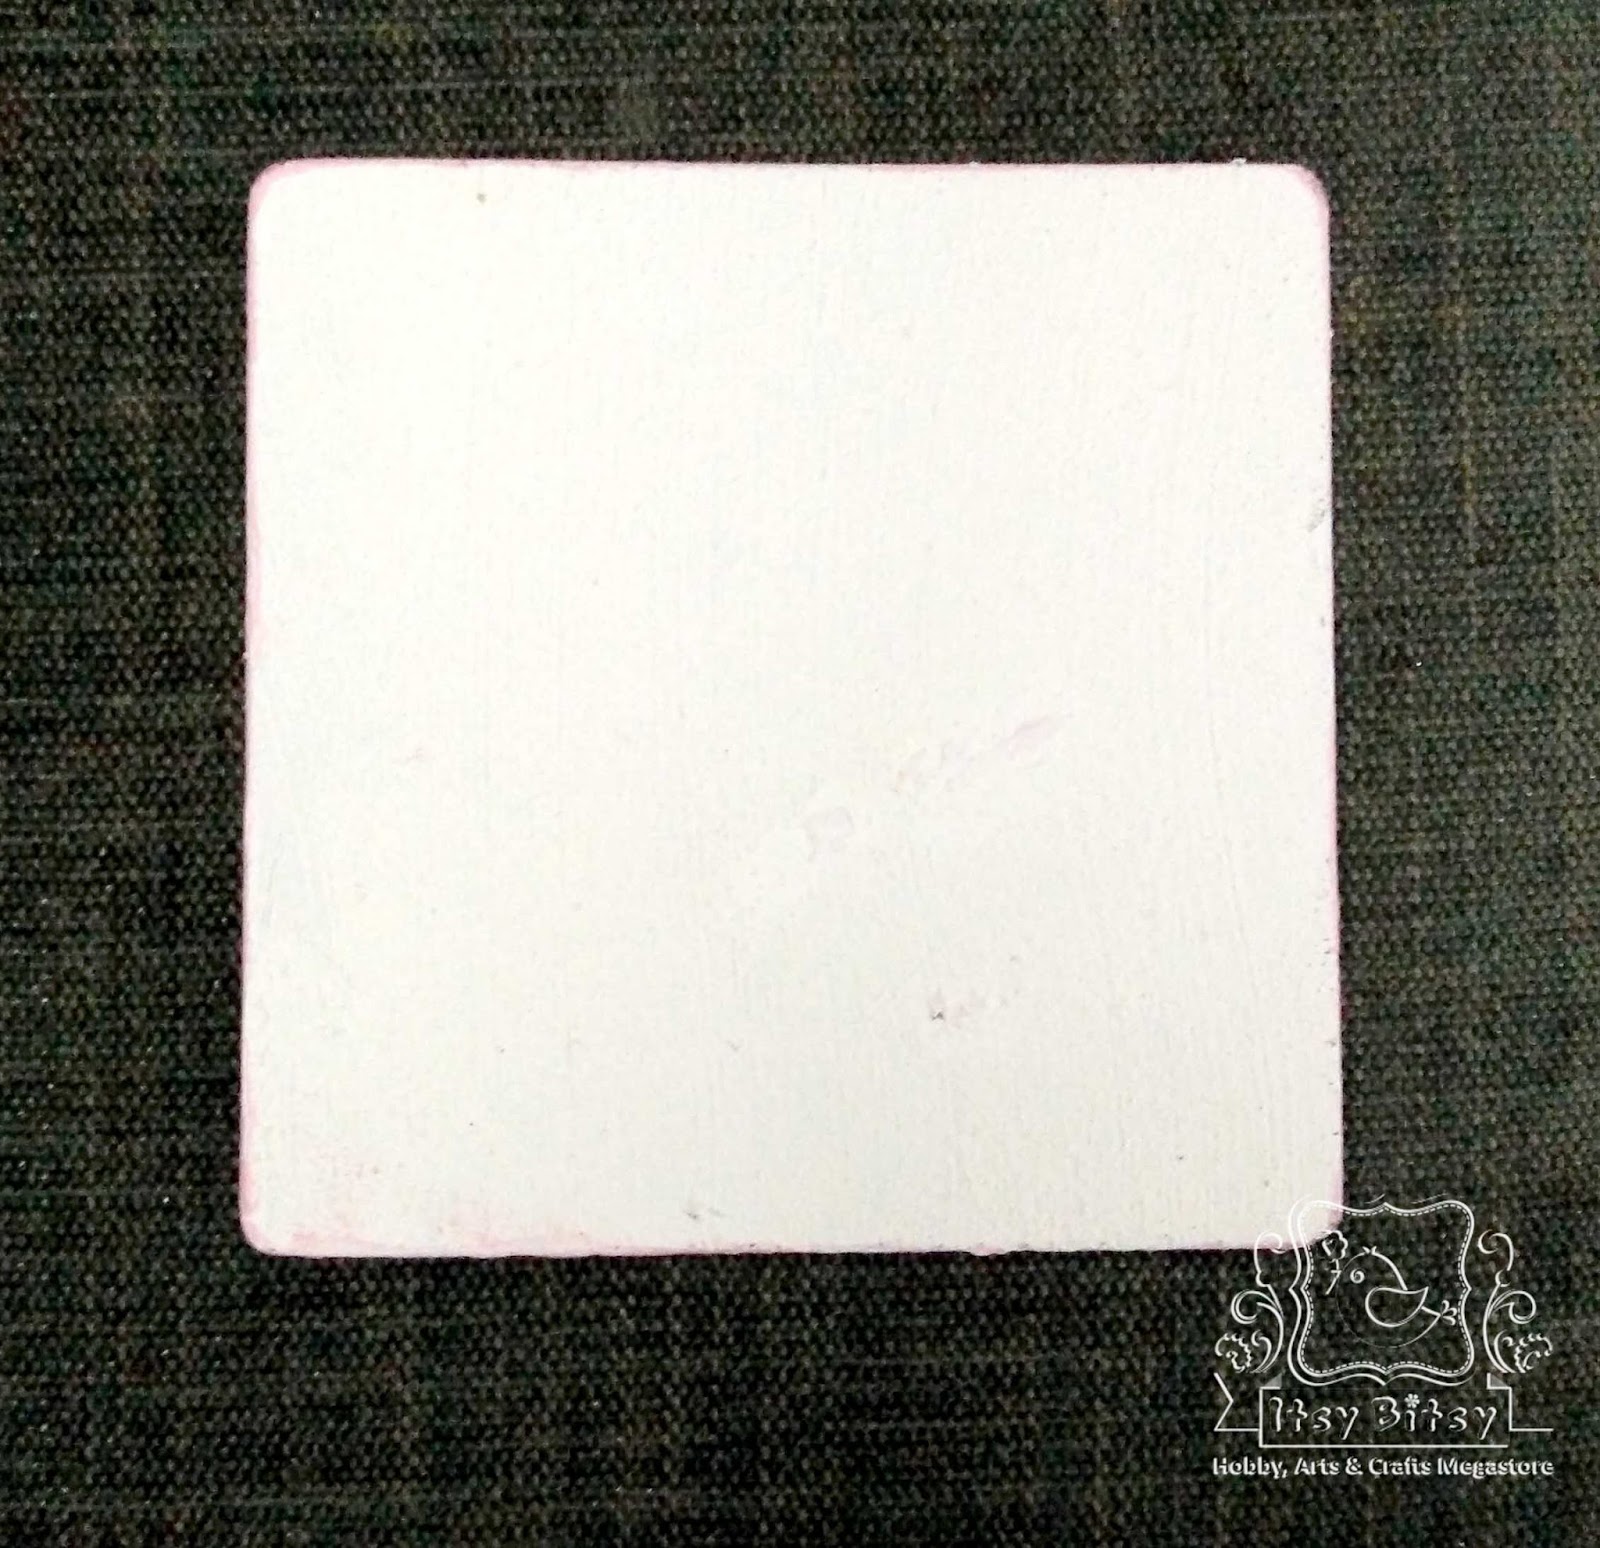
2. Then give a generous coat of white gesso using a wash brush. Let this coat dry well (for about 4 hrs) and then give a second coat of white gesso, this time using the sponge daubers.
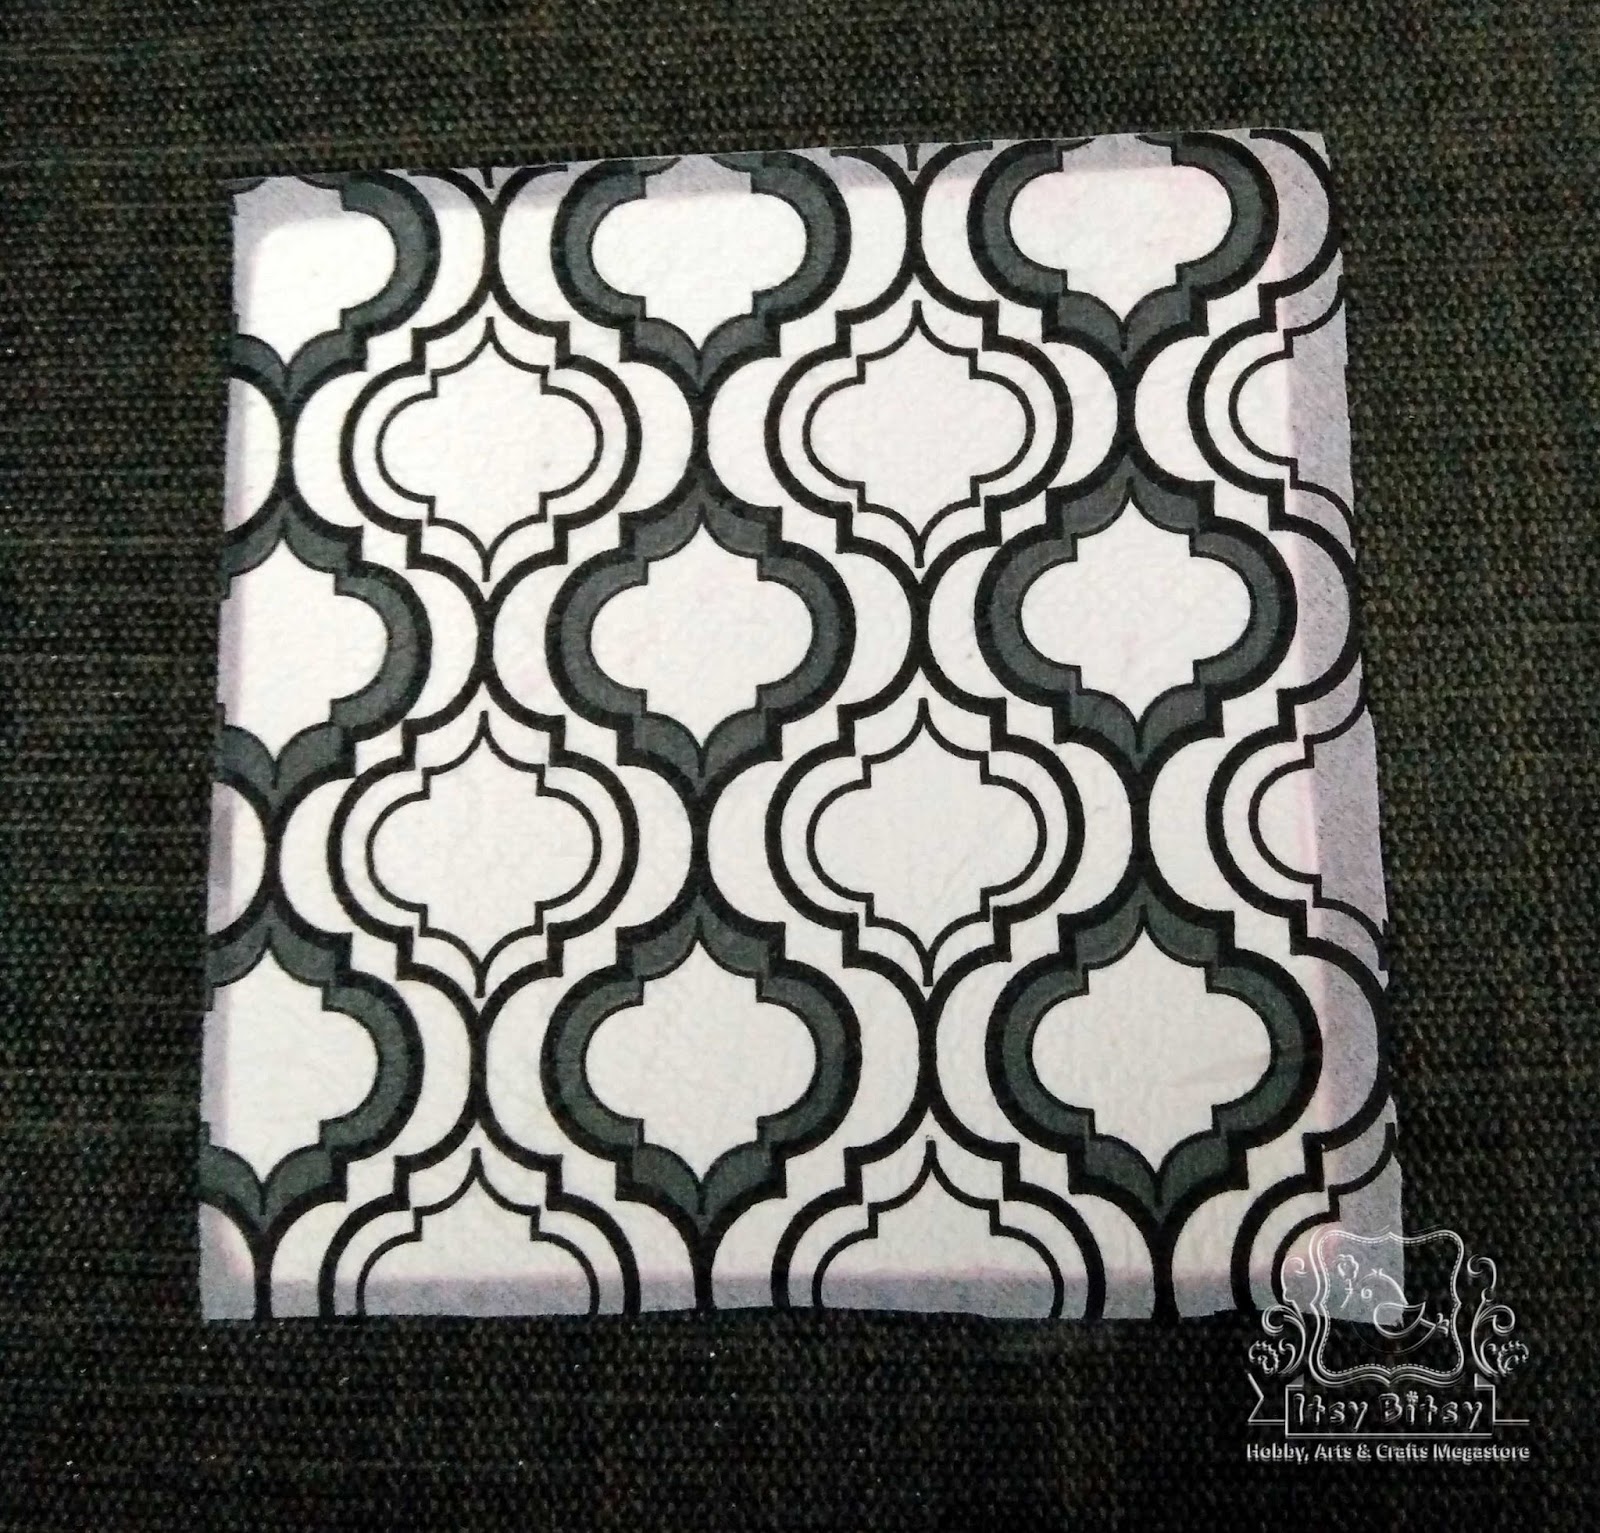
3. Next step is to select the Decoupage Napkins. I will be using Oriental Art.
4. To give a soothing contrast, I will paint the sides and the bottom of the coasters with baby pink gesso using sponge daubers. To make baby pink gesso, mix white gesso and Pearlised metallic paint - Carnation Pink.

5. Next is to get the Decoupage napkin ready. Cut it slightly bigger than the required size from all sides. These napkins usually come as 2 ply or 3 ply. For decoupage we just need the top most printed ply. So once cut to size, peel off the unwanted ply.


6. Next apply a coat of Decoupage Glue - Matt to the top side of the coaster using a flat brush. Make sure the glue is applied well at the edges & corners.

8. Now again apply a coat of decoupage glue, this time generously and carefully not tearing off the napkin. Let this dry overnight.

9. The next day once the glue is dry tear off the extra napkins at the edges using the sand paper. Now the coasters are ready for final touch of resin.
10. Using Silicon glue stick flat pearls(used from my stash) around the edge. Then wrap washi tape around the sides of the coaster. this will stop the resin from flowing down the edges.

11. While the silicon glue is drying lets prepare the Resin. I have used the fantastic transparent Craft Resin. The Itsy Bitsy's resin & hardener pack should be used in a 1:1 proportion.
I always prefer using disposable glasses to measure the resin & hardener and mix then in a disposable container. Use a popsicle to prepare the mixture. You can either prepare the mixture for 1 coaster at a time or all together. If all together the make sure you are quick enough to pour it.


12. Gently mix the resin & hardener using a Popsicle stick. This will prevent forming of air bubbles. Now using a disposable spoon start pouring the resin equally on all the coasters and spread it to the edges using the stick.

As visible here the coasters are placed elevated so any resin flowing out will not make coasters stick to the bottom.

Don't worry about any air bubbles formed while pouring the resin. They will eventually burst.
Let the resin cure overnight.
Tadaa....
The coasters are ready.

See the clarity...

Check the glaze...

Finally paint the edges with Carnation pink.
Serving Tray
Repeat step 1 & 2.
3. For the serving tray I will be using Vintage Roses decoupage napkin.
4. To give a soothing contrast, I will paint the sides (in & out) and the bottom of the the tray with baby pink gesso using sponge daubers. To make baby pink gesso, mix white gesso and Pearlised metallic paint - Carnation Pink.

To protect the bottom white from staining, cover the sides using 1 inch masking tape. Once the colour dries remove the tapes.
5. For the serving tray I'm using a different technique of decoupage. Apply a generous coat of Decoupage glue - Matt and let it dry. Once completely dry, apply second coat. Second coat will help cover up any spots missed in the first coat or glue. Again let it dry, this time overnight.
6. Now cut the exact size of the napkin unlike the coasters. Lay it within the serving tray and using wet sponge (just wet, not dripping water) gently press the napkin to the base. Decoupage glue being PVA glue reactivates when in contact with water and turns sticky. This will help the napkin to stick to the base. Let this complete dry

7. After the napkin is dry apply a generous coat of Decoupage glue and let it dry overnight.
8. The next day, once the glue is dry start preparing the resin & hardener mixture same way as shown above. Pour it directly and by tilting the tray spread it across the base. Let it cure overnight.


Look at the glaze and clarity after the resin cures.
9. For the outer side I will be using Cake decorating stencil - Flourishes and modelling paste. I mixed Pearlised metallic paint - Mint to the modelling paste and using palette knife stenciled it on the tray. Let it air dry for around 4 hrs.


To give a final touch paint the top edge & handle holes with Pearlised metallic paint - Mint.
Tadaa....
The serving tray is ready...

Few things to keep in mind while working with Resin
1. Prefer to use disposable measuring cups, containers & spoons.
2. For every mix prepared use new containers.
3. Prefer to wear disposable gloves will working.
4. Always read the instructions and ratio before preparing. Every manufacturer has different Resin : Hardener Ration. For Itsy Bitsy Resin it is 1:1.
5. If you have resin on your hands, then wash it with Utensils Detergent Cake. Use the detergent generously.
6. While drying the resin make sure the article lays absolutely flat. A slight tilt with make the resin flow that side and dry tilt.
7. While drying the resin prefer to keep the article in a place dust free otherwise a layer of dust will lay over resin and kill the clarity.
8. Lastly by any chance if u find fumes & bubbles forming or resin getting too much heated, pls dont use it. Either the propertion is wrong or the product is too old.
The serving tray and coasters made can be cleaned using wet cloth but not under running water.
And the Final look...

I hope after this post you too will be addicted to Decoupage...
Happy Decoupaging!!!
Supplies Used:
3. White gesso
7. Decoupage Napkin - Vintage Roses
8. Decoupage Napkin - Oriental Art
12. Palette knife
14. Silicon glue
15. Washi tape
16. Flat brush.
17. Wash brush
18. Sponge daubers


