Showing posts with label Brush. Show all posts

Thursday, June 15, 2017

Crafter in The Spotlight 54 - Itsy Bitsy


Hello arty-crafty folks,

Thursday is here again and it’s time for me to introduce you to yet another talented crafter to our wonderful crafting group. This week the lime light is on Sindhu Manokaran from Tamil Nadu, who has made Bangalore her current home town.

Sindhu has been fond of crafting from her very childhood. Her interest in crafting field is quite extensive as she enjoys multiple creative approaches starting from painting, thread work, clay art, rangoli, paper crafting, to many others.


How did Sindhu get into crafting, what inspires her, what are her tips for fellow crafters, her favourite quote, how would she contribute to the crafting world if she had magical powers? Read answers to all these questions, discover more about her interesting journey and catch a glimpse of a step by step project by Sindhu in this interview. Don't forget to leave your comments for her.


Rashmi Closepet, MD, Itsy Bitsy: Tell us a bit about yourself & your background?
Sindhu Manokaran: I am so happy to be featured in “Crafter in the Spotlight”.  I extend my heartfelt thanks to Rashmi, Anitha and the entire Itsy Bitsy team. I am Sindhu from Tamil Nadu, currently living in Bangalore. I hold a master degree in Information Technology and am a stay at home mother for two lovely kids. My family supports my crafting passion.

RC:   How did you get into crafting?
SM: I love crafting from my childhood. I enjoy making flowers, painting, crochet, embroidery, clay art, rangoli and sewing. I always want to learn crafts which fascinate me. Five years back when I was doing my son's school project, I came to know about paper punches and I got interested in paper crafting.

RC: What is your favourite type of craft?
SM: Flower making, recycling and interactive cards are my current favourite crafts.

RC:   What are your favourite products at Itsy Bitsy?
SM: Two years back, when we shifted to Bangalore, the first place we visited was new BEL road, Itsy Bitsy. Handmade papers, foam sheets, stamps, dies, embossing folders, chalk paints and embellishments are my favourite products at Itsy Bitsy.

RC: If you had magical powers, how would you contribute to the crafting world?
SM: If I have magical powers, I will open craft library in all places, so that everyone can access all the craft tutorials and supplies to their hearts content.

RC:   Your prized possession in your craft stash from Itsy Bitsy?
SM: More than 70% of my craft supplies are from Itsy Bitsy only!! I love their handmade papers, dies and embossing folders.

RC:   How would you describe your style of crafting?
SM: For me, there is no specific style. I just do what comes to my mind at that time.

RC: How do you organize your time for crafting?
SM: There is no specific time for me for crafting. As my kids too love crafting, I can craft whenever I feel.

RC: Tips for people who want to craft.
SM: Please don't hesitate to start crafting because of limited supplies. Just start doing. Once you start, the ideas will flow and with the limited supplies you can create wonders.

RC: Your all -time favourite quote? 

SM: "Do what you Love. Love what you do" That’s what I am doing …. ‘Crafting’!!


Here is a gorgeous project by  Sindhu  & step by step procedure:


Materials required for this altered cup are stencil,chalk paints,Silicon glue, few embellishments and a cup.


Step 1: I took a clean ceramic cup and applied Lemon Chiffon chalk paint to it.


 Step 2:I gently dabbed the Lemon Chiffon chalk paint with a brush.


Step 3 :Thereafter I used the brick stencil for stenciling and used Sailing Sky chalk paint this time to get that pretty yellow and blue look!


Step 4: I stenciled it at equal intervals to maintain uniformity.


Step 5: The base is ready. Now it's time to embellish. This is the best part...and I enjoyed it thoroughly. I put a few strands of ribbon around the cup and stuck them with silicon glue.


Step 6 :I distressed the die cut with peacock feather distress ink.To match the back ground I painted white flower with matching chalk paint. I added the sentiment from Live Laugh Love stamp set and finished it with some pearls.


Here are a couple of  Sindhu's other awesome creations:


Many congrats Sindhu for being the CRAFTER IN THE SPOTLIGHT – ITSY BITSY!!


You will receive Rs.500/- Itsy Bitsy gift voucher ðŸ˜ŠðŸ˜Š & a Crafter in the Spotlight badge, which can be proudly displayed on the side bar of your blog and other platforms. Looking forward to many more creations, Happy Crafting!

Thursday, April 20, 2017

Crafter in The Spotlight 46 - Itsy Bitsy


Thursday is here again. It’s time to introduce our ‘Crafter in the Spotlight’. This week the focus is on Akanksha Sharma from the Pink city, Jaipur but now she lives in Bangalore.  The relation between Akanksha and craft goes a long way. The colourful handicrafts of Rajasthan were her first attraction towards craft and later in life she chose to pursue craft as a career.

Like most crafters Akanksha likes experimenting with different kinds of craft. Playing around with clay and making new things is one of her favourites.

How did Akanksha get into crafting, what inspires her, what are her tips for fellow crafters, her favourite quote, how would she contribute to the crafting world if she had magical powers? Read answers to all these questions, discover more about her interesting journey and catch a glimpse of a step by step project by Akanksha in this interview. Don't forget to leave your comments for her.


Rashmi Closepet, MD, Itsy Bitsy: Tell us a bit about yourself & your background?
Akanksha Sharma: Hi, I am Akanksha. I am born and brought up in Jaipur. Now, I live in Bangalore with my husband. I am an engineer but I have always been interested in art and craft. After finishing my engineering, I started working in an IT firm but my heart remained with art. After trying hard to juggle my time between work and hobby for five years, I decided to pursue craft as a career. I am now running a small venture of making hand crafted goodies.

RC:How did you get into crafting?
AS:Growing up in Rajasthan, I used to find myself attracted to the colorful handicraft that I saw everywhere around me. I think that is where the fascination started. I started sketching and coloring in school and used to love the art class as a kid. In my school days, I participated in many competitions and loved playing with colors and got great satisfaction when people liked my craft. This became a lifelong passion. I started finding it difficult to grab time for this passion when I started working. I finally decided to take up craft as a career in May 2016.

RC:What is your favorite type of craft?
AS:I have fallen in love with clay modeling these days. I like making fridge magnets,name plates, photo frames and décor items with clay. I also love glass painting and decoupage.I always try to combine these elements together to create something unique.

RC:What are your favorite products at Itsy Bitsy?
AS:I love jute twine, burlap, handmade paper, polymer clay, flower embellishments and decoupage napkins that I can find at Itsy Bitsy. I also love the sculpting tools that are so difficult to find elsewhere.

RC:If you had magic powers, how would you contribute to the Crafting world?
AS:I think every crafter already has magic powers in his/her hands and creativity. We can contribute by learning and sharing our knowledge.

RC: Your prized possession in your craft stash from Itsy Bitsy?
AS: Handmade jute sheets and sculpting tools.

RC:How would you describe your style of crafting?
AS: I tend to like colorful stuff. My style is experimental. I like to try and learn new things by experimenting.

RC: How do you organize your time for crafting?
AS:I spend most of my time crafting and try to manage all my other responsibilities around it.

RC:Tips for people who want to craft
AS:You should put your heart into it without any inhibitions or fear. It is also important to share this passion with others as the appreciation acts as a huge motivation. Today, we can find lots of videos and blogs that help us learn. It is very important to find time for something you love and to keep doing it.

RC:Your all -time favourite quote?

AS:Be yourself, but your best self.

Here is a gorgeous project by Akanksha & step by step procedure:

Travel Themed Name Plate


Materials Required:

-         For Base: Wooden plank- MDF( 6 inches X 12 inches), Decoupage Glue (Mod Podge), Decoupage Brush, Decoupage Paper/ napkin, Sand paper

-         For Embellishments- Polymer Clay, Oil Paint, Acrylic Paint


Instructions:

For base:


1. Prepare surface: Make sure the MDF surface and free of dust to get a smooth finish.
2. Select the Decoupage Paper according to the theme.

3. Glue the paper using Mod Podge and sponge brush, smooth out any wrinkles and wipe away any excess glue.

For Embellishments:
Select the embellishments you want to make, based on your theme.


1.  Mix oil paint of different colors with clay balls.
2.   Use clay balls of different colours, sculpting tools and your creative mind to make the embellishments- Figurines, Taj Mahal, Camera, Burger, Chocolates, Books, Wine Glasses, Singapore Lion
3.   Use acrylic paints, dotting and sculpting tools for finish.
4.   Bake the embellishments as per instructions on polymer clay packet.


5.   Stick them on the base using Fevicol as per required design .
6.   Write the names with air dry clay.
7.   Let it dry and paint the letters with acrylic colours.
8.   Varnish the name plate once and dry again. Varnish adds gloss and also enhances life of the creation.


You are done! Happy Crafting!

Here are a couple of  Akanksha's other awesome creations:

1  Wall decor made with canvas board, air dry clay, polymer clay, oil colours, acrylic colours, clay modelling tools, paint brushes


Photo frame made with MDF base, guitar magnet, handmade flower, polymer clay, colours, jute sheets, twine, glass liner for message and more.


Nameplate made with MDF base, air dry clay, polymer clay, oil colours, acrylic colours, clay modelling tools, paint brushes.


Baby photo frame made with handmade yellow sheet, baby clay embellishments, polymer clay, clay modelling tools, paint brushes.


Many congrats Akanksha for being the CRAFTER IN THE SPOTLIGHT – ITSY BITSY!!


You will receive Rs.500/- Itsy Bitsy gift voucher ðŸ˜ŠðŸ˜Š & a Crafter in the Spotlight badge, which can be proudly displayed on the side bar of your blog and other platforms. Looking forward to many more creations, Happy Crafting!

Saturday, November 26, 2016

Decoupage & Resin

Hi friends, Gopi here after a long time. Hope u guys are doing great...
These days I'm super addicted to decoupage. Decoupage not only helps to create beautiful home decor items but is also useful to re-cycle old items likes vases, furniture, crockery, etc.
Today I'll be showing you how to decoupage wooden articles and then sealing & giving a final touch to it using Craft Resin.

Let's get started...

I will be using Wooden decorable coasters & serving tray.

Coasters

1. To start with, sand the coasters using a fine sand paper (readily available at any local paint store) to smooth the surface and edges.
2. Then give a generous coat of white gesso using a wash brush. Let this coat dry well (for about 4 hrs) and then give a second coat of white gesso, this time using the sponge daubers.


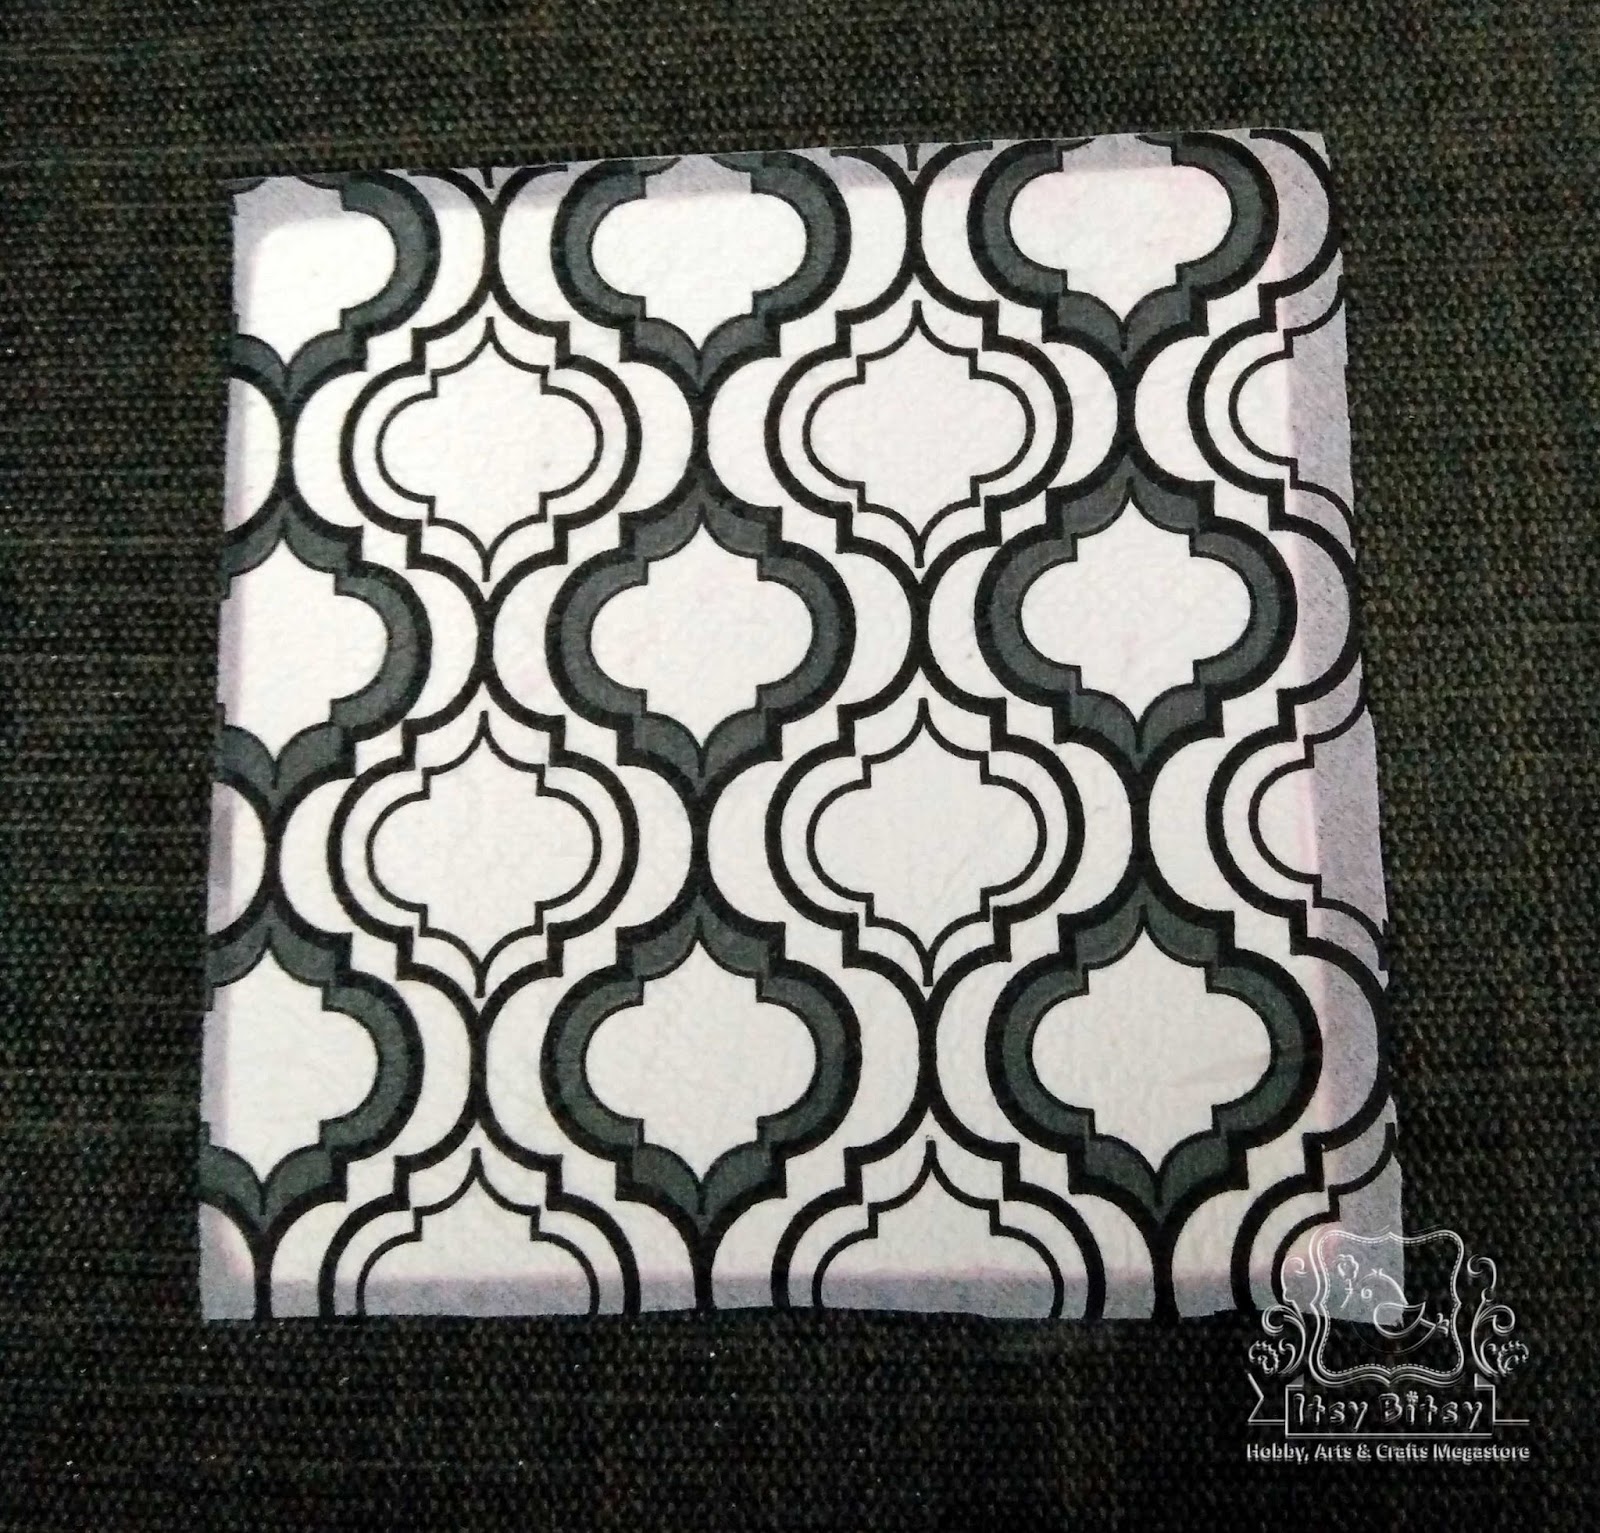
3. Next step is to select the Decoupage Napkins. I will be using Oriental Art.
4. To give a soothing contrast, I will paint the sides and the bottom of the coasters with baby pink gesso using sponge daubers. To make baby pink gesso, mix white gesso and Pearlised metallic paint - Carnation Pink. 


5. Next is to get the Decoupage napkin ready. Cut it slightly bigger than the required size from all sides. These napkins usually come as 2 ply or 3 ply. For decoupage we just need the top most printed ply. So once cut to size, peel off the unwanted ply.


6. Next apply a coat of Decoupage Glue - Matt to the top side of the coaster using a flat brush. Make sure the glue is applied well at the edges & corners.


7. While the glue is still wet carefully lay the napkin making sure no air bubbles are formed inside.


8. Now again apply a coat of decoupage glue, this time generously and carefully not tearing off the napkin. Let this dry overnight.


9. The next day once the glue is dry tear off the extra napkins at the edges using the sand paper. Now the coasters are ready for final touch of resin.

10. Using Silicon glue stick flat pearls(used from my stash) around the edge. Then wrap washi tape around the sides of the coaster. this will stop the resin from flowing down the edges.


11. While the silicon glue is drying lets prepare the Resin. I have used the fantastic transparent Craft Resin. The Itsy Bitsy's resin & hardener pack should be used in a 1:1 proportion.
I always prefer using disposable glasses to measure the resin & hardener and mix then in a disposable container. Use a popsicle to prepare the mixture. You can either prepare the mixture for 1 coaster at a time or all together. If all together the make sure you are quick enough to pour it.


12. Gently mix the resin & hardener using a Popsicle stick. This will prevent forming of air bubbles. Now using a disposable spoon start pouring the resin equally on all the coasters and spread it to the edges using the stick.


As visible here the coasters are placed elevated so any resin flowing out will not make coasters stick to the bottom.


Don't worry about any air bubbles formed while pouring the resin. They will eventually burst.
Let the resin cure overnight. 
Tadaa....
The coasters are ready.


See the clarity...


Check the glaze...


Finally paint the edges with Carnation pink.

Serving Tray

Repeat step 1 & 2.

3. For the serving tray I will be using Vintage Roses decoupage napkin.
4. To give a soothing contrast, I will paint the sides (in & out) and the bottom of the the tray with baby pink gesso using sponge daubers. To make baby pink gesso, mix white gesso and Pearlised metallic paint - Carnation Pink.


To protect the bottom white from staining, cover the sides using 1 inch masking tape. Once the colour dries remove the tapes.

5. For the serving tray I'm using a different technique of decoupage. Apply a generous coat of Decoupage glue - Matt and let it dry. Once completely dry, apply second coat. Second coat will help cover up any spots missed in the first coat or glue. Again let it dry, this time overnight.

6. Now cut the exact size of the napkin unlike the coasters. Lay it within the serving tray and using wet sponge (just wet, not dripping water) gently press the napkin to the base. Decoupage glue being PVA glue reactivates when in contact with water and turns sticky. This will help the napkin to stick to the base. Let this complete dry


7. After the napkin is dry apply a generous coat of Decoupage glue and let it dry overnight. 
8. The next day, once the glue is dry start preparing the resin & hardener mixture same way as shown above. Pour it directly and by tilting the tray spread it across the base. Let it cure overnight.


Look at the glaze and clarity after the resin cures.

9. For the outer side I will be using Cake decorating stencil - Flourishes and modelling paste. I mixed Pearlised metallic paint - Mint to the modelling paste and using palette knife stenciled it on the tray. Let it air dry for around 4 hrs.


 To give a final touch paint the top edge & handle holes with Pearlised metallic paint - Mint.

Tadaa....
The serving tray is ready...


Few things to keep in mind while working with Resin

1. Prefer to use disposable measuring cups, containers & spoons.
2. For every mix prepared use new containers.
3. Prefer to wear disposable gloves will working.
4. Always read the instructions and ratio before preparing. Every manufacturer has different Resin : Hardener Ration. For Itsy Bitsy Resin it is 1:1.
5. If you have resin on your hands, then wash it with Utensils Detergent Cake. Use the detergent generously.
6. While drying the resin make sure the article lays absolutely flat. A slight tilt with make the resin flow that side and dry tilt.
7. While drying the resin prefer to keep the article in a place dust free otherwise a layer of dust will lay over resin and kill the clarity.
8. Lastly by any chance if u find fumes & bubbles forming or resin getting too much heated, pls dont use it. Either the propertion is wrong or the product is too old.

The serving tray and coasters made can be cleaned using wet cloth but not under running water.

And the Final look...


I hope after this post you too will be addicted to Decoupage...

Happy Decoupaging!!!

Supplies Used:

7. Decoupage Napkin -  Vintage Roses
8. Decoupage Napkin - Oriental Art
16. Flat brush.

Monday, December 21, 2015

Finger Puppet Santa

Hi Folks!! Welcome to another tutorial which is based on Christmas theme. This December let us celebrate the magical season with Christmas crafts. Enjoy and have fun making this cute finger puppet Santa as part of "CRAFTY COUNTDOWN TO CHRISTMAS".

Materials required:
Felt sheet (red & white)
White cardstock
Thermocol ball
Silicon glue
Brush
White & red pompom/cotton
Needle & thread
Color
Flower stem
Black crystal

Method:
Step 1 – Take a thermocol ball & color it with the help of Itsy Bitsy brush & color
Step 2 – Take a white cardstock, roll it & glue the edges

Step 3 – Roll a red felt sheet over it & glue the edges (to make the body). Glue another sheet as Santa’s coat. (Optional)
Step 4 – Cut 2 white felt sheets (as shown on the image) & glue it to the body (one at top & another in the middle of the body)

Step 5 - Glue the thermocol ball (as head) to the top of the body
Step 6 – Glue the red pompom or cotton (as nose), white felt (as moustache) & black crystal (as eyes)
Step 7 – Glue the beard (spread out the white pompom)
Step 8 - Cut a red felt sheet (as shown on the image) & stitch the edges to resemble Santa’s cap
Step 9 – Insert a flower stem to it
Step 10 - – Cut a white felt sheet (as shown on the image) & glue it to the cap

Step 11 – Glue a white pompom to the top with the help of Itsy Bitsy glue. The cap can be bent with the of the wire
Step 12 – Put the cap to the body. The wire is pierced into the head to keep the cap in place

The finger puppet Santa is ready. This can be a great decoration on the eve of Christmas. You can make plenty of these and decorate your room. You can hang it on the Christmas tree too. Let us know what you thought of this tutorial. J

Link to supplies –