Showing posts with label washi tape. Show all posts

Monday, January 16, 2017

DIY Geometric lampshade

DIY Geometric lampshade using foam boards 


Hello this is Angela and I am glad to be on board at Itsy Bitsy as a DT member. I have to admit that my crafting journey started with supplies from Itsy Bitsy and I cannot help but recommend Itsy Bitsy store to anyone who asks for help with art & craft supplies. I love trying different crafts especially DIY's in minimalist forms and I always make sure I share a tutorial along with all the details so that you can try them out.

Today's tutorial is a DIY geometric lampshade, perfect for the kids nursery or your crafting table. Doesn't something handmade make you feel proud? Let's jump right to the tutorial but before that a few things about foam boards.

How to work with Foam Board :

  • Foam boards are usually about 0.5 cm thick. These do not break as such but when bent, develop creases which are permanent. They come is storeable sizes but be careful about the corners.
  • These boards are somewhat similar to thermocol boards but thankfully do not crumble into smaller pieces while cutting, that's a big plus point.
  • The best way to cut them out in desirable shapes is to use a sharp paper knife. Instead of digging the knife all the way till bottom and then trying to drag it along the line, I would recommend you to cut them out layer by layer by moving the knife across the line multiple times in the same direction. I had a few pieces which dragged while cutting out and hence has staggered edges. However, the ones I cut layer by layer came out with super smooth edge finish.
  • These boards are sensitive to paints, so be sure to use only acrylic/fabric paints. I painted them with spray paint and top layer melted off!
  • Normal glue does not stick the sheets together so a better option will be double sided tacky tapes or even silicon glue.
  • Foam boards are neither as fragile as thermocol sheets nor do they become soft like cardboards during the rainy season.
  • They are the best bet for creating 3D models for school projects and also DIYs for home.

Tutorial for making Geometric lampshades with foam boards: 


Coming back to the tutorial; these lampshades are super easy to make but calls for a little bit of patience! Links to all the supplies used are tagged at the end of this post so go ahead and try your hands on making these lampshades.

First you need to cut out isosceles triangles from these foam boards which later on needs to be arranged into the lampshade. I made two lampshades of two different dimensions. I made them out of two foam boards. The smaller shade was crafted with 8 cm triangles and the larger one with 14 cm triangles. To draw an isosceles triangle, draw a line of 14 cm, at both end points, using a protractor mark angle 60 degree and draw line to intersect into a triangle.


Next, you need to cut them out carefully. As I mentioned, keep a ruler and draw lines with your knife one over the other till the foam board is completely cut. Cut out 15 such triangles for one lampshade.

Next you need to choose the color scheme for your lampshade and how they should be arranged. Both my lampshades are different in color arrangement. My personal favorite is the smaller one.

I painted one side of the triangles with Camlin acrylic colors in cadmium green pale shade  & turquoise deep and once they were dry, I spray painted the other side with gold. But as I told you, too much spray paint kind of melted the board surface as you can see from the pic.


Arrange the triangles as shown the picture below or in any color combination as you like. Next, fix these triangle side by side by using tape at the back.( Be sure of the counts of triangles as given in the picture below - 5 triangles in layer one, another 5 triangles upside down in layer two and last layer of 5 triangles in between)


Since the foam board was not taking glue well,what I did was I used double sided tacky tape and covered them with a matching gold stripes washi tape. This is how the backside will look.

The final part is a little tricky. Help from a second person might prove advantageous for holding the lamp while you stick the dome part. Each of the triangle at the top line needs to be stuck side by side carefully.

Once all the triangles are fixed side by side, your lampshade is ready! A final touch-up on any areas that missed paints can be done right now. Add your light bulb to the lampshade ( since the triangles are stuck together with washi tape, a small hole at the top dome will allow the cable pass through.)

A few more pictures of the finished lampshade before I hang them next to my crafting table :)


Supplies used : 

Foam boards
Red tacky tape
Gold washi tape
Camlin artist acrylic color Cadmium Green pale
Camlin artist acrylic color Turquoise deep
Gold spray paint 


Wednesday, December 21, 2016

Christmas Easel Card

Hello Crafty Friends!
Its that time of the year  so festive & so fun! Sharing a Christmas Easel Card made using the adorable Christmas Pack.


Absolutely loving the coordination between the different patterns in this stack. The focal point in this card is the doily front embellished with the new Christmas chipboard embellishments & glitter stickers! The amazing Christmas range of embellishments, washis & papers made this card so much fun to make. 


Here are some more pictures


Remember you still have sometime to join the final challenge of the year, hop here for details.

Supplies used  

Saturday, November 26, 2016

Decoupage & Resin

Hi friends, Gopi here after a long time. Hope u guys are doing great...
These days I'm super addicted to decoupage. Decoupage not only helps to create beautiful home decor items but is also useful to re-cycle old items likes vases, furniture, crockery, etc.
Today I'll be showing you how to decoupage wooden articles and then sealing & giving a final touch to it using Craft Resin.

Let's get started...

I will be using Wooden decorable coasters & serving tray.

Coasters

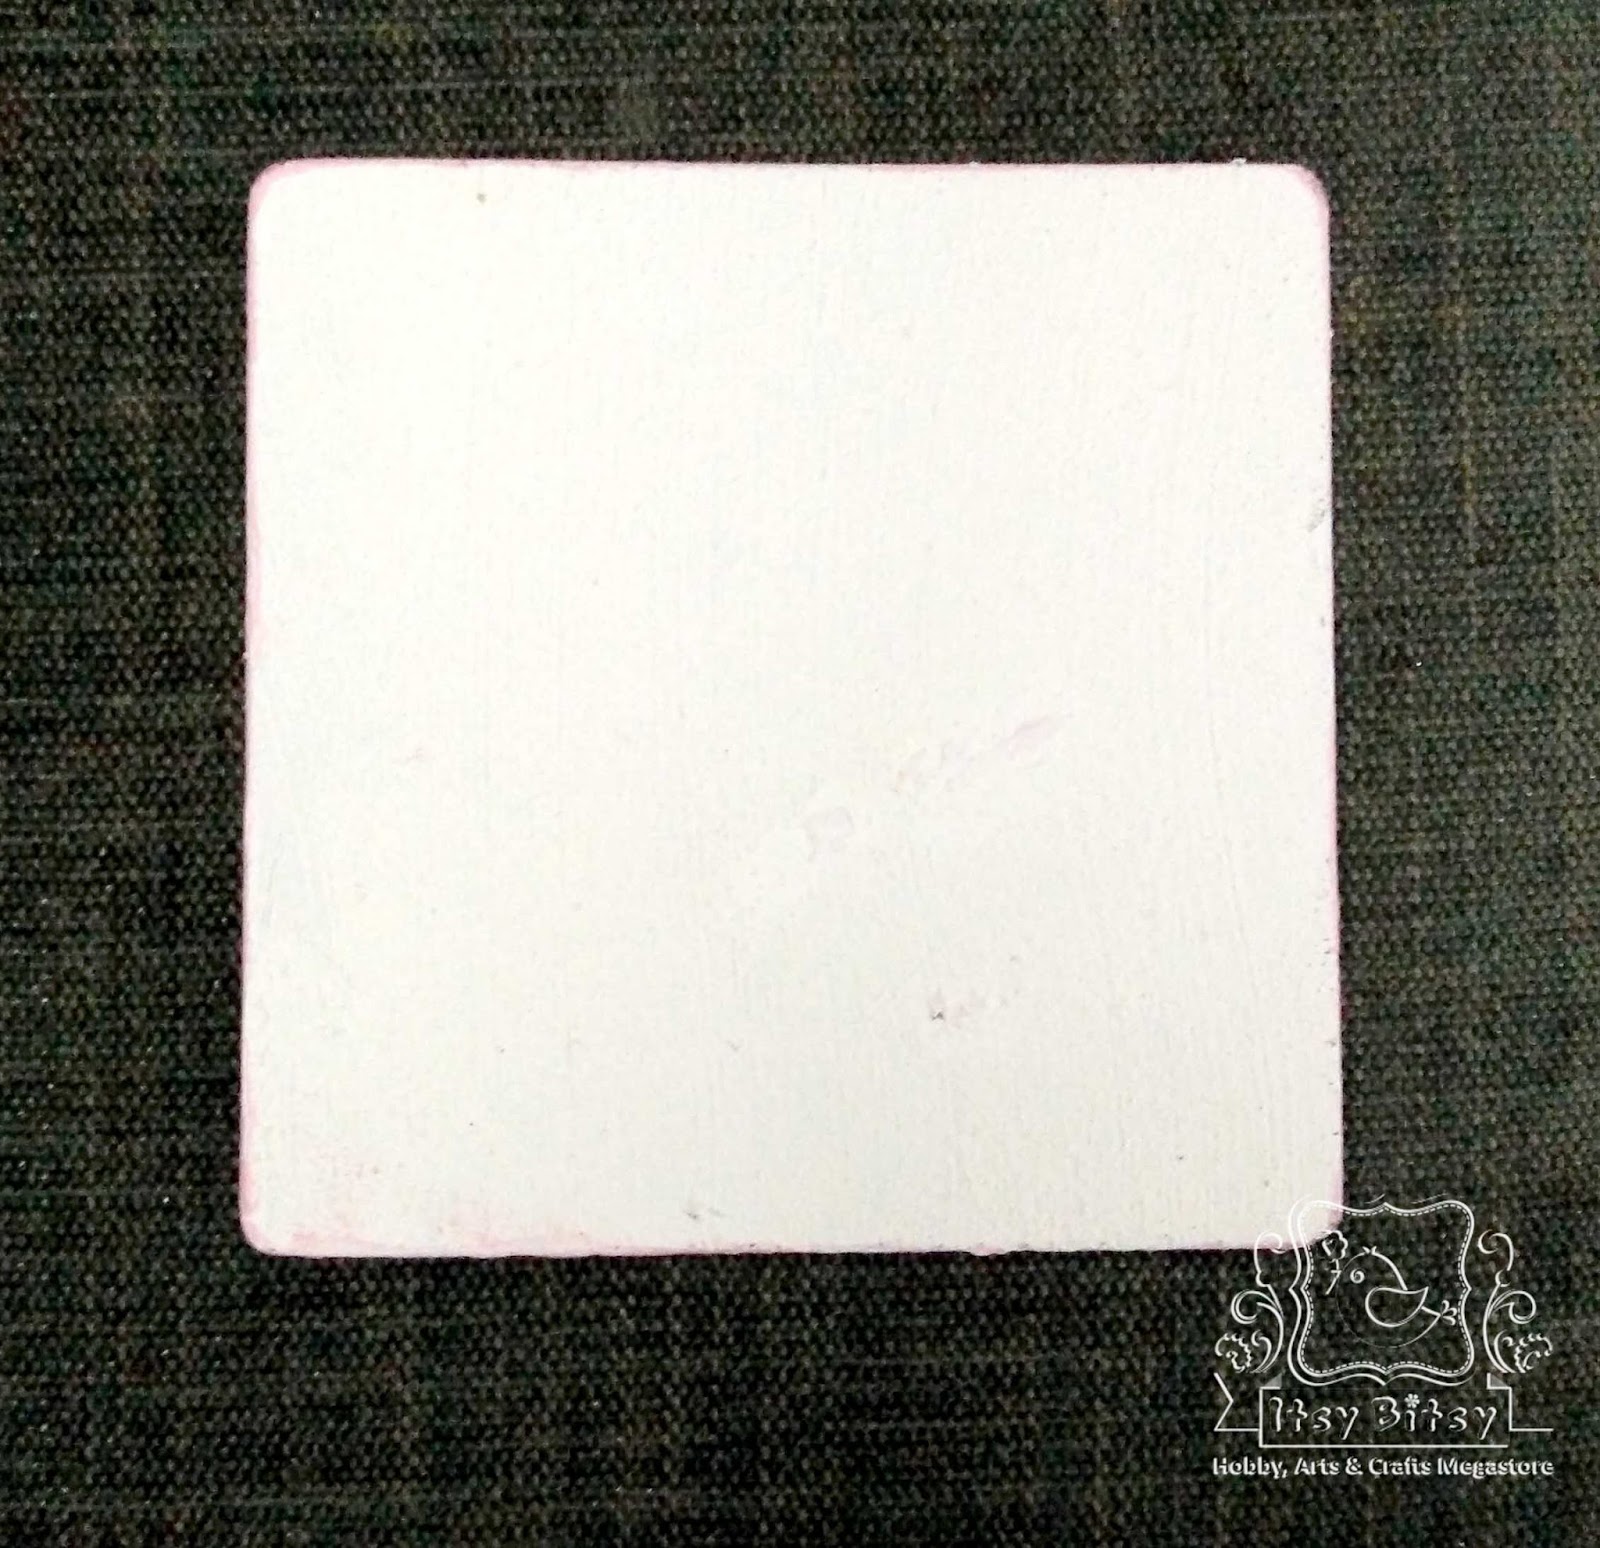
1. To start with, sand the coasters using a fine sand paper (readily available at any local paint store) to smooth the surface and edges.
2. Then give a generous coat of white gesso using a wash brush. Let this coat dry well (for about 4 hrs) and then give a second coat of white gesso, this time using the sponge daubers.


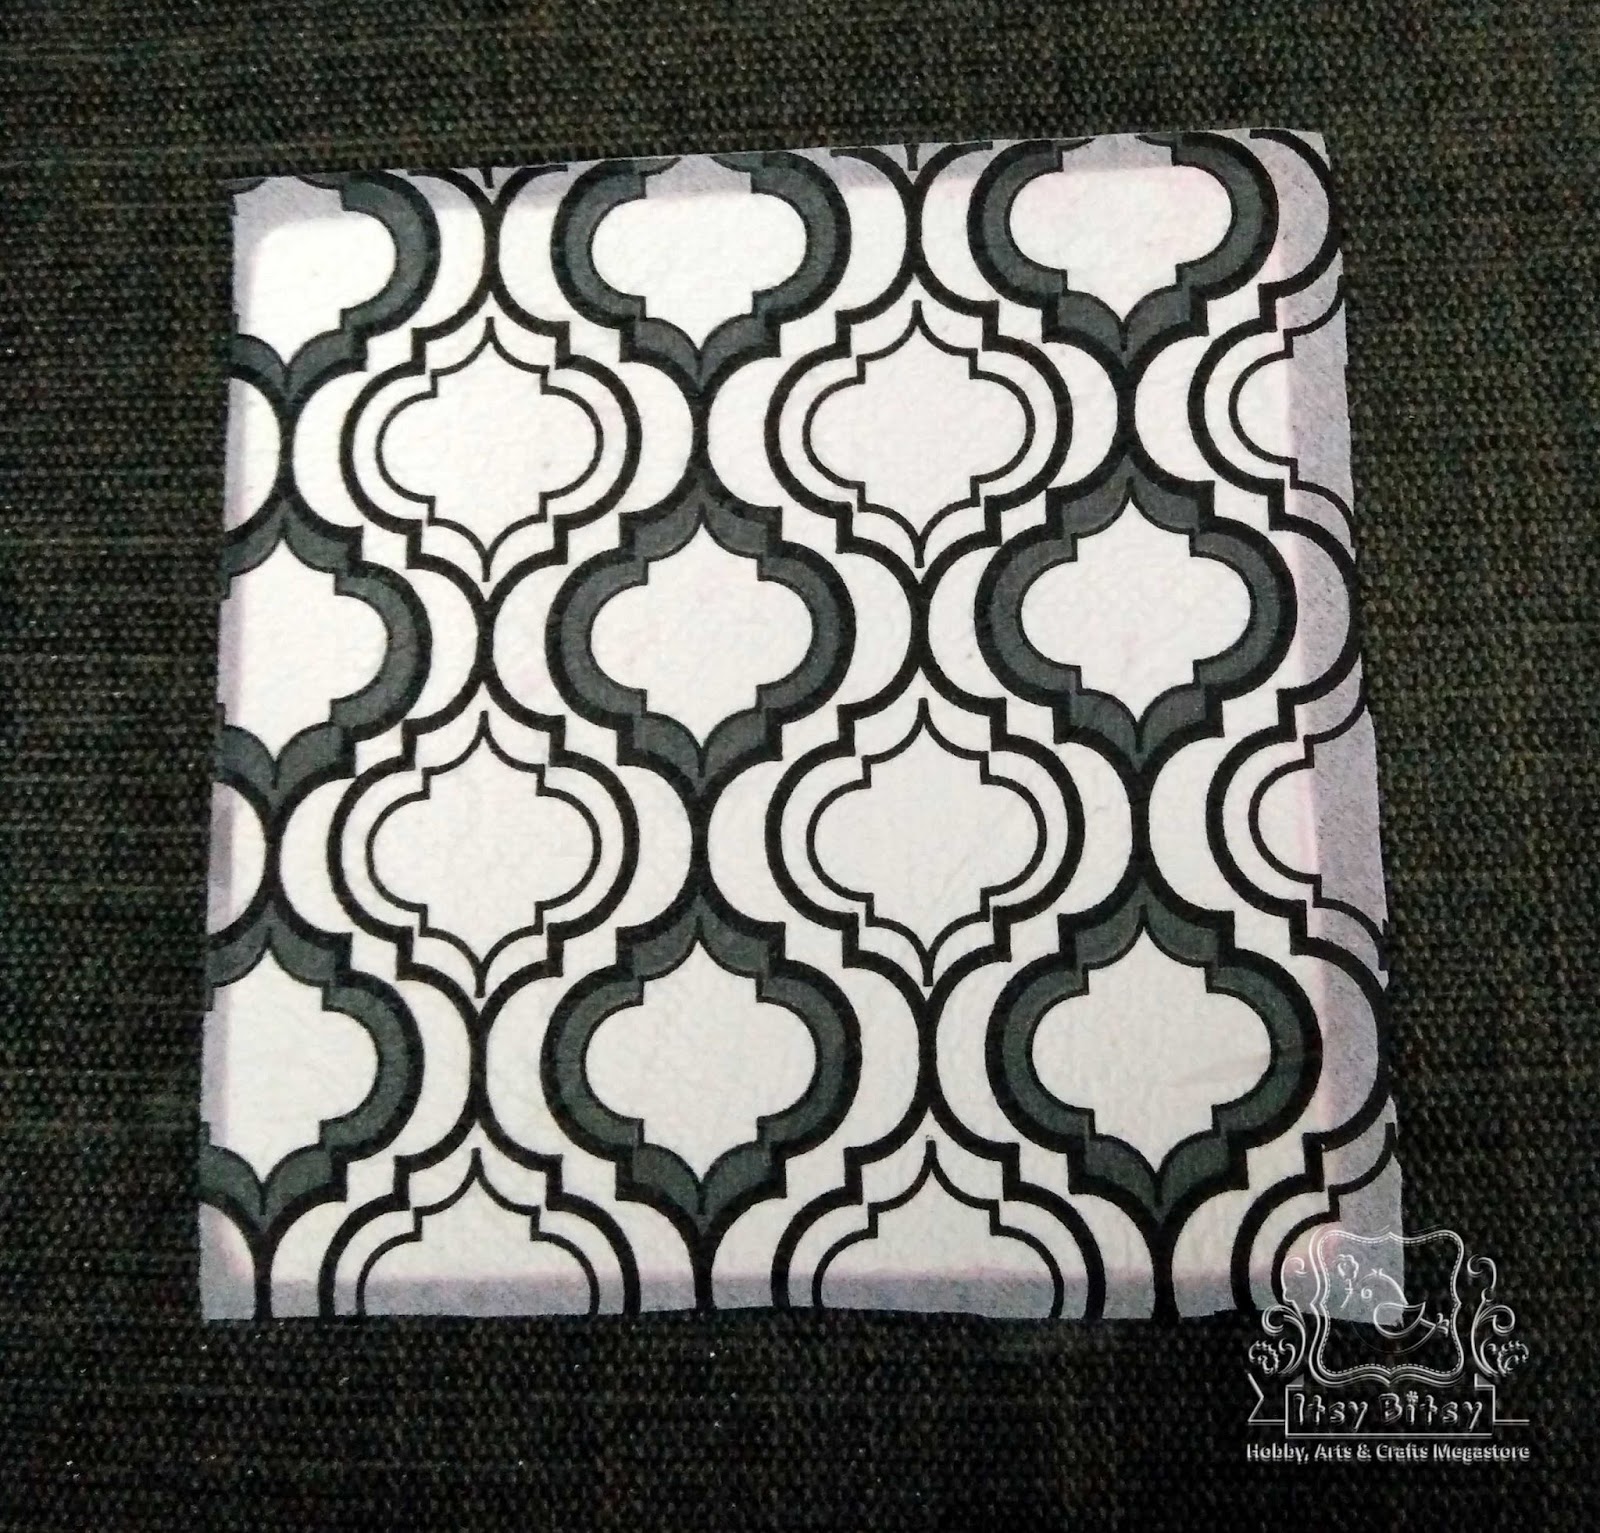
3. Next step is to select the Decoupage Napkins. I will be using Oriental Art.
4. To give a soothing contrast, I will paint the sides and the bottom of the coasters with baby pink gesso using sponge daubers. To make baby pink gesso, mix white gesso and Pearlised metallic paint - Carnation Pink. 


5. Next is to get the Decoupage napkin ready. Cut it slightly bigger than the required size from all sides. These napkins usually come as 2 ply or 3 ply. For decoupage we just need the top most printed ply. So once cut to size, peel off the unwanted ply.


6. Next apply a coat of Decoupage Glue - Matt to the top side of the coaster using a flat brush. Make sure the glue is applied well at the edges & corners.


7. While the glue is still wet carefully lay the napkin making sure no air bubbles are formed inside.


8. Now again apply a coat of decoupage glue, this time generously and carefully not tearing off the napkin. Let this dry overnight.


9. The next day once the glue is dry tear off the extra napkins at the edges using the sand paper. Now the coasters are ready for final touch of resin.

10. Using Silicon glue stick flat pearls(used from my stash) around the edge. Then wrap washi tape around the sides of the coaster. this will stop the resin from flowing down the edges.


11. While the silicon glue is drying lets prepare the Resin. I have used the fantastic transparent Craft Resin. The Itsy Bitsy's resin & hardener pack should be used in a 1:1 proportion.
I always prefer using disposable glasses to measure the resin & hardener and mix then in a disposable container. Use a popsicle to prepare the mixture. You can either prepare the mixture for 1 coaster at a time or all together. If all together the make sure you are quick enough to pour it.


12. Gently mix the resin & hardener using a Popsicle stick. This will prevent forming of air bubbles. Now using a disposable spoon start pouring the resin equally on all the coasters and spread it to the edges using the stick.


As visible here the coasters are placed elevated so any resin flowing out will not make coasters stick to the bottom.


Don't worry about any air bubbles formed while pouring the resin. They will eventually burst.
Let the resin cure overnight. 
Tadaa....
The coasters are ready.


See the clarity...


Check the glaze...


Finally paint the edges with Carnation pink.

Serving Tray

Repeat step 1 & 2.

3. For the serving tray I will be using Vintage Roses decoupage napkin.
4. To give a soothing contrast, I will paint the sides (in & out) and the bottom of the the tray with baby pink gesso using sponge daubers. To make baby pink gesso, mix white gesso and Pearlised metallic paint - Carnation Pink.


To protect the bottom white from staining, cover the sides using 1 inch masking tape. Once the colour dries remove the tapes.

5. For the serving tray I'm using a different technique of decoupage. Apply a generous coat of Decoupage glue - Matt and let it dry. Once completely dry, apply second coat. Second coat will help cover up any spots missed in the first coat or glue. Again let it dry, this time overnight.

6. Now cut the exact size of the napkin unlike the coasters. Lay it within the serving tray and using wet sponge (just wet, not dripping water) gently press the napkin to the base. Decoupage glue being PVA glue reactivates when in contact with water and turns sticky. This will help the napkin to stick to the base. Let this complete dry


7. After the napkin is dry apply a generous coat of Decoupage glue and let it dry overnight. 
8. The next day, once the glue is dry start preparing the resin & hardener mixture same way as shown above. Pour it directly and by tilting the tray spread it across the base. Let it cure overnight.


Look at the glaze and clarity after the resin cures.

9. For the outer side I will be using Cake decorating stencil - Flourishes and modelling paste. I mixed Pearlised metallic paint - Mint to the modelling paste and using palette knife stenciled it on the tray. Let it air dry for around 4 hrs.


 To give a final touch paint the top edge & handle holes with Pearlised metallic paint - Mint.

Tadaa....
The serving tray is ready...


Few things to keep in mind while working with Resin

1. Prefer to use disposable measuring cups, containers & spoons.
2. For every mix prepared use new containers.
3. Prefer to wear disposable gloves will working.
4. Always read the instructions and ratio before preparing. Every manufacturer has different Resin : Hardener Ration. For Itsy Bitsy Resin it is 1:1.
5. If you have resin on your hands, then wash it with Utensils Detergent Cake. Use the detergent generously.
6. While drying the resin make sure the article lays absolutely flat. A slight tilt with make the resin flow that side and dry tilt.
7. While drying the resin prefer to keep the article in a place dust free otherwise a layer of dust will lay over resin and kill the clarity.
8. Lastly by any chance if u find fumes & bubbles forming or resin getting too much heated, pls dont use it. Either the propertion is wrong or the product is too old.

The serving tray and coasters made can be cleaned using wet cloth but not under running water.

And the Final look...


I hope after this post you too will be addicted to Decoupage...

Happy Decoupaging!!!

Supplies Used:

7. Decoupage Napkin -  Vintage Roses
8. Decoupage Napkin - Oriental Art
16. Flat brush.

Monday, November 7, 2016

ITSY BITSY CHALLENGE#2 - 2016

Hello Crafters!
Good morning & welcome again!
This is Tanvi, here to announce the second challenge. As always it is ANYTHING GOES using Itsy Bitsy Stencils

Here are some guidelines to participate. Simple & easy to follow - 

ITSY BITSY CHALLENGE#2-2016
Theme - Anything Goes using the Itsy Bitsy STENCILS
  1. Submission can be a card, box, tag, scrapbook layout, decoupage, altered art, home decor - anything as long as it is handmade and complies with the theme.
  2. Please follow our blog to be eligible.
  3. Turn off word verification to enable us to leave comments.
  4. Entries can be submitted until 25th of each month
  5. In order to submit your entry, click on the inlinkz button provided at the end of this post, add your image and link to your blog post containing the submission.
  6. Each participant can submit a maximum of 3 entries. Please add numbers 1,2, 3 while submitting multiple entries.
  7. Please link to your post and not just your blog.
  8. In your blog post, create a link back to this page. 
  9. Only projects posted during the Challenge period are eligible (no backlinking).
  10. Entries are welcome from all over the world however if you are the winner, we can only ship your prize to an Indian address.
  11. If you don't have a blog and want to add your card on FaceBook, please upload it on our FB group page Itsy Bitsy Crafter's Cafe with the hashtag - #itsybitsychallenge216 & add the link here.
  12. TWO winners will be picked through random.org who will each receive a voucher of Rs.500 , redeemable online at www.itsybitsy.in. Top 3 will be selected by the DT.
  13. You may link up with upto 10 challenges including ours.

Stencils are so popular in papercrafting & ITSY BITSY has a huge range too! I think stencils are versatile tools & can be used in card making, mixed media, decoupage, home decor, gift wrapping, etc in so many different ways! Today I will share some ideas for card making.
I have not 1, not 2 but 6 cards to share. So sit back relax & enjoy!


 CARD 1

Lets begin with a card using a basic background technique. Gold & black a color palette which is always classy! For this card I have used Mont Marte gold dimensional paint & the leaf stencil. The sentiment on vellum is heat embossed.


CARD 2

The brick stencil here is partially flat (distress ink - picket fence) & partially dimensional (modelling paste). The die cut leaves are painted with Mont Marte silver dimensional paint.


CARD 3

This is a simple but bright background using distress inks festive berries & abandoned coral. The die cut butterfly also in the same shades & for the leaves colored with color splash sprays


CARD 4

For the next card I made a very subtle background & the focus here is on the die cut bird (colored with color splash) & the sentiment. The gold striped washi & bright bird brings alive this card.


CARD 5

To create this bright background I rubbed the distress ink pads directly on the card stock, after which I placed the irregular dots stencil & sprayed water over it. Place a tissue to soak all the excess water & you have this beautiful texture! The flowers were popped using the inlaid diecut technique to add some interest!


CARD 6

And finally for this card I have masked the floral stencil to create a triangle shape with washi tape & sponged only within the masked region!


This brings us to the end of this post. Remember you have until November 25th, 2016 to link up your entries!
 Do visit us again as we bring you loads of inspiration to stretch your stencils!

Hugs,
Tanvi

Supplies used -