Showing posts with label Jewellery Making. Show all posts

Friday, September 30, 2016

Resin Jewelry

Hi there..Lekha
Today I would be sharing my first try with Resin, and had fun making these little pieces of jewelry. This craft resin & hardener is ideal for jewelry making, dome stickers, dome embellishments and to coat wooden furniture for sheen & protection. It is water resistant when dry and gives a glossy finish to your projects.
It might sound little tough to deal with resin and hardener , just follow the instructions. Resin going in first and than the hardener. Let the mix sit for few seconds so all the bubbles rise to the top,if there are many just scoop the top layer with popscile.
Itsy Bitsy resin comes in various colors, here I have used the clear resin.


You would need following items before you start working with Resin:

  • Measuring cup or if you do not have any then just take disposable paper cups and mark them.
  • Small plastic spoon or Popsicle.
  • Surgical gloves (avoid touching the resin mix with bare hands), you can get them at any pharmacy.
  • Toothpick (if you will be working with very small areas) 
  • Glitter dust (make small batch of resin and mix any color of glitter dust to achieve some great looking pieces)
  • Sparkle dots 
  • Straw (this would come in handy if bubbles arise after pouring the resin. A light blow with straw and you would be able to get rid of all the bubbles.)

Tip: If you do not have gloves at home and by mistake touch the resin do not panic, just rub any oil(hair/body/cooking oil) and wash thoroughly with soap.

Another tip I would suggest is keep all your pieces ready and then make the resin batch in small quantity to avoid any wastage.Resin and hardener mix would have a work window of 5 min approx so you can pour into all your findings simultaneously. As for the curing,resin takes 24 hrs to fully cure.
 I would be making rings, pendants, earrings.So lets start...

Pendants 
Cut round pieces from any pattern paper of your choice to the size of the bezel 
Stick with silicon glue and let dry.


I also used metallic paints (teal metallic paint, broccoli metallic paint) to paint these bezels.


Here are three different pieces...


The first pendant in the picture has clear resin poured into the bezel and then I dropped few glass beads randomly before the resin set in.
The middle pendant (painted with teal metallic paint) has resin mixed with aqua glitter dust. 
The third green has pattern paper and clear resin.

Rings 
For the first one I painted the ring base in black acrylic paint and than poured the resin mixed with parrot green glitter dust.


For the second ring after pouring the resin mix (aqua glitter dust)I embedded crystal piece before the resin set in. 


You would require Flat Aluminium wire, these come in various colors and are easy to bend and cut. I took the wire and bend it into square shape with the help of Jewelry pliers (Chain Nose Mini Pliers and than cut with help of Side Cutting Pliers). Next adhered the empty square piece to clear tape. 


I  have used the beading wire to wrap the square resin piece to form it into a pendant.

 Earrings
I repeated the same procedure of adhering these metal heart charms to the tape and then firmly pressing it so no space is left for the resin to flow from beneath the charm. Once the resin has taken its time to cure (24 hrs), remove the tape and if you find any tape residue on the resin just wash it with mild soap water and pat dry.
For these earring pairs I made very small batch of resin mixed with different colors of glitter dust and then poured with help of toothpick as the the design is very intricate.


Another pendant I created is with square chipboard frame and Sparkle dots in different colors.


For this I painted both sides of the frame, each in black and silver colors. Adhere the chipboard frame to the tape and poured clear resin mix into the center of the chipboard frame and use popsicle to spread the resin evenly in all directions. Here I did not mix the sparkle dots in the resin mix but put it while the resin was wet.


Hope you liked my experiments with Resin.
Thanks for stopping by and do leave some love.

Supplies used:
     silicon glue

Wednesday, December 23, 2015

Quilled Jewellery

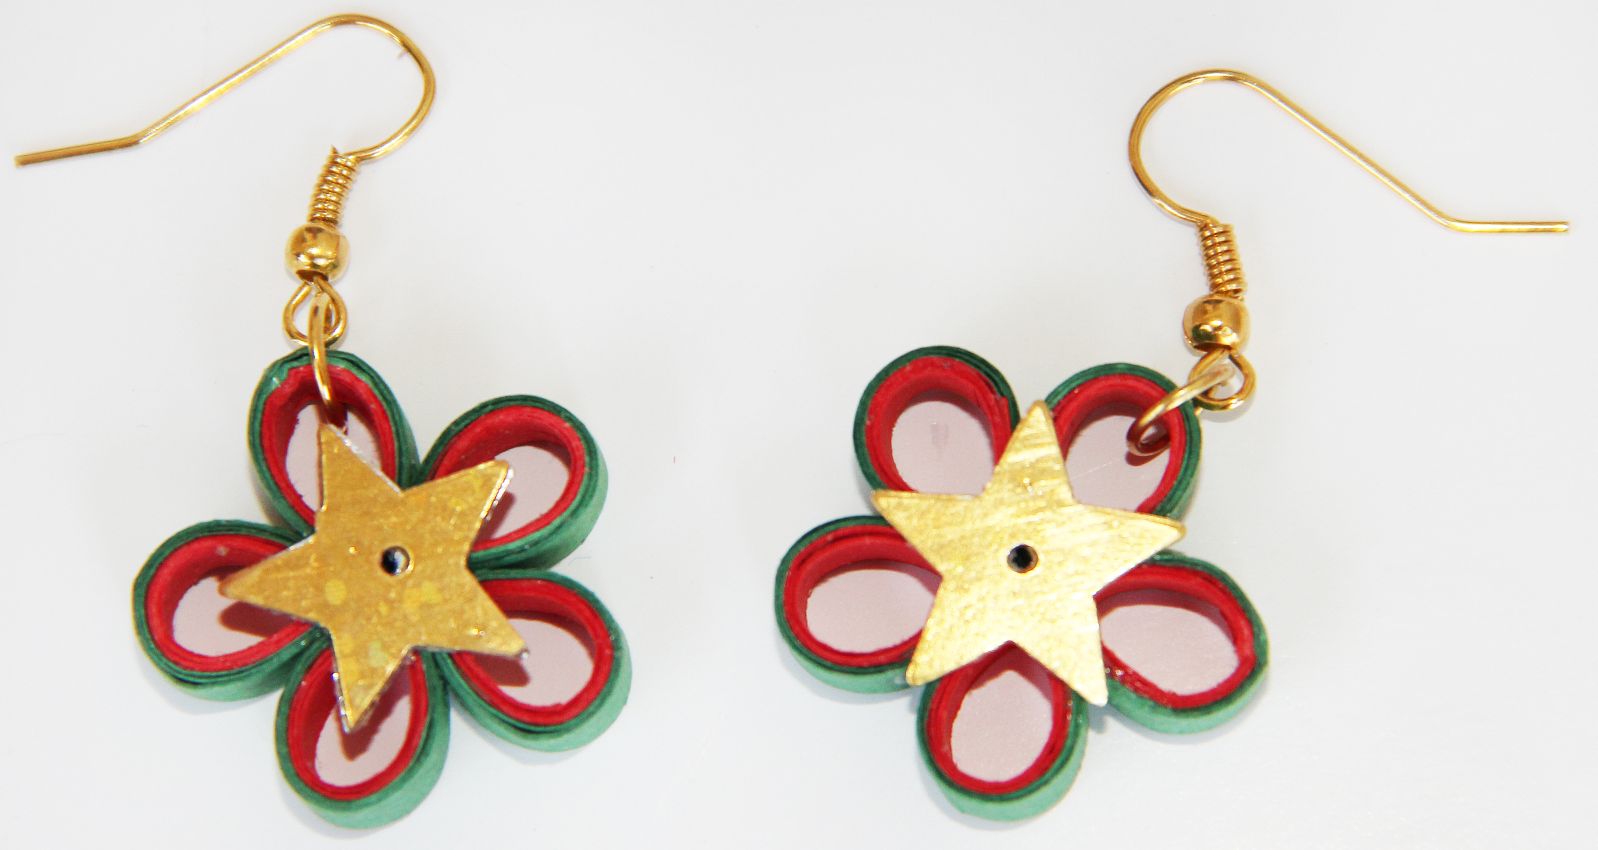
Hello Folks!! Welcome to another step by step tutorial. Here's something to do for the coming Christmas holidays. Enjoy and have fun making this simple quilled jewellery as part of "CRAFTY COUNTDOWN TO CHRISTMAS".

Material Required:
Quilling strips 3mm
Star embellishment
Craft glue
Findings ear wire hook
Finding clasp
Finding end piece
Cord
Border buddy
Jump ring
Flat nose plier

METHOD:
Step 1 – Take 2 quilling strips (red & green) and glue the ends
Step 2 – Apply Itsy Bitsy silicon glue throughout the strip and roll it around the border buddy to make a coil
Step 3 - Take out the coil and press the edges (in the shape of tear drop)
Step 4 – Make 5 similar coils
Step 5 – Glue the coils as shown
Step 6 – Glue a star embellishment
Step 7 – With the help of flat nose plier, put a jump ring around a coil
Step 8 – Attach an ear wire hook to the jump ring (as shown)
Step 9 – The earings are ready
Step 10 – Make a small red coil & glue it to one of the big coils

Step 11 – Take a cord, put it inside an end piece & press it inside with the help of a plier. The cord has to be tightly locked. (Repeat on both sides of the cord)

Step 12 – On one side, attach a clasp to the end piece (as shown). On the other side, attach a jump ring
 

The quilled neckpiece & earings are ready. This is simple & very easy to make. This can be a great addition to your accessories. You can make plenty of these and gift your friends too. Let us know what you thought of this tutorial. J

Link to supplies –

Thursday, December 10, 2015

Christmas Earing

Hi Folks! Hope you had a great day. Here's craft idea for the coming Christmas holidays. Enjoy and have fun making these earrings! This is easy to make with our ready earring studs and poinsettia embellishment.


Materials required:
·         Ear studs
·         Poinsettia flower or any embellishment
·         Silicon glue

Method :

Step 1 - Take the Ear studs available at Itsy Bitsy

Step 2 - Glue the base of the earing


Step 3 - Glue the embellishment. Your Christmas ear stud is ready

Our  flowers are available in many colours. They look beautiful and elegant. There are many more embellishments available in our stores to make your own earrings! Have fun making them!J

Link to Supplies:     


Tuesday, October 20, 2015

Cascading Quilled Necklace


Hi Folks! It’s Tuesday and we are back with a fabulous quilled necklace tutorial!
Quilling is a very popular craft right now and quilled jewellery is quite sought after. It can look traditional or trendy depending on what you want. You can customize jewellery pcs to your liking or to match your dresses and at a very low cost. To make basic quilled jewellery, you do not need much practice, like the necklace below.


Of course, for a great final result, you do need good quality quilling strips. Itsy Bitsy carries a very wide range of quilling supplies and quilling strips. You can find 10mm, 5mm, 3mm, 2mm and even 1mm strips! These strips are made with superior quality paper with consistent Colour and GSM.

 Today we are going to make a necklace which is perfect for beginners and fun for pros. 
So let’s get started. Here is a list of supplies required:


·         Quilling Strips 5mm – 21 strips in your choice of colour or colours
·         Spacer beads 4-5mm – approx- 55 pcs
·         Cotton cord -In your choice of colour
·         Eye pins -11 pcs
·         Jump rings -22 pcs
·         End pieces -1 pair
·         Lobster Clasps – 1 pc
·         Ear wire – 1 pair
·         Itsy Bitsy Craft glue
·         Itsy Bitsy Decoupage glue

Tools required:


·         Quilling tool,
·         Jewellery cutter
·         Round nose plier
·         Flat nose plier
·         Scissors

METHOD:
So let’s start making the coils! Each coil needs to be made using half of a strip. So cut every strip in half before you start making coils.


Use the quilling tool to make the coils, since the resultant hole at the centre of the coil is important to thread the coils. Secure the end of the coil with a dot of craft glue. Make 41 such coils.


 At this point you can apply a top coat with the decoupage glue to give a glossy finish to the coils. Decoupage glue also protects the quilled coils from wear and tear.
Once they dry, we will use these coils as beads

.

Let’s assemble the necklace.  To make the necklace we will need 25 coils.
Thread a spacer bead onto the eye pin followed by a coil, a spacer, another coil, spacer and so on to make the Hangings.


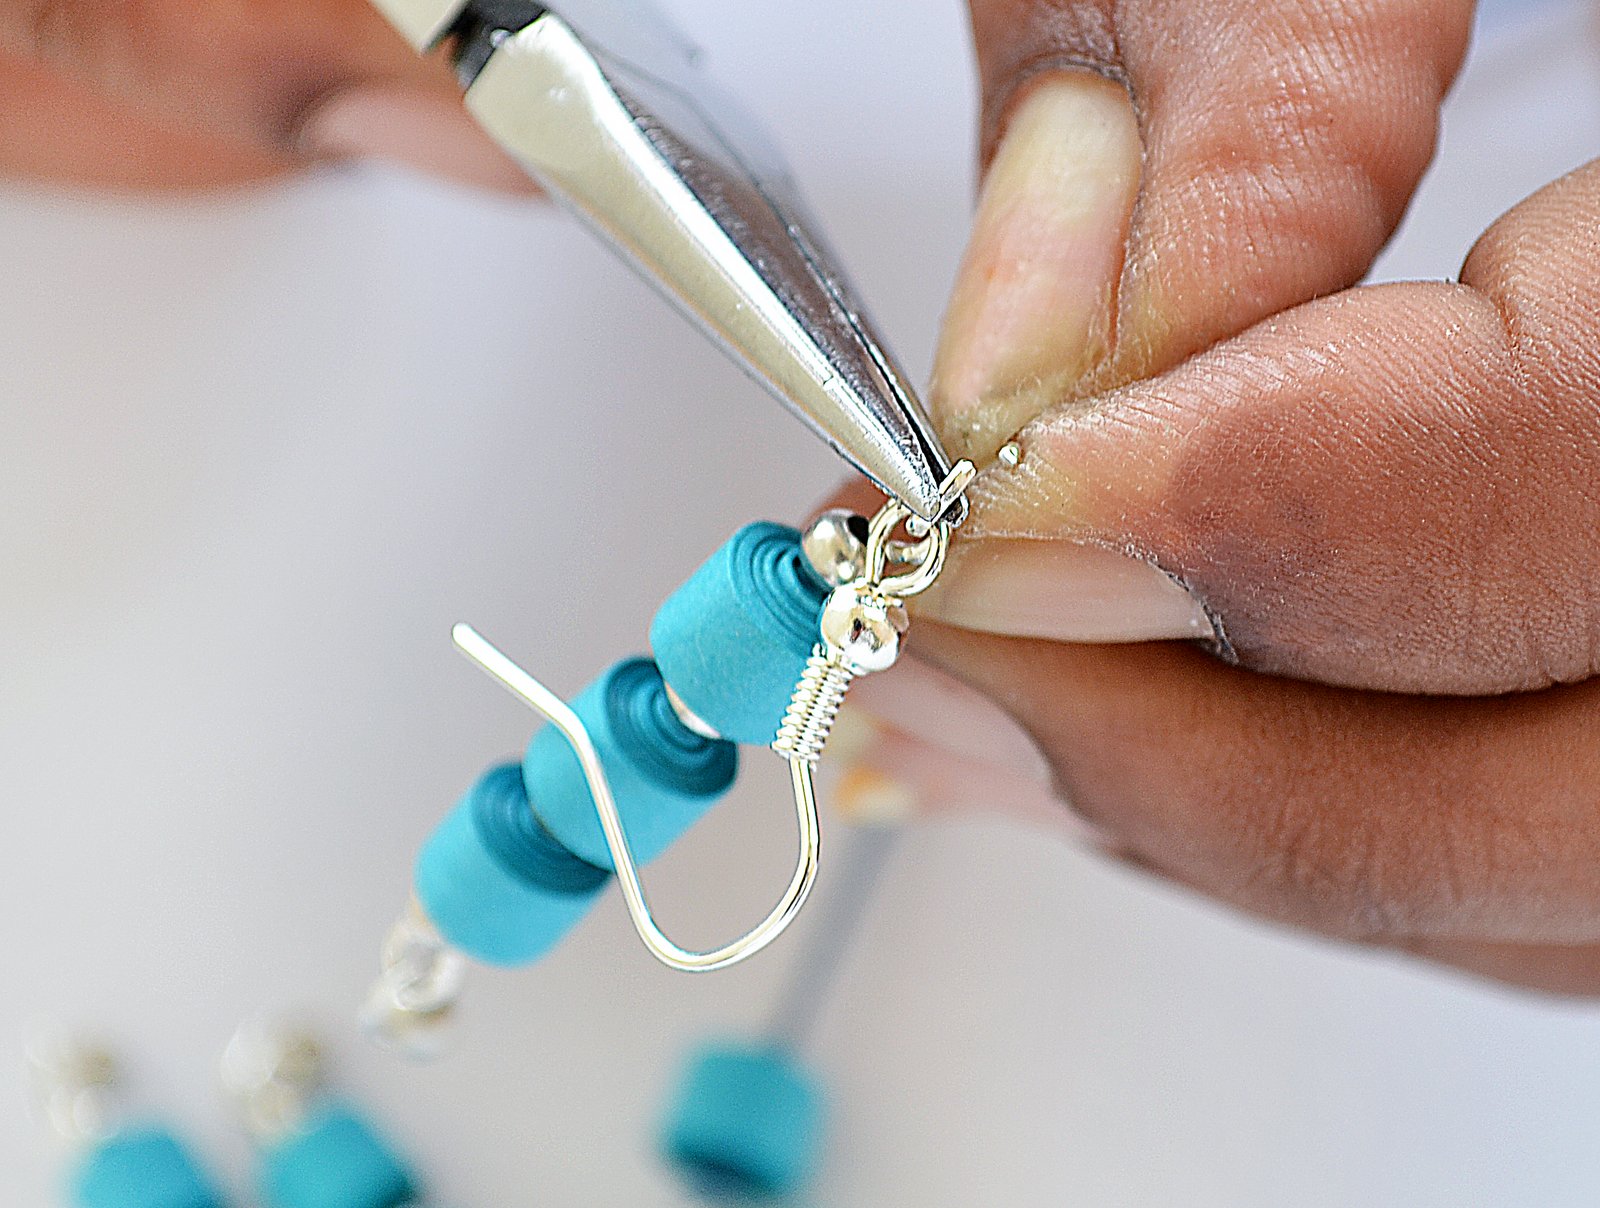
To finish the hanging, trim the eye pin with jewellery cutter, leaving about ¼” to make a loop. With the help of round nose pliers make a loop. We now have a loop at the top as well as the bottom of the hanging.


Thread a jump ring through a spacer bead and attach it to one end of the hanging. Attach another jump ring (without the spacer) to the other end of the hanging.


Make the hangings as shown in the image below:
5 coils – 1pc
4coils – 2 pcs
3 coils – 4pcs (2 for necklace and 2 for earrings)
2 coils – 2pcs
1 coil – 2pcs


Thread the cotton cord though coils and hangings alternating them to form the design as shown below.


Measure the cord as per the desired length of necklace and trim. Attach the end piece to both ends of the cotton cord by fold the end piece as shown with the help of flat nose pliers.


Attach a jump rings to both the end pc and the lobster clasp to one of the jump rings.  Your fabulous necklace is done!


To make the earrings, attach the jump ring of the hanging to the loop in the ear wire. Repeat for the other earring.


Your beautiful Cascading necklace is ready!


 Its fun to experiment with this design and you can come up with your own ideas and make jewellery to match your dresses! You can also try different variations with different colour/size of the strips, using different spacer beads or by changing formation of the hangings.


Do let us know what you think of this tutorial in the comments below. Happy Crafting!