Hello
Crafty Folks, I am delighted to introduce & feature yet another talented
Crafter this week! This week’s crafter in the Spotlight for December
2016 is “Rashmi Tater”! An MBA in Marketing & HR, this talented crafter is
now pursuing MBA in Hospital Management!
Rashmi is
very thankful to her mother for inspiring her creativity & loves colours
& crafting so much so that she spends at least 5 hrs each day crafting!
“Glamorous,
Shabby Chic, Vintage ” she says is her style & I find her
creations gorgeous & elegant!
What
really inspires Rashmi, her tips for fellow crafters, her favourite
quote, how would she contribute to crafting world if she had magical powers??
To know all these & to know more about her interesting journey & to see
a step by step project of hers, please read the interview & leave your
comments for her.

Here are
excerpts of my interview with Rashmi Tater:
Rashmi
Closepet, MD, Itsy Bitsy :
Rashmi Tater : Hey all!
Firstly I’m super duper exited to be chosen, this recognition is indeed an honour!
and I just can’t thank enough the Itsy Bitsy team and Rashmi Harish! So many
(!) marks can obviously prove my excitement.
I’m Rashmi
Tater. I’m from Andhra, but presently I’m staying in Jaipur after my
wedding. I’m an MBA in Marketing and Human Resources and currently pursuing MBA
in Hospital Management. So that was all about the academic qualification.
My husband is
in a busy profession which gives me ample of time to myself thus I focus all my
energies on creating something new each day and make it a point that I learn a
new technique each day exploring new horizons and improving myself.
As
a person I’m a happy go lucky kind of a person but sometimes I get disheartened
on small things but then I do have my knight in shining armour right to my side.
So why worry J. He and my entire family love me so very much and are my
constant support system. They encourage me in every possible way and I’m so
happy to have all of them in my life! I consider myself very lucky J
RC: How did you get into crafting?
RT: I love colors. That is actually the best
statement I can quote because since childhood I used to always love to
play with them be it crayons or water colors they were my best friends! Growing
up I used to love the SUPW classes at school and mom always used to help
me create the best projects in the class which was like an energy boaster and
helped me get inclined towards crafting and now if you ask me what I love the
most. One word! “crafting” it just gives me so much happiness and helps me be a
better person each day!
RC: What is your favorite type of craft?
RT: Undoubtedly MIXMEDIA because it is such a
wide concept with endless possibilities it’s so flexible and can be done on
practically everything! This comes from the heart and imagination can bring
stale things to life!
I also love
scrapbooking but then it’s my new found love <3 and I’m still exploring it.
RC: What are your favorite products at Itsy Bitsy?
RT: I have a huge
huge list here! To begin with Stencils, papers, sprays, ribbon, ink, embossing
powder, bigshot, an amazing die collection, heat gun etc etc
I especially like the flowers they are so beautiful! and
perfect add-ons to your projects
The chipboards are amazing esp. the ones matching to stencils
are to go crazy for.
The latest little birdie range of papers are awesome! Commendable
I must say.(thums up)
And the color splash sprays : just falling in love with them!
RC: If you had magic powers, how would you
contribute to the Crafting world?
RT: I would create
a gift card with endless limit! so everyone can practically shop for all the
supplies they want in the world and open an itsy bitsy store in every city of the
country!
I so wish this dream comes true …..
RC: Your prized possession in your craft stash
from Itsy Bitsy?
RT: I practically
love everything from little birdie brand, but if you ask me to choose one it has
to be my vintage flowers, they are so pretty that I still don’t have the courage
to open the pack and use them!
RC: How would you describe your style of crafting?
RT: My style of
crafting is undoubtedly glamorous (according to me ! J) I create floral,
shabby chic and vintage but then it all depends on what the client wants! But
if I’m given the freedom then I love mixing, matching, creating layers and
trying new techniques on each project, with each project I make I feel I
improve. So actually I don’t stick to a particular style but I love adding
elegance to whatever I make.
RC: How do you organize your time for crafting?
RT: I’m surrounded
by my supplies all day so whenever an inspiration strikes I’m on it! Hopping
from the kitchen to grocery shopping to togetherness time and again back to
crafting but definitely I make sure I spend a lot of time creating! You can say
like 5 hours a day with my supplies and if I don’t do it like when I'm
travelling or when I’m in Nepal I like crazy miss it!
So actually it’s my daily dose of happiness.
RC: Tips for people who want to craft?
RT: Just follow
your heart, experiment, do mistakes, make messy looking projects and then
improvise them until they start looking appealing to you, then work hard to
master the techniques and then practice, practice, practice until you have an
awesome looking project in your hand which everyone shall appreciate. For me:
The amount of handwork you do is directly proportional to the love and affection you shall get for your projects. Also be humble always! There is no point playing
the blame game.
RC: Your all -time favorite quote?
RT: EVERYTHING
COMES TO YOU AT THE RIGHT TIME. BE PATIENT AND TRUST THE PROCESS.
Here is a gorgeous project by Rashmi & step by step
description :
So now it's time to share a creation using few of
my favourite products from the store
I have created a Mixmedia canvas of size 10.10
Step 1: Coated the canvas with Gesso and Colored in shades
of marigold and blue using Color splash sprays and heat dried
using the heat tool, then textures with the modelling paste from the
store, adding little purple color using itsy bitsy stencil on both the corners
and alowed it to dry naturally.


Step 2: Next step i used the Brick stencil and used the
Inkpad from the store in purple color and created bricked background by
blending the ink with the help of an applicator. You can use general sponge
too! I used itsybitsy green pigment ink and distressed the corners a bit. And
then again with purple.


Step 3: I took a floral sheet from the store
and fussy cut the flowers then embossed them with my tool and then
layered them to form 2 flowers. From the rest left over flowers I pasted
a few on the canvas to create the background more floral (I used the same ink
to distress the edges of flowers as well)


Step 4 : Then I used some pearls, glitter
swirls and handmade embellishments and stuck them with Silicon glue from
the store.


Step 5 : Allowed it to dry. And coated it all with spray
varnish. To seal the project. tada we R done!

Hope you like and will try to create something like this too!
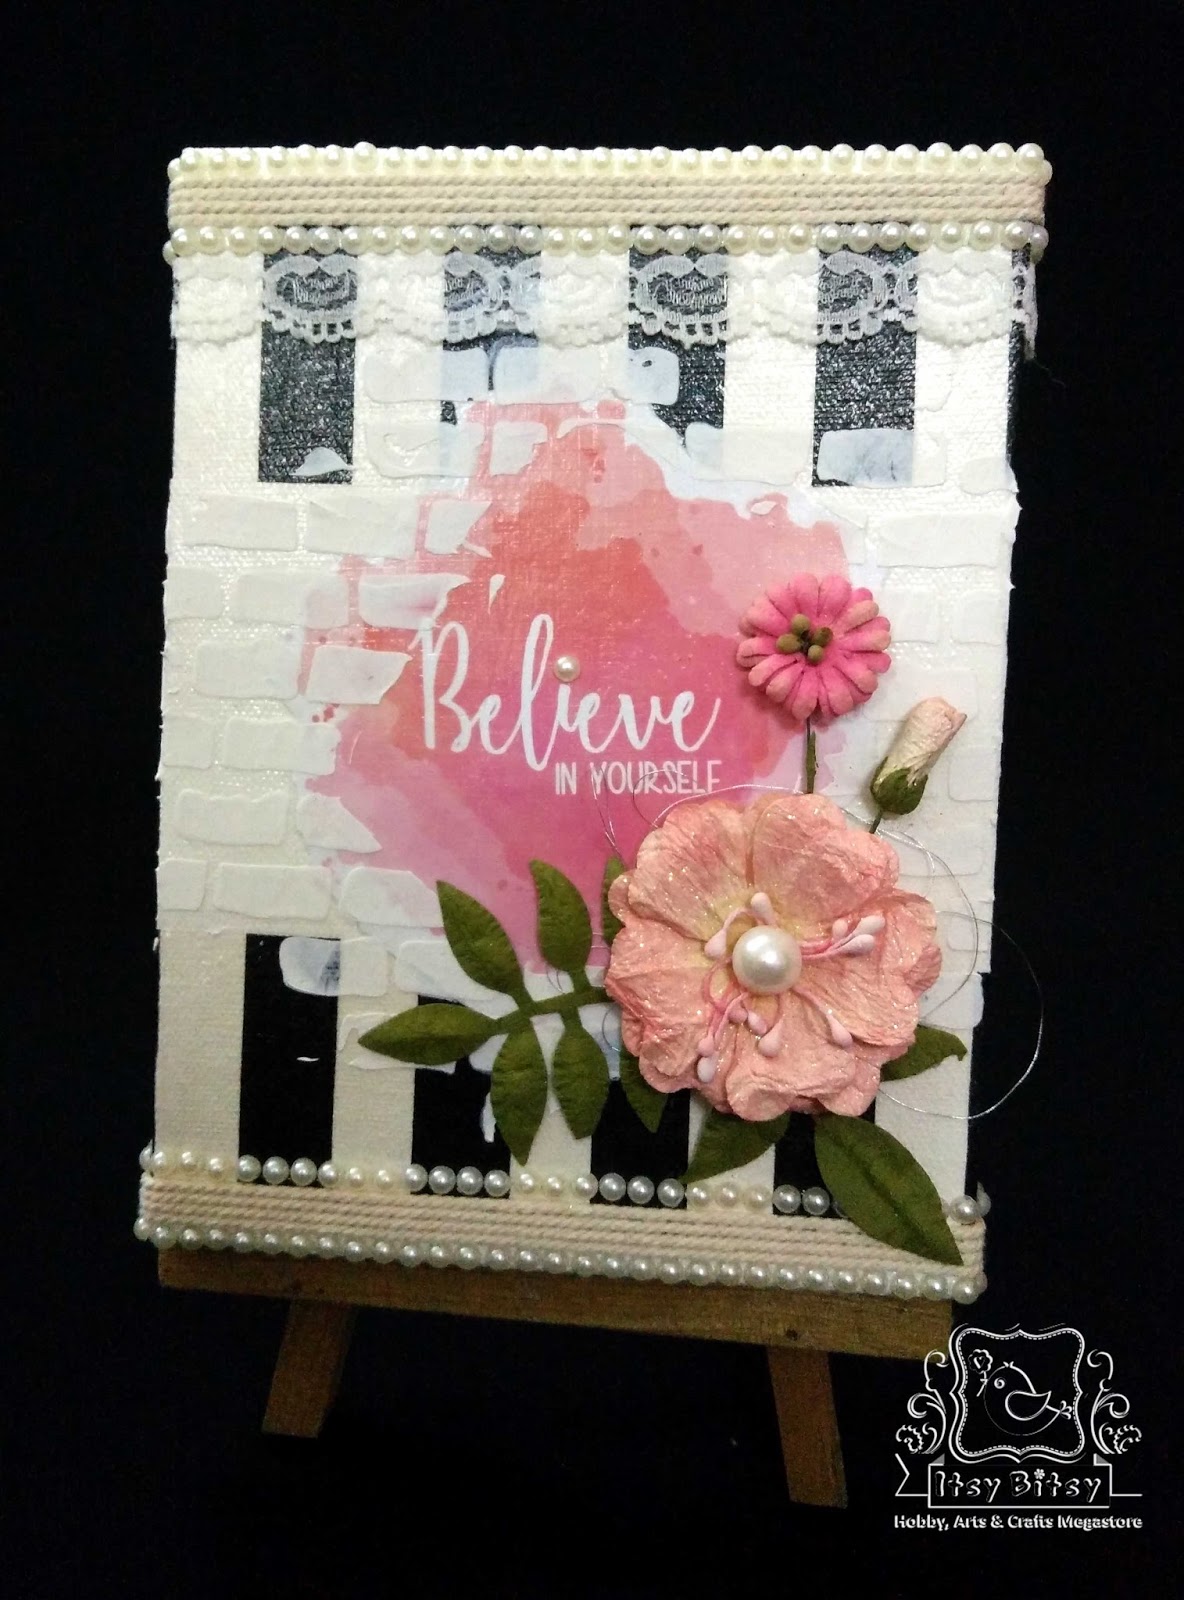
Here are a couple of Rashmi's
other awesome creations:


Many congrats Rashmi for
being the CRAFTER IN THE SPOTLIGHT – ITSY BITSY

You will receive Rs.500/-
Itsy Bitsy gift voucher :-) :-) & a Crafter in the Spotlight badge, which
can be proudly displayed on the side bar of your blog and other
platforms. Looking forward to many more creations, Happy Crafting!