
Hi Folks! It’s Tuesday and we are back with a fabulous
quilled necklace tutorial!
Quilling is a very popular craft right now and quilled jewellery is quite sought after. It can look traditional or trendy depending on what you want. You can customize jewellery pcs to your liking or to match your dresses and at a very low cost. To make basic quilled jewellery, you do not need much practice, like the necklace below.
Quilling is a very popular craft right now and quilled jewellery is quite sought after. It can look traditional or trendy depending on what you want. You can customize jewellery pcs to your liking or to match your dresses and at a very low cost. To make basic quilled jewellery, you do not need much practice, like the necklace below.

Of course, for a great final result, you do need good quality quilling
strips. Itsy Bitsy carries a very wide range of quilling supplies and quilling
strips. You can find 10mm, 5mm, 3mm, 2mm and even 1mm strips! These strips are
made with superior quality paper with consistent Colour and GSM.
Today we are going to make a necklace which is perfect for beginners and fun for pros.
Today we are going to make a necklace which is perfect for beginners and fun for pros.
So let’s get started. Here is a list of supplies
required:

·
Quilling Strips 5mm – 21 strips in your choice
of colour or colours
·
Spacer beads 4-5mm – approx- 55 pcs
·
Cotton cord -In your choice of colour
·
Eye pins -11 pcs
·
Jump rings -22 pcs
·
End pieces -1 pair
·
Lobster Clasps – 1 pc
·
Ear wire – 1 pair
Tools required:

·
Scissors
METHOD:
So let’s start making the coils! Each coil needs to be made
using half of a strip. So cut every strip in half before you start making coils.
Use the quilling tool to make the coils, since the resultant hole at the centre of the coil is important to thread the coils. Secure the end of the coil with a dot of craft glue. Make 41 such coils.

At this point you can apply a top coat with the decoupage glue to give a glossy finish to the coils. Decoupage glue also protects the quilled coils from wear and tear.
Once they dry, we will use these coils as beads

.
Let’s assemble the necklace. To make the necklace we will need 25 coils.
Thread a spacer bead onto the eye pin followed by a coil, a spacer, another coil, spacer and so on to make the Hangings.
Thread a spacer bead onto the eye pin followed by a coil, a spacer, another coil, spacer and so on to make the Hangings.

To finish the hanging, trim the eye pin with jewellery cutter, leaving about ¼” to make a loop. With the help of round nose pliers make a loop. We now have a loop at the top as well as the bottom of the hanging.

Thread a jump ring through a spacer bead and attach it to one end of the hanging. Attach another jump ring (without the spacer) to the other end of the hanging.

Make the hangings as shown in the image below:
5 coils – 1pc
5 coils – 1pc
4coils – 2 pcs
3 coils – 4pcs (2 for necklace and 2 for earrings)
2 coils – 2pcs
1 coil – 2pcs

Thread the cotton cord though coils and hangings alternating them to form the design as shown below.

Measure the cord as per the desired length of necklace and trim. Attach the end piece to both ends of the cotton cord by fold the end piece as shown with the help of flat nose pliers.

Attach a jump rings to both the end pc and the lobster clasp to one of the jump rings. Your fabulous necklace is done!

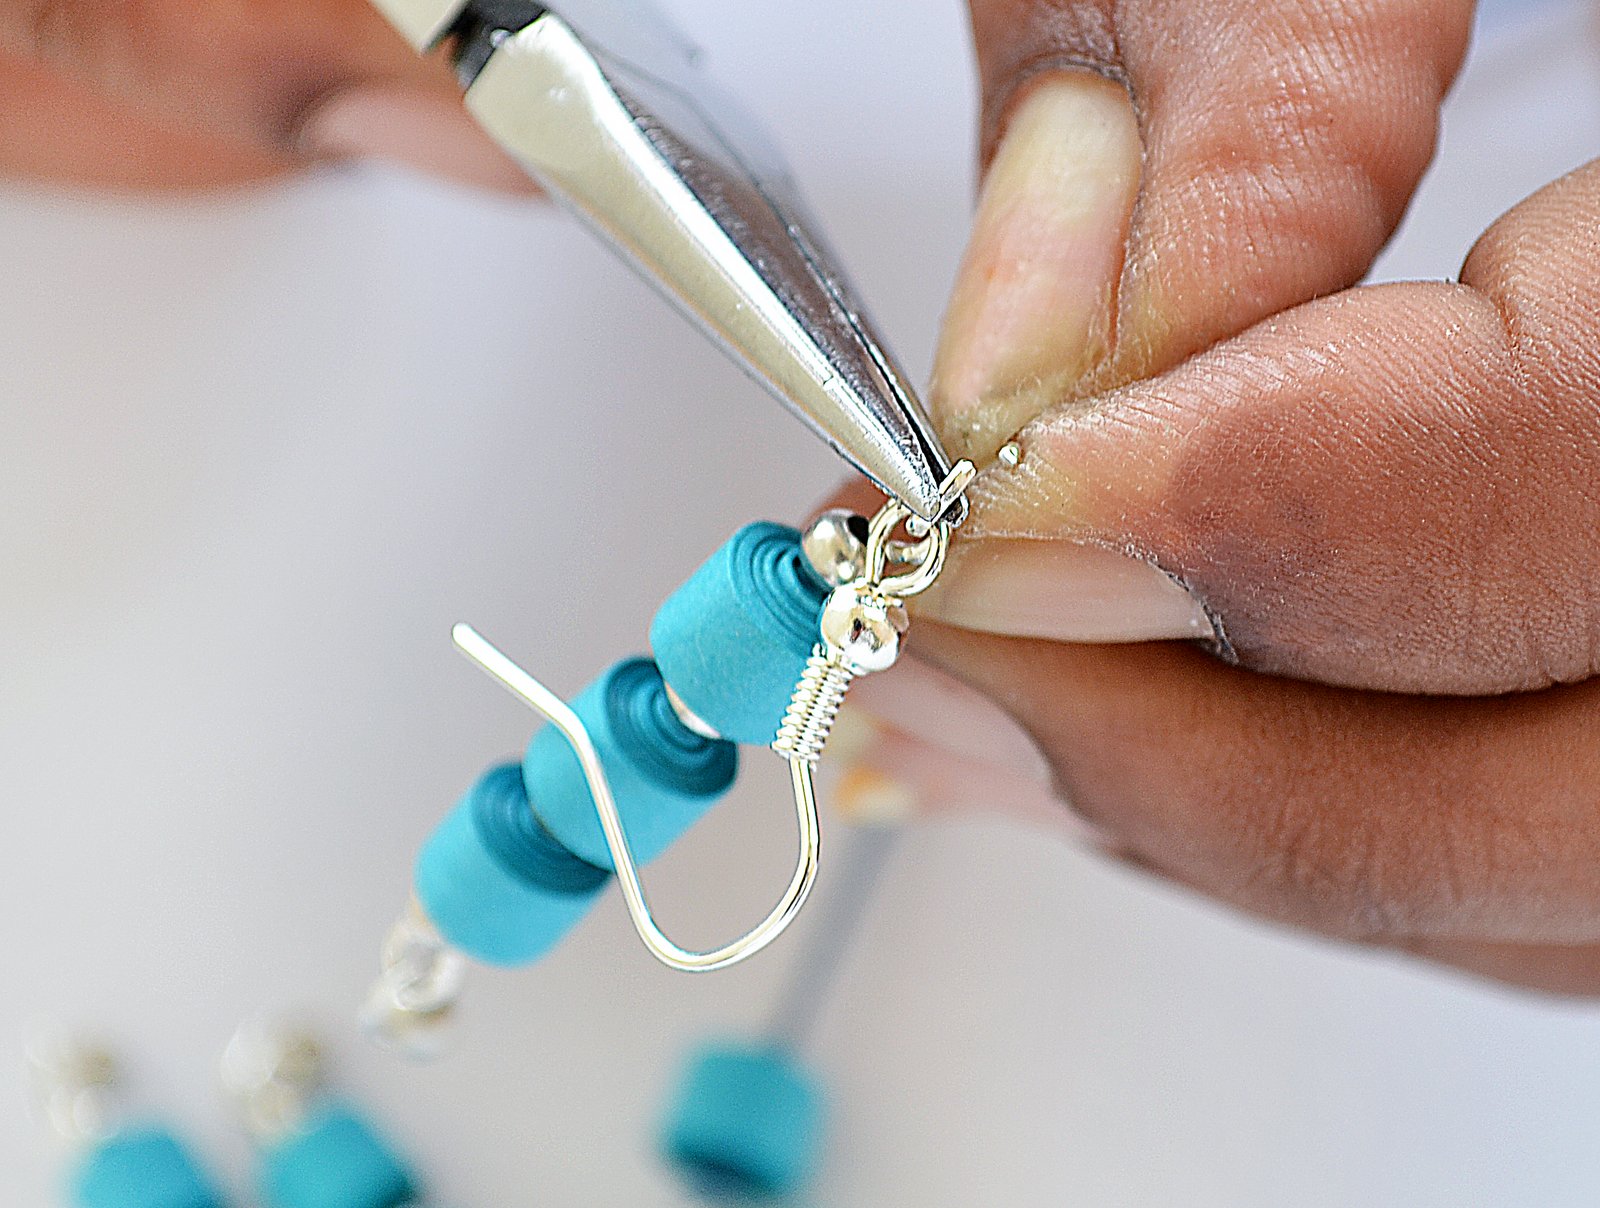
To make the earrings, attach the jump ring of the hanging to the loop in the ear wire. Repeat for the other earring.
Your beautiful Cascading necklace is ready!

Its fun to experiment with this design and you can come up with your own ideas and make jewellery to match your dresses! You can also try different variations with different colour/size of the strips, using different spacer beads or by changing formation of the hangings.

Do let us know what you think of this tutorial in the comments below. Happy Crafting!


