Showing posts with label Premium Quilling Strips. Show all posts

Thursday, September 1, 2016

Crafter In The Spotlight 13 - Itsy Bitsy

Hello friends!! Itsy Bitsy brings you "CRAFTER IN THE SPOTLIGHT" – a unique way of encouraging and appreciating the talented crafters. We recognize talented crafters week after week, turn the spotlight on them & feature them in our "CRAFTER IN THE SPOTLIGHT"! We love what you talented crafters create & are amazed at each of your unique creations every single day! We love the way you use Itsy Bitsy products & give life to those products.

I am delighted to announce this week's crafter in the spotlight - September, 2016 - "ARCHANA SHETTY"! Ever since we started this program, we have been featuring Paper Crafters, week after week & for the first time we are showcasing a crafter who specializes in something slightly different, stunning jewellery! Archana, who likes to call herself a "True Blue Bengalurean", is a post graduate in computer applications! Although Archana made her foray into the creative world through drawing, sketching & recycled craft, quilling is her forte & designing quilled jewellery is what she is very passionate about! This committed crafter makes it a point to craft at least 4 hours every single day!

Wow, that is admirable! What would Archana do if she had magical powers? To know more about Archana, what inspires her & her all time favorite quote, please read her interesting interview below. 

Here are excerpts of my interview with Archana:

Rashmi Closepet, MD, Itsy Bitsy  Tell us a bit about yourself?
Archana Vasant : I am Archana, 27 years old and true blue Bengalurian. I have done my Post Graduation in Computer Applications. I am a happy housewife for the last 5 years and live with my loving husband Vasant and adorable son Inith. I am crafting for the last 3 years and I am thoroughly enjoying it.

RC: How did you get into crafting?
AV: I entered the craft world through drawing. As a kid, I loved drawing. Over the years, the interest spilled over to crafting. Initially, I used to reuse plastic bottles and transform them into pen stands, flower vases etc. I used to makeover thermocol pieces, carton boxes into photo frames. I then moved onto making quilled jewelry. Constant encouragement of friends made me take it even more seriously.

RCWhat is your favourite type of craft?
AVDesigning quilled ear rings, Jhumkas and necklaces are my favourite types of crafts.

RCWhat are your favourite products at Itsy Bitsy?
AVThe colorful collection of quilling strips catches my eyes every time I enter the store.
I like the feathers, beads, and organza ribbon available at Itsy Bitsy too.

RCWhat products from Itsy Bitsy do you think are must haves for a crafter?
AVEvery crafter should try the decoupage sheets and varieties of glue available at Itsy bitsy. Decoupage sheets and Decoupage glue are a must if one wants to design clean and neat looking craft.

RCWhat product would you like to see at Itsy Bitsy?
AVI would like to see more of Craft punch and Terracotta beads at ItsyBitsy.

RCYou draw inspiration from?
AVMy family is my inspiration. In my childhood, my parents encouraged my interest in drawing by getting me all that I asked for. And now, my husband is a pillar of support. Without his support, I surely wouldn’t have pursued this hobby this far. My husband is the biggest critique of my designs too. His feedback always helps me in improving my work.

RCWhat are your other interests?
AVApart from crafting, my few other interests are collecting stamps and invitation cards.
I try to utilize the designs of the invitation cards to design Photo frames.

RCIf you had magic power how would you contribute to the crafting world?
AVIf I had magic power, I would instill a sense of crafting in the tender minds of all the children of the world. I strongly believe that crafting is creativity and creativity helps in making humans more empathetic.

RCYour prized possession in craft stash?
AVLike a mother who loves all her kids equally, I treat every single craft item in my stash as a prized possession.

RCHow would you describe your style of crafting?
AVMy craft work has three important traits. 1> Clean finish. 2> Enticing looks and 3> A sense of belongingness.  No wonder, I constantly get repeat orders from my patrons.

RCHow do you organize your time for crafting?
AVI spend 4 hours for crafting every single day. In spite of being a busy housewife, my passion for crafting has helped me pull time for crafting. Crafting helps me unwind and where there is a will, there is always a way. Generating time is closely linked to one’s passion and commitment in my view.

RCTips for people who want to craft?
AVJust one tip. Don’t wait. Start and Start now. 

RCYour all-time favorite quote?
AVIt’s a George Bernard Shaw quote that is my favorite. “Imagination is the beginning of creation. You imagine what you desire, you will what you imagine, and at last, you create what you will”

Here are a couple of Archana's awesome creations :


Many congrats Archana for being the CRAFTER IN THE SPOTLIGHT – ITSY BITSY :-) :-)

You will receive Rs 500/- Itsy Bitsy gift voucher :-) :-) & a Crafter in the Spotlight badge, which can be proudly displayed on the side bar of your blog and other platforms.
Also, visit our Youtube channel to view & to know more about this crafter – https://www.youtube.com/watch?v=KTASWgS6as4 

Looking forward to many more creations, Happy Crafting!

Tuesday, August 30, 2016

The Metallic Sheen!!

Hi Lekha here with you to celebrate 9 awesome years of Itsy Bitsy ....lets paint the world in metallic sheen!
And you guessed it right...today I will be sharing with you some projects using metallic paints. I used these for the first time and got bowled over by the outcome..these are must haves if you love painting or mix media.
Lets get rolling..
My DT kit this time is all about canvas, paints-some very pretty metallic colors,stencils(if you don't know I have a fetish for collecting stencils and hoarding them !!) and chip boards.
Today I would be sharing three projects with you using these mini canvas.

Lets start begin our colorful journey...

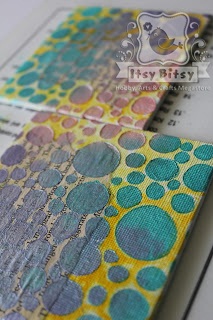
For the first project..I start gluing down papers from a old book on to the  4x4 inch mini canvas using scrapbooking glue.


Next took stencil brushteal metallic paint, blush metallic paint and irregular dots stencil. I have in past used sponge with stencils, brushes-flat and round but the round stencil brush is definitely a must have if you are a stenciling addict like me. These give beautiful outcome.

Don't forget to miss the sheen these metallic colors have..


Have also put in some velvet night metallic paint ...


and here is what we get..


Next used modelling paste with the stencil..I love this bubble texture for the background..Next is "Quilling Time". I have created this background as base for the quilling flowers..and for the first time tried Itsy Bitsy's vellum quilling strips and loved these strips..


These are the vellum quilling strips and come in some very pretty colors

For the flowers I have made fringe flowers (cutting fringes in 1 cm wide paper strip and than rolling it over the slotted quilling tool). Another is the famous Malaysian flower..and my personal favorite of all times.
 The sentiments "beautiful" and "dream" are stamped in permanent ink along with other stamped images which come from the Itsy Bitsy's hope and smile stamp set. This stamp set has great collection of all time use sentiments and images.


Here is the complete look..i have stuck two 4x4 inch mini canvas on to a wooden chipboard piece(and this comes from an old wedding card!!) using the super strong silicon glue and than worked around my way with quilled flowers.

Over to my next project ..these both are mini fridge magnets. 
Painted the base with these metallic paint and round brush.
Also before working any further I stuck magnetic sheet at the back,


and stamped the sentiment from the Itsy Bitsy's hope and smile stamp set


These metallic paints are even great to use with chip board designs design.


I have used combing technique for the leaves  and made Malaysian flowers and fringe flower.


Here is the completed mini magnet.


For the third canvas design, I have painted the background with metallic paints and used dimensional tape to adhere the painted circle chipboard design with wooden alphabets for the sentiment and painted them in gold. Stamped the flowers with black permanent ink.And golden rhinesotnes complete the look..


Hope you liked the colorful twist...
Would love to hear from you..do leave some love in the comments..
happy crafting!!
Lekha


Supplies used:


Tuesday, October 20, 2015

Cascading Quilled Necklace


Hi Folks! It’s Tuesday and we are back with a fabulous quilled necklace tutorial!
Quilling is a very popular craft right now and quilled jewellery is quite sought after. It can look traditional or trendy depending on what you want. You can customize jewellery pcs to your liking or to match your dresses and at a very low cost. To make basic quilled jewellery, you do not need much practice, like the necklace below.


Of course, for a great final result, you do need good quality quilling strips. Itsy Bitsy carries a very wide range of quilling supplies and quilling strips. You can find 10mm, 5mm, 3mm, 2mm and even 1mm strips! These strips are made with superior quality paper with consistent Colour and GSM.

 Today we are going to make a necklace which is perfect for beginners and fun for pros. 
So let’s get started. Here is a list of supplies required:


·         Quilling Strips 5mm – 21 strips in your choice of colour or colours
·         Spacer beads 4-5mm – approx- 55 pcs
·         Cotton cord -In your choice of colour
·         Eye pins -11 pcs
·         Jump rings -22 pcs
·         End pieces -1 pair
·         Lobster Clasps – 1 pc
·         Ear wire – 1 pair
·         Itsy Bitsy Craft glue
·         Itsy Bitsy Decoupage glue

Tools required:


·         Quilling tool,
·         Jewellery cutter
·         Round nose plier
·         Flat nose plier
·         Scissors

METHOD:
So let’s start making the coils! Each coil needs to be made using half of a strip. So cut every strip in half before you start making coils.


Use the quilling tool to make the coils, since the resultant hole at the centre of the coil is important to thread the coils. Secure the end of the coil with a dot of craft glue. Make 41 such coils.


 At this point you can apply a top coat with the decoupage glue to give a glossy finish to the coils. Decoupage glue also protects the quilled coils from wear and tear.
Once they dry, we will use these coils as beads

.

Let’s assemble the necklace.  To make the necklace we will need 25 coils.
Thread a spacer bead onto the eye pin followed by a coil, a spacer, another coil, spacer and so on to make the Hangings.


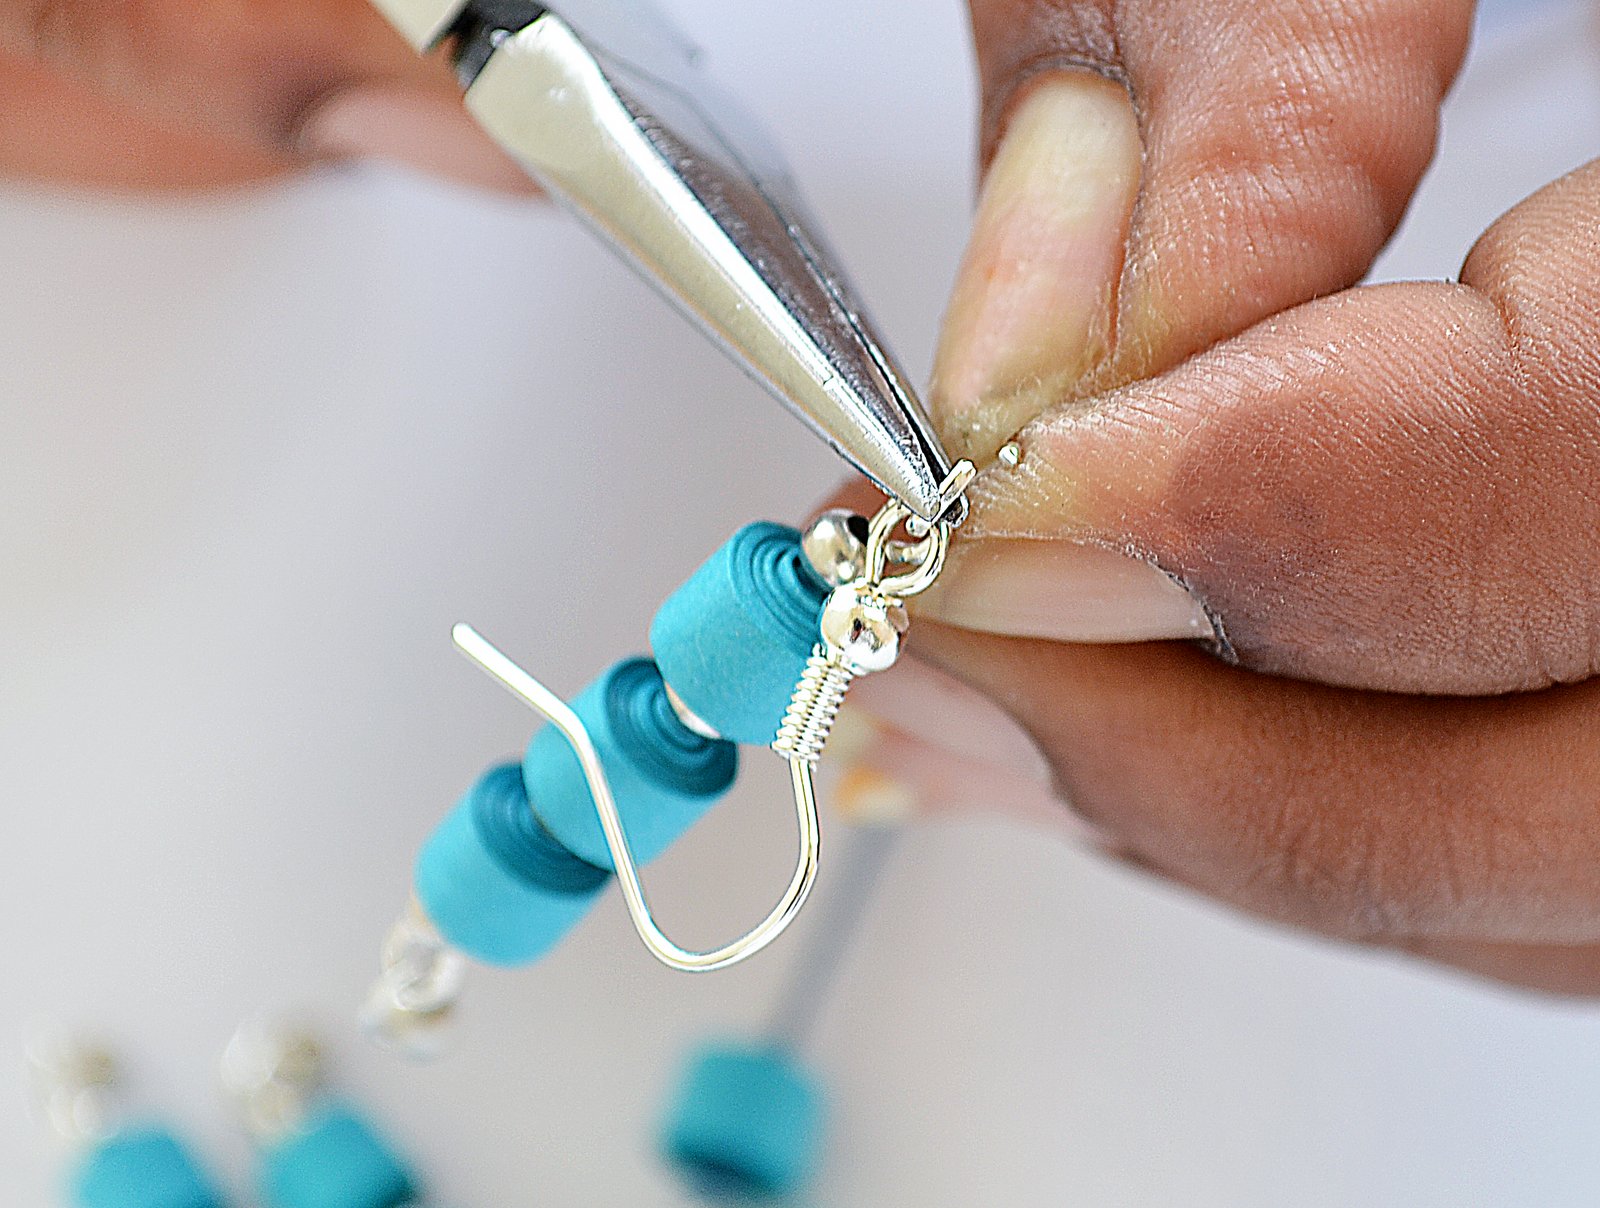
To finish the hanging, trim the eye pin with jewellery cutter, leaving about ¼” to make a loop. With the help of round nose pliers make a loop. We now have a loop at the top as well as the bottom of the hanging.


Thread a jump ring through a spacer bead and attach it to one end of the hanging. Attach another jump ring (without the spacer) to the other end of the hanging.


Make the hangings as shown in the image below:
5 coils – 1pc
4coils – 2 pcs
3 coils – 4pcs (2 for necklace and 2 for earrings)
2 coils – 2pcs
1 coil – 2pcs


Thread the cotton cord though coils and hangings alternating them to form the design as shown below.


Measure the cord as per the desired length of necklace and trim. Attach the end piece to both ends of the cotton cord by fold the end piece as shown with the help of flat nose pliers.


Attach a jump rings to both the end pc and the lobster clasp to one of the jump rings.  Your fabulous necklace is done!


To make the earrings, attach the jump ring of the hanging to the loop in the ear wire. Repeat for the other earring.


Your beautiful Cascading necklace is ready!


 Its fun to experiment with this design and you can come up with your own ideas and make jewellery to match your dresses! You can also try different variations with different colour/size of the strips, using different spacer beads or by changing formation of the hangings.


Do let us know what you think of this tutorial in the comments below. Happy Crafting!

Tuesday, June 23, 2015

Mother's love- Project 2


Hey ppl,


This is Dr. M V Pratyusha here from Pratvam Progs.


Today I will be sharing a project that is completely done using the 1mm quilling strips and few 3mm quilling strips from the new premium quilling range of strips from itsy bitsy.


It is a canvas project. The dimensions of the canvas are 5x7 inches. The background is coloured using poster colours- peacock blue, deep green and yellow ochre. I then gave it a coat of Monte Marte gloss medium to seal the background colours as I had used poster colours.


I have used 2 colours the red and the pink to make the petals of the flower. The bigger blossoms are made from pink colour 1mm strips by sticking 6 strips together to make a single petal. As I had already mentioned that due to manufacturing constraints the length of the strips will remain 11 inches coz of which 2 packs of 50 strips yielded me 7 big size flowers. For the small red flowers I cut a single strip into two and used to make one petal with each half.


               The stem for the tree is made from 3mm quilling quilling strips (coffee brown).


Then I added the Quote which is  "Fragrance of mother's love, beautiful and silent as the flower's".


 And tada here's the finished project.


 I loved working with the 1mm strips and they are really addictive to work with. Hope you all give them a try.
In case of any queries do drop then in the comment section or ping on facebook.


Would love to hear what you ppl think of this project!!! :)
Would like to thank Itsy bitsy for giving me this opportunity :) 


Hope to be back soon,


Till Then,
Keep Crafting :)


Disclaimer- Unless stated, all photos are the work of Pratyusha and are licensed under a Creative Commons Attribution-NonCommercial-NoDerivs 3.0 Unported License


Tuesday, June 16, 2015

Shine Bright- Project 1


Hey ppl,


This is Dr. M V Pratyusha from Pratvam Progs (Again :P)


Today I am here to share one of the projects I made using the new premium range of quilling strips.


I keep visiting Itsy Bitsy every now and then as it is very near to my home. I love the craft supplies that they stock. I am a big fan of their quilling strips as I already told you all in the previous post. Apart from that they stock Canvases of various sizes. Working on canvas gives you a stable surface and a working area that is versatile. I love using canvases for my quilling projects.


This post today is one such canvas that I have prepared.


Used 5x7 inch canvas prepared it using gesso and then painted it using Tim Holtz distress paints spiced marmalade. Sketched out the outline for the sunflower and used doubling strip technique to do the outlining for the same. What follows is husking technique to fill up the whole of the interior of the flower.

The center of the sunflower is made using the squeezed beehive technique in 2 layers. Here for the center also added microbeads in golden colour.
Used 1mm strips to make hollow circles of various sizes and stuck them at random areas on the canvas. Used cardstock and printed the quote on it and then used distress ink in the colour Mowed lawn to highlight it. Stuck the same to the canvas using double sided tape. Also added creepers and handmade embellishment to complete the project!!!


Here's the completed project!!!


Would love to hear what you ppl think of this project!!! :)

In case of any queries do drop then in the comment section or ping on facebook.

Will be back with yet another project next week :)

Till Then,
Keep Crafting :)

Disclaimer- Unless stated, all photos are the work of Pratyusha and are licensed under a Creative Commons Attribution-NonCommercial-NoDerivs 3.0 Unported License