Showing posts with label Vellum Sheet. Show all posts

Wednesday, January 6, 2016

Quilled Flower Sprig

Hello friends! Wish you all a Happy New year!!
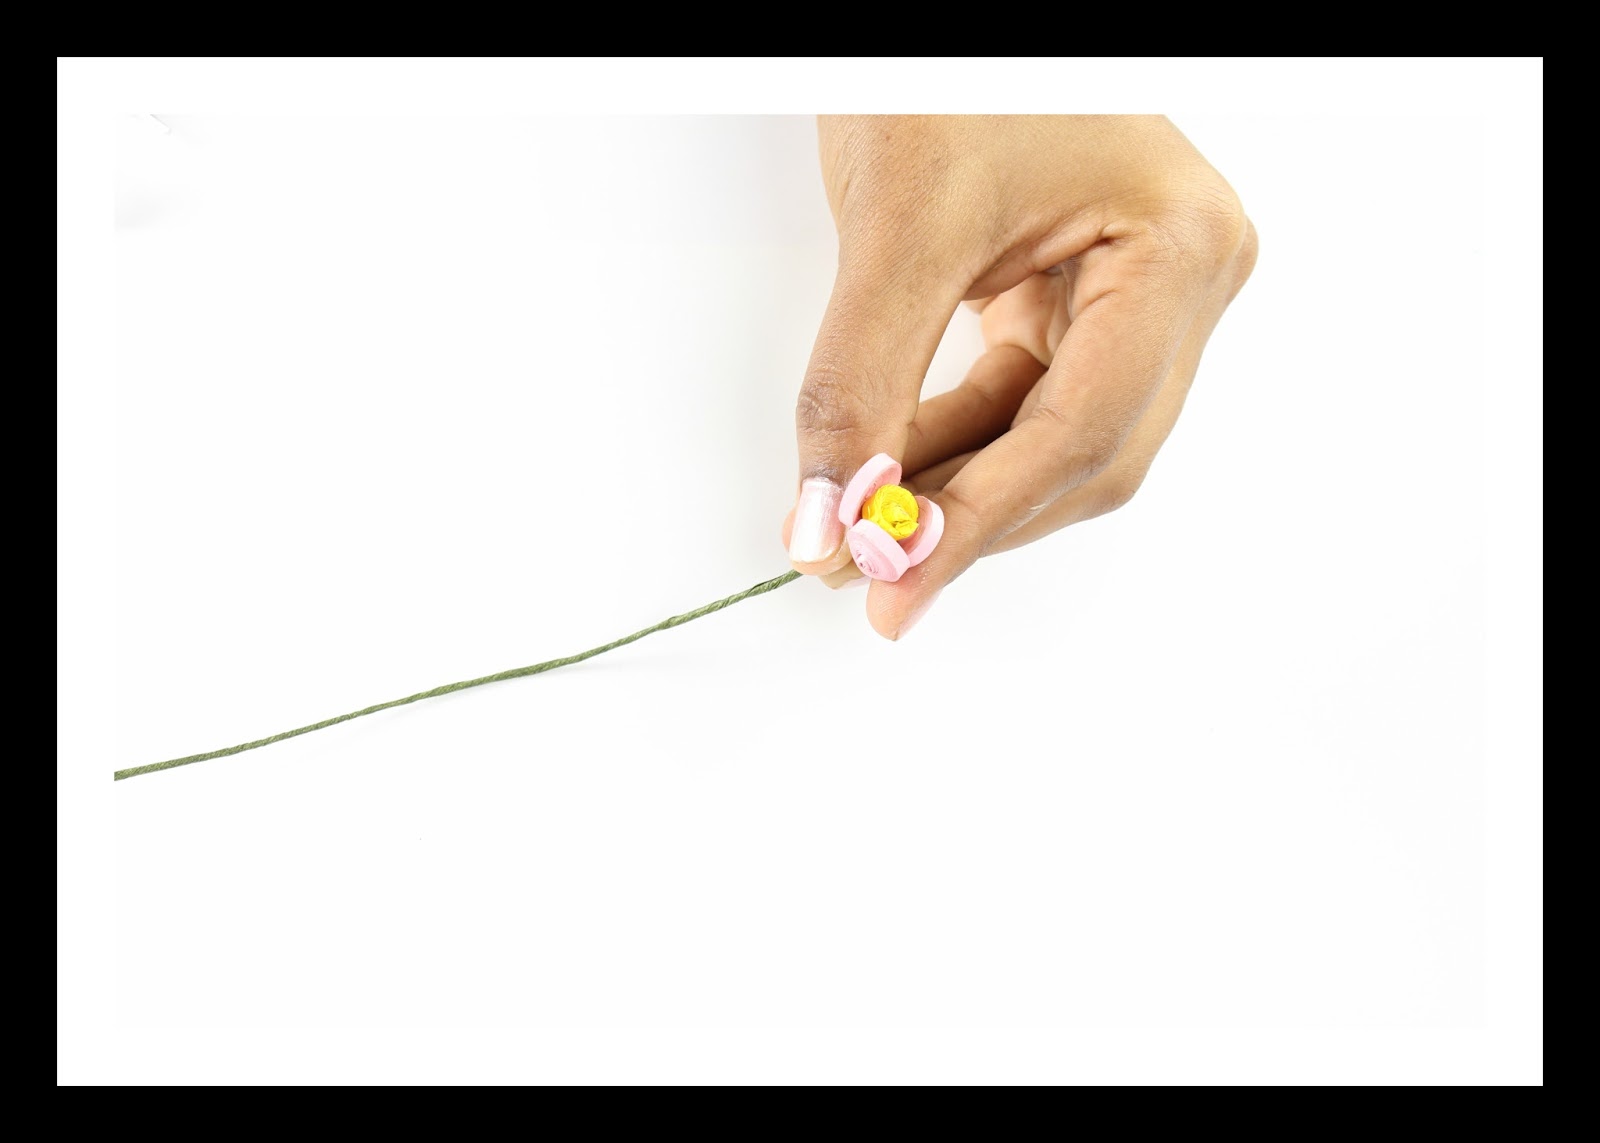
Welcome to yet another tutorial from Itsy Bitsy.
Create this beautiful flower sprig using quilling strips. The flowers and the fringed pollens are made from quilling strips. You can make different kind of flowers using quilling strips.
Get inspired and create your own work of art.

Things required

  • Quilling strips: Pink- 3mm
  • Yellow- 3mm, Black-3mm
  • Floral stem
  • Vellum paper- white
  • Glue
  • Round plier
  • Quilling tool
  • Handmade Paper–Green

Method
Step 1 - Each petal needs two strips. Using the quilling tool, make round coils from the quilling strips and glue them at the end. Pinch at one end to make the petal shape. Gently press the coil to give depth to the petal
Step 2 - Make fringes using scissor on yellow quilling strips. Using the quilling tool make round coils
Step 3 - Using the round plier, bend the floral stem to make a small loop. Insert the fringed coil to the stem from below and glue
Step 4 - Glue the petals to the fringed coil. Make buds by gluing the petals directly to the flower stem
Step 5 - The completed flowers
Step 6 - Use Green handmade paper and cut the patterns as shown. Glue it to the base of the completed flowers to make the sepal
Step 7 - Use the green handmade paper and cut the shapes of leaves, attach them to the floral stem using floral tape. Wind the flowers and the leaves together to make the flower sprig
Step 8 - Wind the Sprig with green floral tape, paint it with decoupage for glossy finish
Step 9 - Make round coils using 3mm quilling strips (2- black coil, 3- yellow coil)
Step 10 - Make the wings of the bee by using the vellum paper. Glue the 3 yellow coil and 2 black coil one after the other, glue the wings on top and attach the feelers that are made from the quilling strip
Place the flower sprig on a painted chipboard or box .Glue the bee near the flowers, as shown
Our Pretty Sprig is ready. Use it as a wall hanging or as flower arrangement.

Link for supplies:
Quilling strips:
 Floral stem   
 Vellum paper- white
http://www.itsybitsy.in/store/craft/alpha/glitter/paper-glitter-alpha-6inc-b-pastel-blue-1pc-ib
Glue
 Round plier        
 Quilling tool
Handmade Paper–Green
 Floral tape

Friday, October 24, 2014

TGIF with Pooja – Christmas card


Hello my fellow bloggers!
How have you been so far? I hope you are having a creative week.
I had a wonderful time creating a Christmas card for you, it’s something simple but elegant.
You do not need any too many dies or embellishments to make this happen.
So here we go 

I love shabby colors and it can certainly be used to create something elegant!
Even though this looks simple I have used about 3 subtle layers of cardstock and design paper to make the card more dimensional. 


The flowers are handmade. I have used the sizzix circle die to cut out different sizes of circles and then created my rolled roses.
But you can do this with the itsy bitsy swirly rose die too! They are much less work I must say, and you get some cute swirly roses!


I love this frame! It’s a chipboard one and the design is totally regal!
I have painted it copper for that lovely muted shine. You can use any type of paint , spray them with mists or glitter them , the possibilities are endless.
This frame is called Chipboard Shapes Ornate Oval Frame and its so affordable!!!

When i started collecting my chipboard elements I loved what itsy bitsy has as they are very lovely intricate designs specially the frames! 


You can probably see that I have used some dimensional tape to lift off my background off the card base. This looks very beautiful and gives your cards some added dimension.
You can do this with any type of card or project it adds some character to it.
I have used vellum under the frame where I have stamped the sentiment MERRY with red pigment ink, and embossed it with pearl white embossing powder.
This has muted down the red but I love the effect!
I have also used some pearls in the flowers and sequin to finish the card.
The leaves are a sizzix die cut colored with alcohol markers and then used my embossing ball stylus to make the crushed effect!


Finally here is another look at the card!
Hope that you enjoyed my creation and would try your hands on something similar!
Thanks for reading!
See you soon!

Supplies: