Showing posts with label shimmer. Show all posts

Wednesday, July 5, 2017

Shimmer Crush Creations

Hello Friends ,

Glitter is in!!

If you love to give a shimmery finish to your projects, home decor items, craft projects, clothing, candle holders, lamps, coasters, there’s nothing you can’t use a bit of glitter in!! 

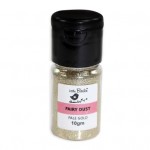
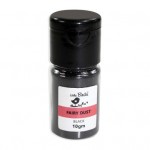
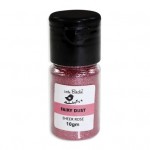
Make those sparkly projects shine out of ordinary with these brilliant shades of Shimmer Crush. These grainy glitter elements can be applied with appropriate glues to various surfaces.


Here are 3 Simple and Quick cards, I made using Shimmer Crush.


Card 1 


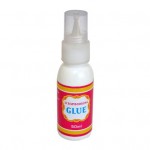
I have used the tacky glue on the butterfly chipboard embellishments and let them dry with the Shimmer Crush grainy glitter 


For the card I have used 5x7 inch card stock as base 

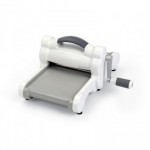
For second layer of card, I have used a white card stock 6x4 " along with the embossing folder, run it through the Dream Cut to give an awesome flowering impressions on it 

Further added a Birthday wishes sentiment cut out from the Birthday Wishes pattern paper 

Finally added the chipboard Shimmer Crush butterflies to the card .


Card 2 


This again is a 2 layered card 

Here I have used Shimmer Crush grainy glitter on chipboard flower elements 


The card base is 5x7 inch

I have added layer 2 with a embossed beige coloured cardstock 

Further added the chipboard elements.... flowers with Shimmer Crush grainy glitter and leaves without it, to give it a contrast .


Card 3 


Birthday cards are incomplete without glitters ....what say ?

here you can see Shimmer Crush grainy glitter and their texture can be seen and felt 


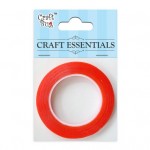
Here I have used tacky tapes to hold the glitter and used them to make the colourful birthday candles and added the sentiment to go with it !


Hope to have inspired you to transform ordinary things into pretty stuff with just few craft supplies in hand :) 


Wish to see more of my creations for inspiration, please click here 


Supplies Used 


Friday, April 28, 2017

Watercolor cards with Say it Flowers stampset and Fairy Dust Glitter


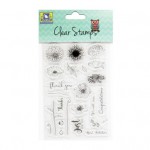
Hello everyone, it's Juhi with some watercolor cards. I have used the beautiful "Say it with Flowers" Stamp set for today's cards. I have also used Fairy Dust in various colors on my cards.
As I have mentioned in my earlier posts, watercoloring is my favorite technique.


I started by stamping the flowers from the stampset on 3 watercolor panels cut to the size of my card fronts. I stamped randomly, taking care to change the orientation of the flowers and also stamp off the edges to create a random looking pattern. I stamped 2 panels with black pigment ink and 1 watercolor panel with gold pigment ink.


I then watercolored the area between the flowers on one of the watercolor panels with Crimson Mont Marte tube watercolors. I also added some red on the flowers.


For the second watercolor panel I watercolored the flowers in shades of blue, purple and yellow and added a mustard background.
For the 3rd panel I added some bright pink to the center of the flowers, I did not fill the flowers completely to create a messy watercolored look.
Now that I was happy with the watercoloring, it was time to add some glitter!!!
I used one of my favorite ways to add glitter to my projects, I used Itsy Bitsy's gorgeous fairy dust super fine glitter with double sided tacky tape. I will not go into the details of how I did it in this post as I was already shared the method in detail here and here.
Fairy Dust comes in a huge variety of colors so I could find just the right colors for my cards!!!
I finally stamped the sentiments and mounted the watercolor panels onto white cardstock with double sided foam tape! I just love how these cards turned out, I hope you will also give stamping and watercoloring a try, it's very easy and fun and the results are beautiful!!!
Thanks so much for stopping by today!


Supplies Used:


Monday, March 13, 2017

Creating custom glitter backgrounds using Rainbow Dust


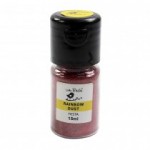
I'm sure there's no crafter out there who does not like glitter! We all just love to use glitter on our projects, as a cardmaker I have often used the gorgeous, high quality glitter paper by Itsy Bitsy.  The papers come a range of beautiful colors, but, what if you want ombre glitter paper, or rainbow glitter paper? Well, with the the new range of glitter, aptly called "Rainbow Dust", you can do just that! 
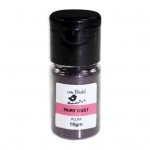
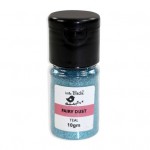
The glitter comes in a range of beautiful colors, is super fine and very high quality. I played with the pretty shades to came up with 3 fun ways to create your own custom colored glitter paper using them
.

Card #1

For my 1st card I wanted to make a shimmer background with blended colors from red to gold. Here are the steps I followed to create my card.
1. Start off with a white cardstock panel cut to the size of your card front. Cover it entirely with super strong double sided tacky tape while ensuring there is no gap between the rows of tape.
2. Peel off the top of the tape to reveal the sticky side.
3-4.Starting with the Fiesta Rainbow dust, pour the rainbow dust onto the cardstock panel and shake off the excess. The sequence of colors I followed were - Fiesta, Rose Quartz, Glazed Apricot, Glazed Fire.

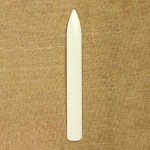
 6. Take a scoring tool or any blunt long object, like the blunt edge of a scissors and burnish in the glitter powder. Move back and forth multiple times where one color meets the other to blend and mix the colors a bit. This will ensure that there are no sharp lines where one color ends and the next one starts. Once the glitter is nicely rubbed in, it will not come off if you run your fingers over it.
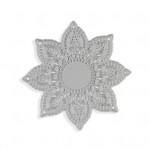
7-8. Once you are satisfied with the colors place the ornate doily die and die-cut in the center of the panel.
9. Take the negative of the die-cut and stick a piece of acetate or transparency behind it.
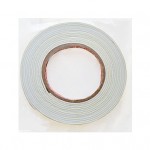
10. Line the outer edges of the panel with double sided foam tape.

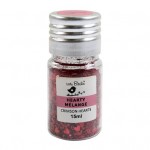
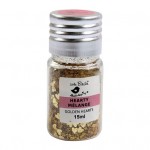
11-12. Take a little of  Golden Hearts and Crimson Hearts Hearty Melange and sprinkled them in the middle of my white cardstock base.
13. Place the shimmer cardstock panel and stuck it on the white cardstock base.
14. Stick the die-cut doily on top of the acetate, from where it was cut originally.
15. Finish the card by stamping the sentiment on a piece of kraft cardstock and adhering onto the top panel.

Card #2

I created a bold striped, ombre background, moving from a darker to a lighter tone of the same color. I created a gradient from black to silver. Here's how I made it.

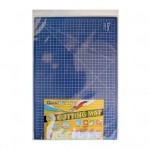
1. Start by sticking double sided tacky tape at equal intervals on prefolded, white cardstock base. I used the markings on my cutting mat as a guide, you can mark equal intervals with a ruler too.
2-3. Start peeling off the tape one row at a time. I poured black rainbow dust in the bottom 2 rows. Brush off the excess glitter powder with a brush.
4-5. For the next 2 to 3 rows mix a bit of silver and black rainbow dust in a small container and pour. Progressively increase the amount of silver rainbow dust in the mixture as you move towards the top rows.
6. Finish off the background with 2 rows of pure silver rainbow dust. As with the previous card, nicely rub in the glitter powder with a scoring tool.
7. Finish the card with embellishments of your choice. I used cute floral 3-D sticker from the Itsy Bitsy store.

Card #3

I've created a rainbow shimmer background for my 3rd card.The process was just the same as the first card, only the Rainbow Dust colors were different. The colors I've used in sequence are - Fiesta, Rose Quartz, Glazed Apricot, Glazed Fire, Shiny Moss and Rich Berry.
I finished the card by sticking glitter butterfly embellishments and stamping a sentiment.

I hope you like these projects, the possibilities are endless with Rainbow Dust, in cardmaking itself I can think of so many other ways to use these. I might cover a few more techniques in my next post.
Thank you so much for stopping by today!

Supplies Used: